Grow Carrots From Seed
Every gardener should grow carrots in the fall. Fall and winter carrots are sweeter than those grown in spring because the cool weather adds a layer of sweetness.
You might be wondering why fall is such a magical time for carrots. The secret lies in the cooler temperatures. As the weather cools down, carrots convert their starches into sugars as a natural antifreeze mechanism. This means your fall-planted carrots will have that incredible sweetness that makes them taste like candy straight from the ground.
Grow Carrots - 10/13-10/19/2025
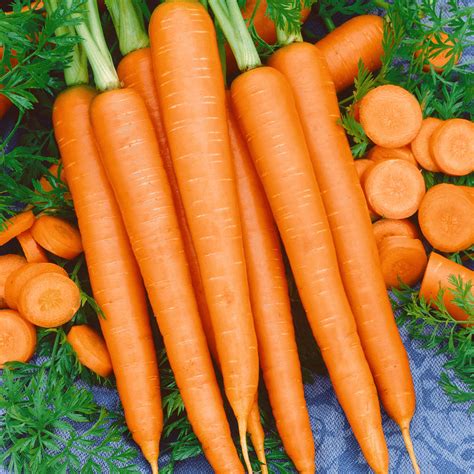 This is the Imperator carrot.
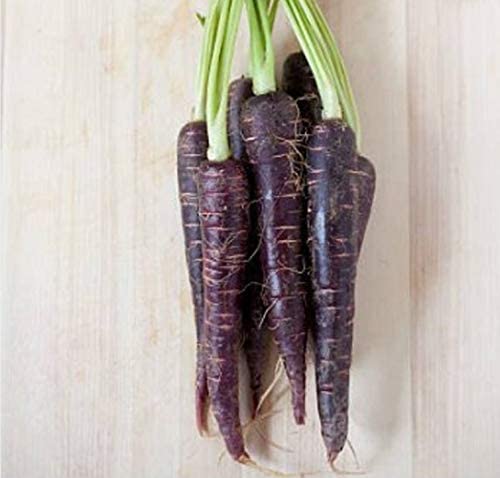 This is the Black Nebula. It is the sweetest carrot I have ever eaten. This is the Black Nebula. It is the sweetest carrot I have ever eaten. |
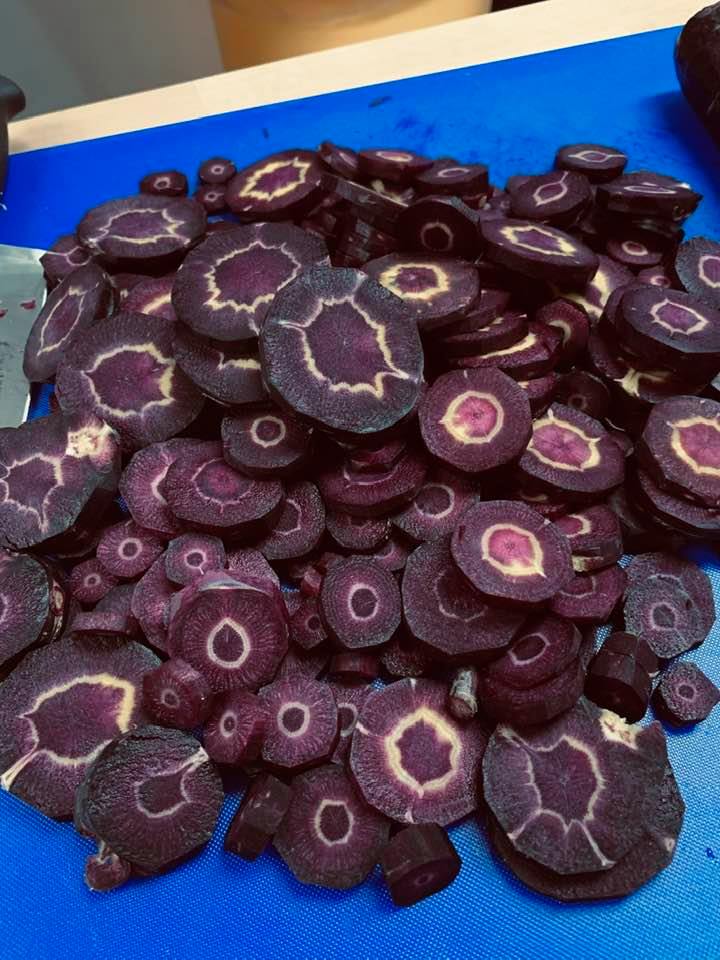 The Black Nebula has a white ring inside. The Black Nebula has a white ring inside. |
How to Grow Carrots from Seed in Your Fall Garden
Let me tell you something exciting about fall gardening – it's absolutely the perfect time to grow carrots from seed in your fall garden. While many gardeners are winding down their growing season, you can be starting one of the most rewarding crops you'll ever plant. Fall carrots often taste sweeter and crunchier than their spring counterparts, and I'm going to show you exactly how to make that happen in your own backyard.
Before we dive into the how-to, let's talk about getting quality seeds. I always recommend buying the best carrot seeds from David's Garden Seeds. They offer excellent varieties specifically suited for fall planting, and their germination rates are consistently high. When you're investing time and effort into your garden, starting with premium seeds makes all the difference.
Now, let's get into the nitty-gritty of timing. For your fall garden, you'll want to count backwards from your first expected frost date. Carrots typically need 60 to 80 days to mature, depending on the variety. Add about two weeks as a buffer for slower fall growth, and that's when you should plant.
In most regions, this means planting carrot seeds anywhere from late July through early September. If you live in a milder climate, you can even push this into October. The goal is to have your carrots sizing up during the cool fall weather but before the ground freezes solid.
 This is the Chanteney Red Cored Carrot.
Choosing the right variety matters tremendously for fall success. Shorter varieties like 'Scarlet Nantes' or 'Chantenay' types work wonderfully because they mature faster. However, if you have time before your first frost, longer varieties like 'Danvers' or 'Imperator' can produce impressive roots.
Let's talk about preparing your soil, because this is where many gardeners make or break their carrot crop. Carrots need loose, well-draining soil that's free of rocks and clumps. If your soil is heavy clay, your carrots will fork, twist, and look like they've been through a funhouse mirror.
I recommend working your soil to a depth of at least 12 inches. Remove any rocks, sticks, or debris you encounter. If you have heavy soil, mix in plenty of compost or aged manure – about 2 to 4 inches worked into the top 8 inches of soil. This creates the fluffy texture carrots love.
Grow Carrots - Soil Conditions
Here's a pro tip: avoid adding fresh manure or high-nitrogen fertilizers right before planting. This can cause your carrots to fork and develop hairy roots. If you need to add manure, do it several months before planting, or better yet, plant carrots where you grew heavy feeders like tomatoes earlier in the season.
Sandy loam is the dream soil for carrots. If you're blessed with this soil type, you're already ahead of the game. If not, don't worry – you can create raised beds or containers filled with the perfect carrot-growing mix. I've seen spectacular carrots grown in nothing but store-bought potting mix in deep containers.
The pH of your soil should ideally be between 6.0 and 6.8. Carrots can tolerate slightly acidic to neutral soil, but they struggle in very acidic or alkaline conditions. A simple soil test kit from your local garden center can tell you where you stand.
Grow Carrots - Planting
Now we're ready to plant carrots. This is where precision matters. Create shallow furrows in your prepared bed, spacing them about 12 to 18 inches apart. This gives you room to walk between rows for thinning and weeding without compacting the soil around your growing carrots.
Here's the critical part: do not plant carrot seeds too deep. We recommend planting at 1/4 of an inch. This is shallower than you might think. I use my finger to create a slight depression in the soil, drop the seeds, and barely cover them with fine soil or vermiculite.
Carrot seeds are tiny, which makes spacing them properly a real challenge. Don't stress about perfect spacing at planting time. Just try to sprinkle them thinly along your furrow. You'll thin them later, and that's actually part of the process. Some gardeners mix carrot seeds with sand to help distribute them more evenly. They should be at least two inches apart if you are going to go to the trouble of spacing them.
After you plant carrots, gently firm the soil over the seeds. This ensures good seed-to-soil contact, which is essential for germination. Then comes the most important step in the early days: keeping that soil consistently moist.
Carrot seed germination is notoriously slow and finicky. It can take anywhere from 10 to 21 days for those little seeds to sprout. During this entire period, the soil surface must stay moist. If it dries out even once, your germination rate will plummet.
I water my newly planted carrot beds lightly every day, sometimes twice a day if it's hot and dry. A gentle spray is better than a heavy stream that might wash away your carefully planted seeds. Some gardeners lay a board or burlap over the row to keep moisture in, checking daily and removing it as soon as sprouts appear.
Here's a trick I learned years ago: plant radish seeds mixed with your carrot seeds. Radishes germinate in just a few days and mark your rows, so you don't accidentally disturb them while weeding. Plus, you'll harvest the radishes long before they compete with your carrots.
Grow Carrots - Thinning
Once your carrot seedlings emerge, you'll see these delicate, thread-like leaves. They look almost like grass at first. This is when your patience pays off. Keep the soil moist but not waterlogged. The goal is consistent moisture about an inch deep.
When your carrot seedlings are about 2 inches tall, it's time for the first thinning. This is hard for many gardeners because it feels wasteful, but it's absolutely necessary. Crowded carrots will never develop properly. They'll be thin, twisted, and disappointing.
For your first thinning, remove plants so the remaining seedlings are about 1 inch apart. You can use scissors to snip off the unwanted seedlings at soil level, or carefully pull them. I prefer snipping because pulling can disturb the roots of nearby carrots you want to keep.
About two weeks later, do a second thinning. This time, space your carrots 2 to 4 inches apart, depending on the variety. Larger varieties need more space. Check your seed packet for specific recommendations. Those tiny carrots you pull during this second thinning are actually edible and delicious in salads.
Proper spacing might seem excessive, but each carrot needs room to develop. Think of it this way: you're not growing carrot tops, you're growing roots. Those roots need space to expand underground. Crowded carrots will compete for nutrients and water, resulting in skinny, underdeveloped roots.
Grow Carrots - Watering
Let's talk about watering your growing carrots. Consistent moisture is the key to straight, crack-free carrots. The soil should be evenly moist to a depth of at least 6 inches. Stick your finger in the soil – if it's dry past the first inch, it's time to water.
In the fall, you'll typically need to water less frequently than in summer, but don't assume rainfall is enough. Check your soil regularly. A good soaking once or twice a week is usually better than frequent shallow watering, as it encourages deep root growth.
Inconsistent watering causes problems. If the soil dries out and then gets flooded with water, your carrots may crack or split. If it stays too wet, you risk rot and disease. The goal is that happy medium – consistently moist but never soggy.
Grow Carrots - Mulching And Weeding
Mulching can be your best friend for maintaining soil moisture. Once your carrots are a few inches tall, apply a thin layer of straw, shredded leaves, or grass clippings between the rows. This keeps the soil temperature more consistent and reduces water evaporation.
However, don't mulch too heavily or too close to the tiny seedlings. A thick mulch layer can prevent the soil from warming up in early fall when you still want some warmth. It can also harbor slugs and other pests that might damage young plants.
Weeding is crucial when you grow carrots from seed in your fall garden. Carrots are slow growers, especially in the beginning, and weeds can quickly overtake them. Those first few weeks after germination are critical. Stay on top of weeds before they become a problem.
Hand-pulling weeds is the safest method around carrots because their roots are shallow and easily disturbed. Get down close and pull weeds when they're small. If you let weeds get large, pulling them will disturb your carrot roots and potentially ruin your crop.
Grow Carrots - Fertilizing
Now let's discuss fertilizing. Carrots are moderate feeders, but they have specific needs. Remember how I mentioned avoiding high-nitrogen fertilizers? That's because too much nitrogen produces gorgeous, bushy tops but small, hairy roots. You want balanced growth.
If you prepared your soil well with compost before planting, your carrots might not need any additional fertilizer. However, if your soil is poor or you're growing in containers, a light feeding can help. Wait until the seedlings are about 3 inches tall before applying any fertilizer.
When you do fertilize, choose a balanced fertilizer with equal or lower nitrogen compared to phosphorus and potassium. Something like a 5-10-10 or 10-10-10 works well. Apply it as a side dressing, sprinkling it in a band about 3 inches away from the plants, then water it in thoroughly.
Alternatively, you can use a liquid fertilizer diluted to half strength every two to three weeks. Fish emulsion or compost tea are excellent organic options. These provide gentle nutrition without the risk of burning your plants or causing excessive top growth.
Phosphorus is particularly important for root development. If your soil test shows low phosphorus, adding bone meal at planting time can give your carrots the boost they need. Work it into the soil before planting rather than applying it later.
As your carrots grow, you might notice the tops of the roots pushing up through the soil. This is called "shouldering," and it can cause the exposed part to turn green and bitter. Simply mound a little soil over these exposed shoulders to keep them covered and sweet.
Grow Carrots In Fall And Winter
Fall weather brings cooler temperatures, which is generally great for carrots. However, you need to watch for early frosts. Light frosts actually improve carrot flavor, but hard freezes can damage the tops. If a hard freeze is predicted before your carrots are ready, cover them with row covers or straw.
One of the beautiful things about fall carrots is that you can often leave them in the ground well past the first frost. In fact, carrots can be grown in the fall and again in winter for sweeter carrots than you can grow in the spring. The cold triggers that sugar conversion I mentioned earlier.
If you want to extend your harvest into winter, apply a thick mulch layer – about 12 inches of straw or leaves – over your carrot bed after the first hard frost. This insulates the ground and prevents it from freezing solid, allowing you to dig carrots throughout the winter.
Pest management in fall is usually easier than in spring or summer. Many common carrot pests are less active in cooler weather. However, you should still watch for carrot rust flies, wireworms, and root-knot nematodes. Rotating your crops annually helps prevent pest buildup.
Carrot rust fly larvae tunnel into carrot roots, creating brown trails and making them inedible. If this pest is common in your area, use floating row covers from the moment you plant until harvest. The adult flies can't reach your carrots to lay eggs if they're covered.
Diseases are generally less problematic in fall than in the humid heat of summer. However, good air circulation and proper spacing help prevent fungal issues. Avoid overhead watering late in the day, as wet foliage overnight can encourage disease.
Grow Carrots - Harvesting
Let's talk about knowing when your carrots are ready to harvest. Most varieties take 60 to 80 days from planting to harvest, but fall's cooler temperatures might add a week or two to that timeline. Check your seed packet for the specific days to maturity for your variety.
The best way to check if your carrots are ready is to gently brush away soil from the top of a root and check its diameter. Most varieties are ready when they're about 3/4 to 1 inch in diameter at the top. Of course, you can harvest them smaller if you prefer baby carrots.
Don't rely solely on the days-to-maturity number. Growing conditions affect timing. If you've had cool weather or less-than-ideal conditions, your carrots might need extra time. Conversely, perfect conditions might bring them to harvest size a bit early.
Here's something wonderful about fall carrots: there's no rush to harvest them all at once. Unlike many vegetables, carrots actually store beautifully right in the ground. As long as the ground isn't frozen solid, you can harvest them as needed throughout fall and even into winter.
When you're ready to harvest, water the soil the day before if it's dry. Moist soil makes pulling carrots much easier and reduces the chance of breaking them. Grasp the tops close to the root and pull straight up with steady pressure. If the soil is compacted, use a garden fork to loosen it first.
For those perfect, Instagram-worthy carrots, loosen the soil around them with a garden fork before pulling. Insert the fork about 6 inches away from the row and gently lift the soil. This breaks up any compaction and allows you to pull the carrots without breaking them.
After harvesting, twist or cut off the tops immediately. Leave about half an inch of stem. The tops will continue to draw moisture from the roots if you leave them attached, causing the carrots to become limp and less sweet.
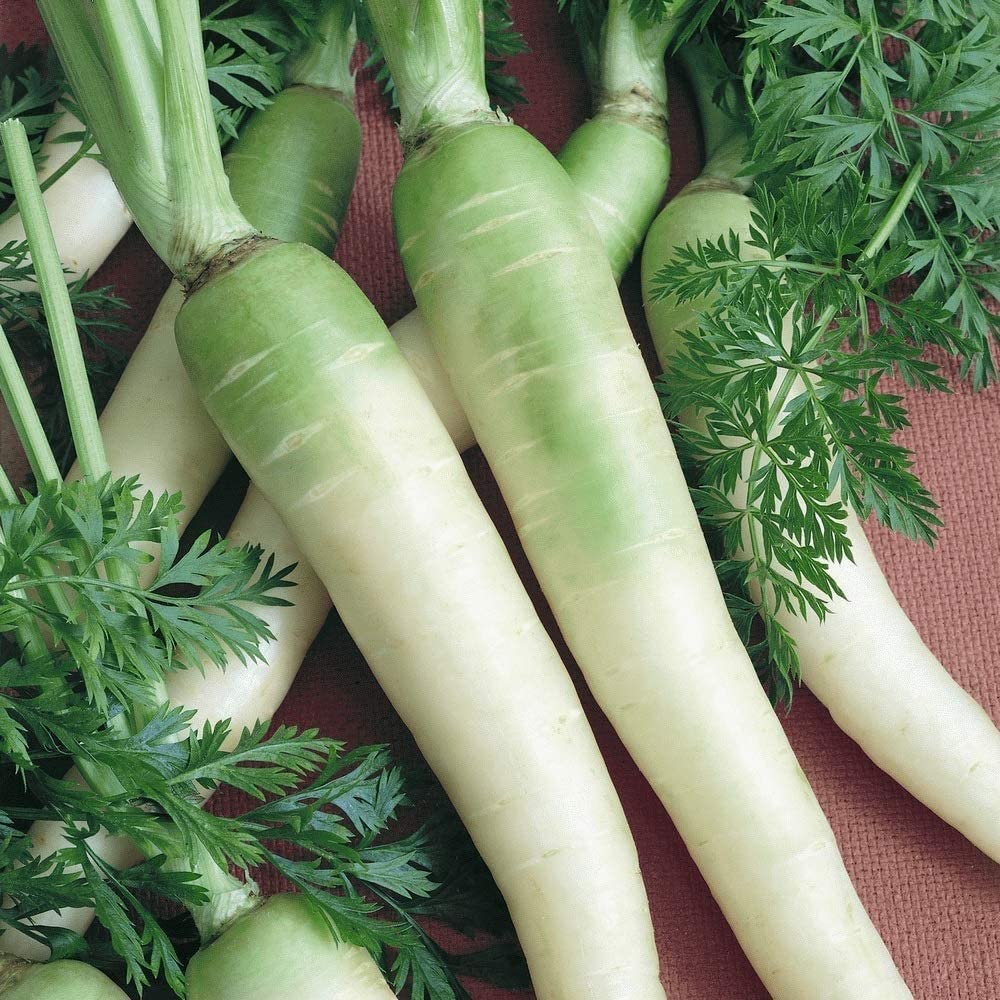 Grow carrots like the Lunar White.
Don't wash your carrots if you plan to store them. Brush off excess dirt and store them in a cool, humid place. A refrigerator crisper drawer works perfectly. In plastic bags with a few holes for air circulation, carrots can last for months. Some people store them in containers of damp sand in a cool basement or root cellar.
If you have more carrots than you can use fresh, consider freezing them. Blanch them in boiling water for 2 to 5 minutes depending on size, plunge them in ice water, drain, and freeze in airtight containers. Frozen carrots work great in soups, stews, and cooked dishes.
 Grow carrots like the Atomic Red!
One of my favorite things about growing carrots in your fall garden is the sense of accomplishment when you pull that first perfect root. There's something magical about growing your own food, especially something as versatile and nutritious as carrots. Every salad, every roasted vegetable medley, every batch of carrot cake tastes better when you grew the star ingredient yourself.
As you gain experience growing fall carrots, you'll develop a feel for what works in your specific garden. You'll learn which varieties perform best in your soil, how much water your particular plot needs, and the perfect timing for your climate. Gardening is as much art as science, and every season teaches you something new.
Don't be discouraged if your first attempt isn't perfect. I've been gardening for years, and I still have seasons where my carrots are less than ideal. Maybe they forked because I didn't remove all the rocks, or they were small because I didn't thin them enough. Each "failure" is really just a lesson for next year.
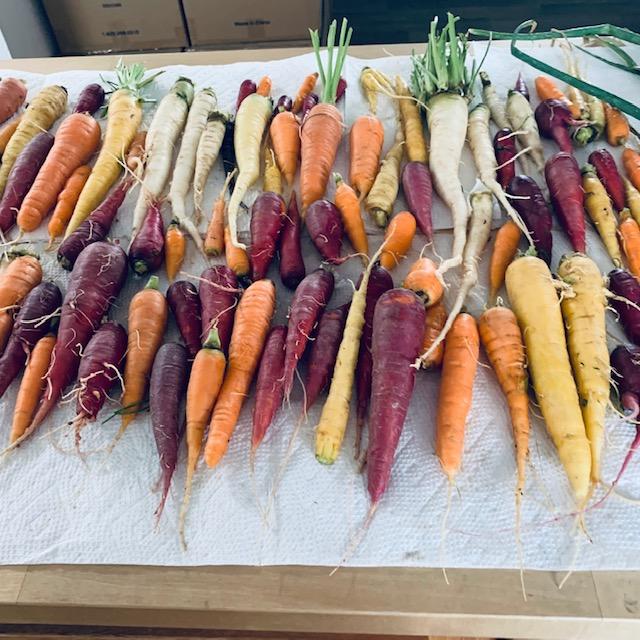 Grow carrots in various colors by planting our Rainbow Carrot Seed pack. This is one of our carrot harvests.
The key to success when you plant carrots in your fall garden is attention to detail in those critical early weeks. Keep the soil moist for germination, thin ruthlessly, maintain consistent moisture, and be patient. Carrots reward careful, consistent care with sweet, crunchy roots that taste like autumn sunshine.
So grab those quality seeds from David's Garden Seeds, prepare your soil well, plant them at just 1/4 inch deep, and get ready for one of the most satisfying harvests of your gardening year. Growing carrots from seed in your fall garden isn't just about the harvest – it's about connecting with the seasons, working with nature's rhythms, and enjoying the simple pleasure of gardening.
Monday, October 13, 2025
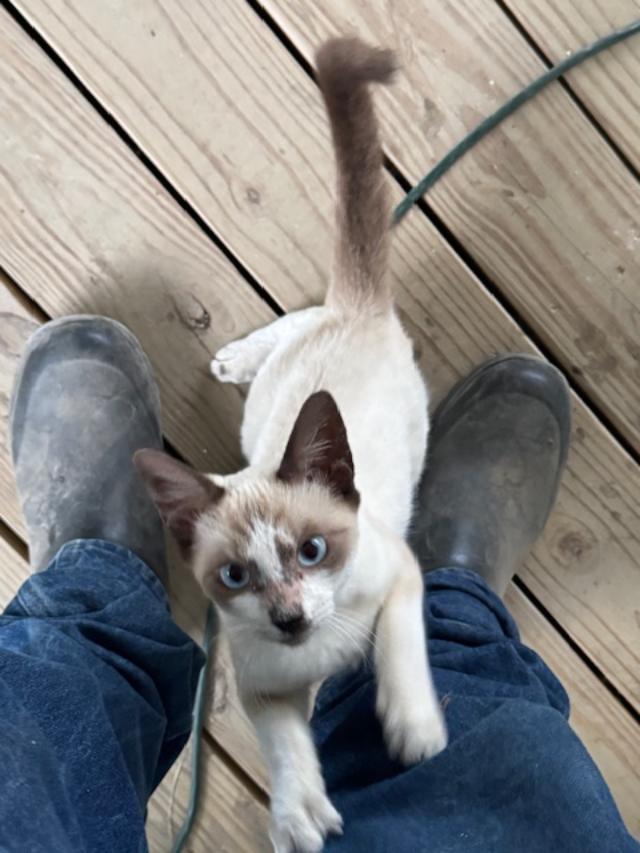
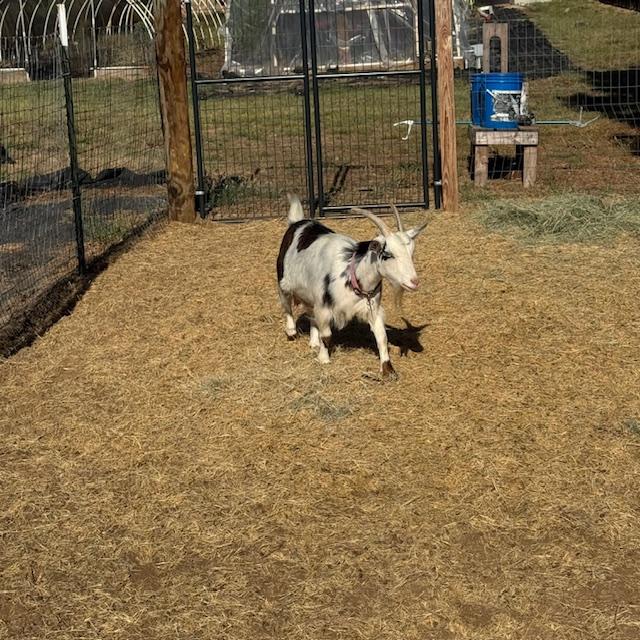 Trixie is pregnant.
If you did not see yesterday's blog, I am still sick today. I feel so bad.
It is Columbus Day so the post office is closed. David did not remember that and he sent Matt there with the orders as the mailman did not show up again. Matt texted me that they were closed. I told him it was Columbus Day.
Tuesday, October 14, 2025
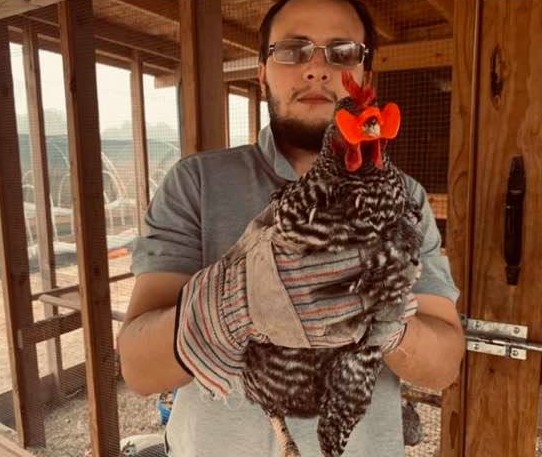
 Matt took this photo of one of our barred rock hens.
Good morning. I am still feeling bad. I had a miserable night again. I believe I have food poisoning from some deli soup we ate on Saturday. David's stomach was mildly affected on Saturday only. I had very little of the soup but I got it bad.
David dragged me to the doctor this morning. They kept me sitting in the waiting room for 30 minutes. As soon as I told the doctor what was going on, he put on a mask and then handed me one. He poked and prodded me and said he thought I would be okay but if I got worse to call him. He also suggested drinking electrolytes. I wish I had thought of that while I was suffering. I have a box but it never occurred to me.
I went home and drank some electrolytes and I started feeling better. I ate crackers and eventually chicken noodle soup. I kept it all down.
Wednesday, October 15, 2025
Good morning. I am feeling much better today. By nightfall yesterday, I got another bottle of electrolytes and had a fairly decent night, waking just once or twice that I can remember.
Trump, my puppy who is now about a year and a half old, just got into trouble for tearing a pillow apart.
I got up and made eggs and biscuits. I believe I will be going to work today.
David finally accepted an invitation to go to Leakey soon to a football game. You may not realize it, but he was one of the Leakey Eagle football players on the eight man team that went to state back in 1975--50 years ago. No other team the school has had has come close in 50 years. That was the last year UIL sanctioned eight man football.
 1975 Leakey Football Team. David is in this photo.
I am about to go to work for the first time since Saturday...There are a lot of orders to do.
I worked for three hours pulling and closing seed orders. Then I went to the house and sat down for just a moment...A while later, David called and woke me up.
I got him lunch and I ate some soup. Then I started laundry and dishes.
David wants a new seed sale to start tomorrow so I just finished setting that up--25% off all regularly priced seeds. I wrote three emails to go out tomorrow, Friday, and Saturday.
Thursday, October 16, 2025
Good morning! I am feeling much better today. I had some toast and now I need to get dressed because we are having a visitor at 9am and then there are lots of orders because all of the seeds are on sale for 25% off starting this morning at 5am! Here is the link!
Well, we are ghosted again. The visitor was another local maid service. She told David last night that she would be here at 9am to look at our home and give us a quote. It is now 9:21am. She did not show and she will not answer a call or text. What on earth is going on? I am so disgusted.
It is now 12:40pm and still not a word from the cleaning service.
Moving on, our sale is doing well so far.
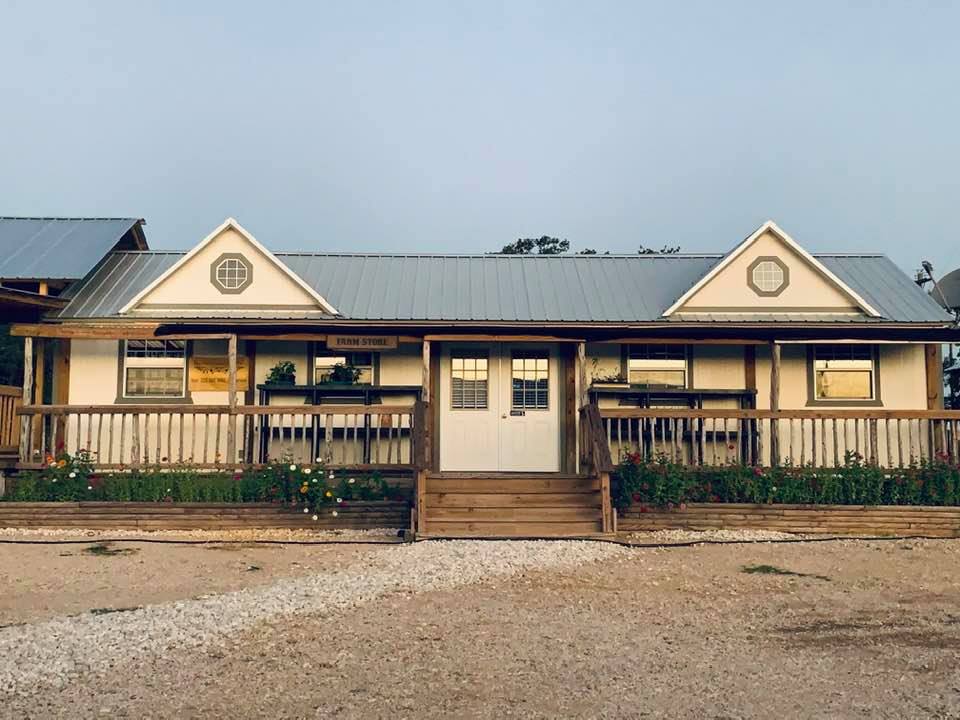
We have had no in-person customers today but on the days I was sick, we had several each day. I know because the doorbell would go off in the house every time someone walked up the store stairs.
I have been pulling and closing orders for most of the day. Our helper did not work today. She normally works half the day, three days a week.
Friday, October 17, 2025
Good morning. This week flew by. I think we will be going to get our new glasses that have come in sometime today.
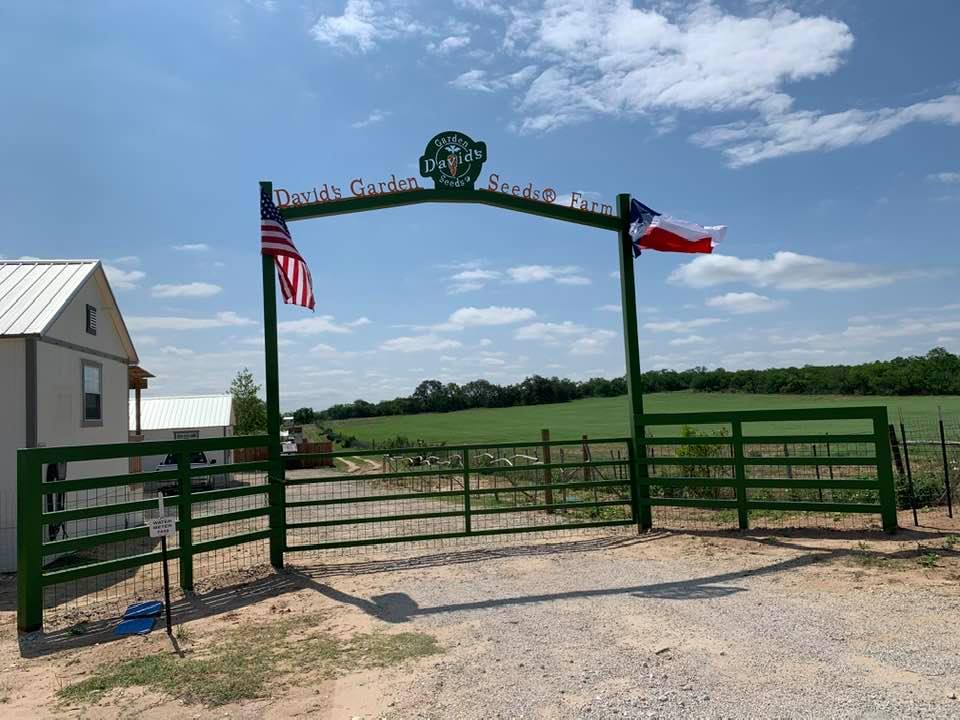
The man who bought the three remaining buildings months ago said he will be removing all three this weekend. I sure hope so but I have my doubts. He was supposed to remove two of them two weeks ago but did not. We will see...
 On the way home from picking up new glasses. David got a pair, too.
We got our new glasses this afternoon. I went with a larger, magenta frame. I always get some form of pink because it goes with my complexion. All of the frames are big again, like when I was young.
Saturday, October 18, 2025
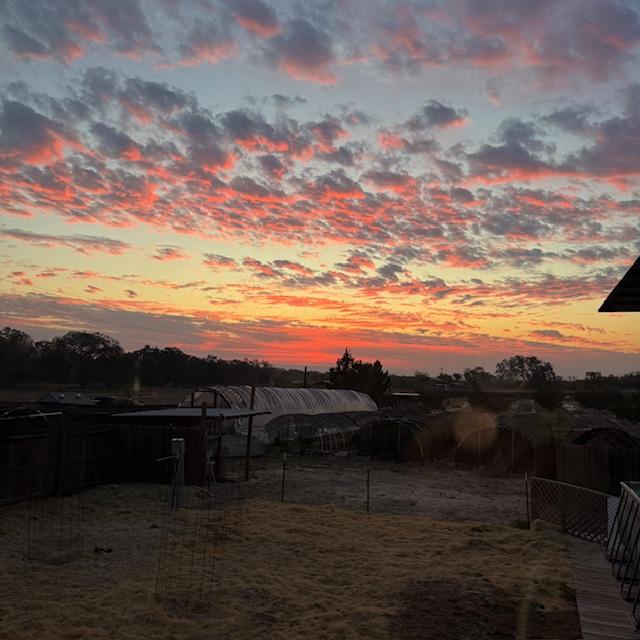
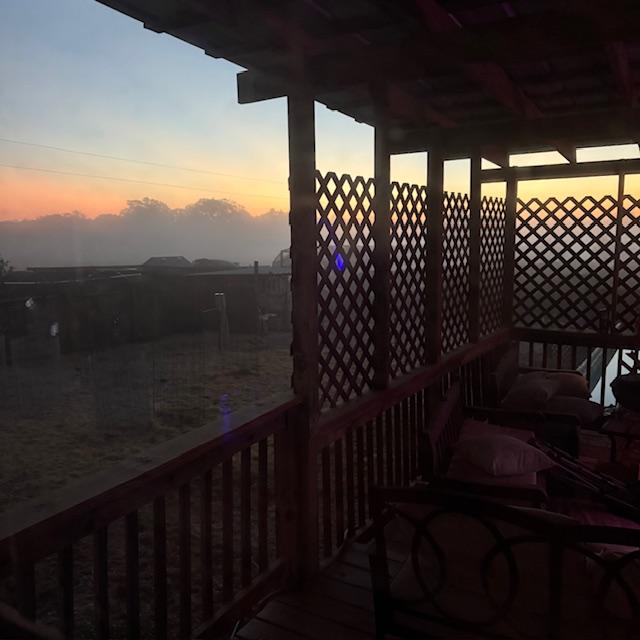 It was foggy when I got up today but the fog quickly burned off after the sun rose.
Good morning. It is foggy out. We have not heard from the man who bought the buildings so it is anybody's guess as to whether his people will come and move them.
It is now 2:30pm and our store has been closed for 30 minutes. We had zero in-person customers today which is strange considering it is time to plant fall seeds. We worked on orders and seeds the entire time.
On an interesting note, for the first time in three weeks, the mailman made it just before the gate closed.
There was nothing heard from the man who bought the three buildings today. The buildings are still here with us. I just don't get it.
David and Matt are working on several projects out front. David planted a lot of seeds and some garlic this week.
I had Matt picked up some Subway sandwiches. There was barely any meat in any of them. From now on, when we want Subway, we will just go to the store and get all of the ingredients to make sub sandwiches as it would have been cheaper and better. It cost us $22 for three 6 inch subs that were mostly bread. That is all we got and you could barely taste the meat.
This evening, we watched a 1983 John Candy movie we had not seen before since we've seen the Frankenstein movies that Svengoolie was playing.
Sunday, October 19, 2025
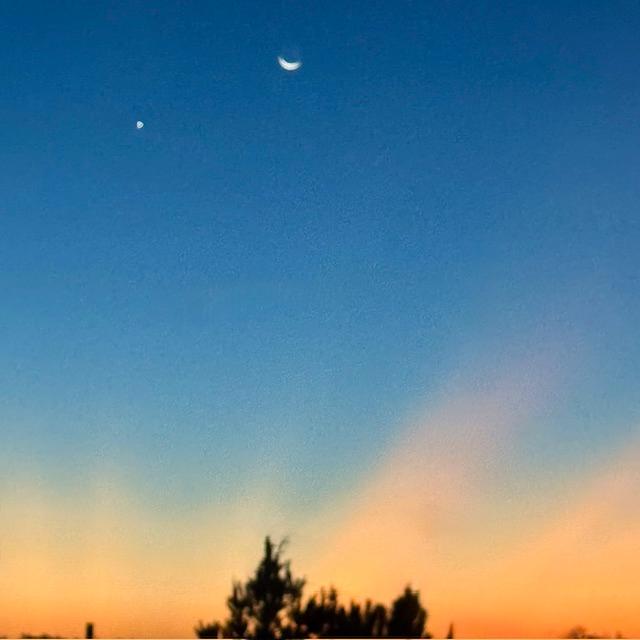 The sun is coming up as Venus, to the left of the moon, says goodbye.
Good morning. It is still slightly dark. Venus is looking pretty big next to the moon this morning.
I need to go out and feed everyone and then get ready for church.
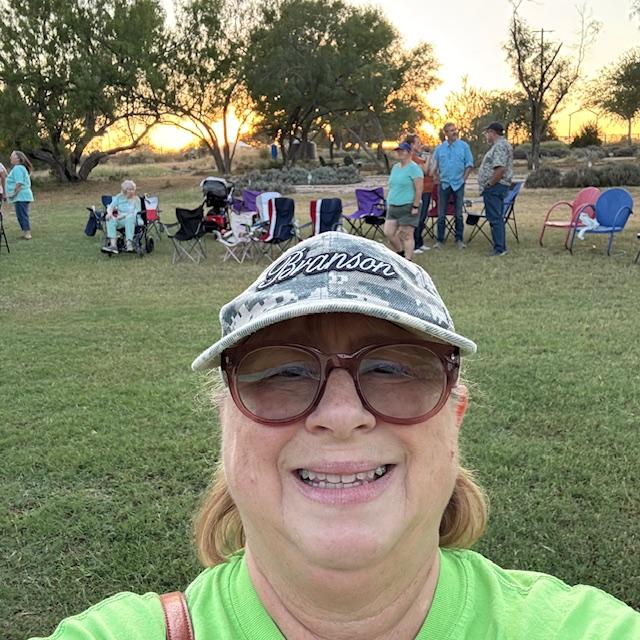 Some of the people at the lavender farm. 35 of us belted out hymns or played instruments.
This evening, Doe Re Mi Lavender Farm hosted a hymn sing. We went. About 35 people showed up along with a cello, a clarinet, an electric ukulele, a guitar, and one of those box drums you can sit on and play. We sang 12 fun hymns with a bit of a back story on every one of them. It was a lot of fun. There was a pretty sunset and then we left after doing a bit of visiting. Amazingly, there was a cool breeze the entire time so we were very comfortable.
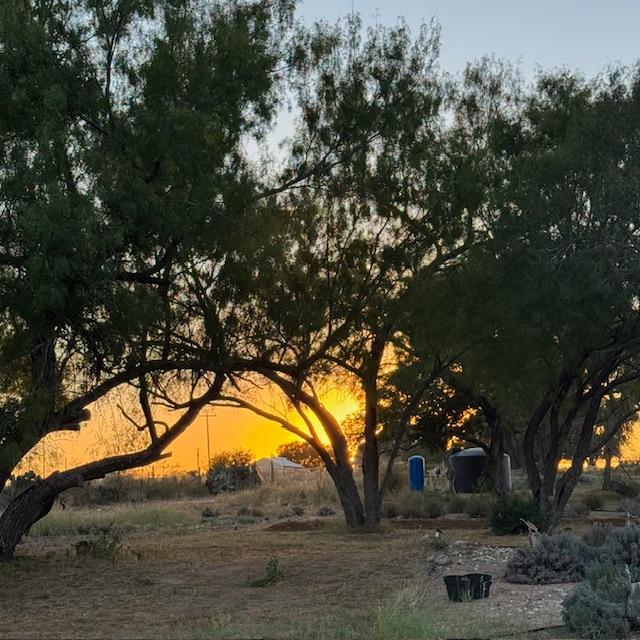 Sunset over the lavender farm.
Return from Grow Carrots to Year Seven Of Farm Life
Anything To Share On This Topic?
Would you like to share additional information about this topic with all of us?
Since 2009, over 2,000,000 home gardeners, all across the USA, have relied on David's Garden Seeds® to grow beautiful, productive gardens. Trust is at the heart of it. Our customers know David's Garden Seeds® stocks only the highest quality seeds available. Our mission is to become your lifetime supplier of quality seeds. It isn't just to serve you once; we want to earn your trust as the primary supplier of all of your garden seeds.
Watch Our 2022 TV Commercial!
Sing Along To Our Jingle
♪♫♪♪ ♫ ♪ ♫♪♫♫
♪♫♪♪♫♫
Peppers and peas
And lots of yummy greens
You can't go wrong
With Squash This Long
At David's Garden Seeds
♪ ♫ ♪ ♫
Our New 2024 TV Ad
Please like and subscribe on YouTube and come visit us at our Farm Store! The music on our TV ad was written, played, and sung by our son, Matthew Schulze. You can meet him when you come to the farm. He just might give you a tour. Ask him to grab a guitar and sing our jingle that he wrote.

We are David's Garden Seeds®. If you need great seeds, we've got over 1,400 varieties to choose from.
Subscribe To Mrs. David's Garden Seeds® Newsletter For FREE!
Find out what is going on down on the farm by reading our blog and by subscribing to our free newsletter for all of the information going down at David's Garden Seeds® and on the farm. I love to share helpful information with you. Please let your friends know and y'all come on down for a visit when you get the chance. We would love to meet you!
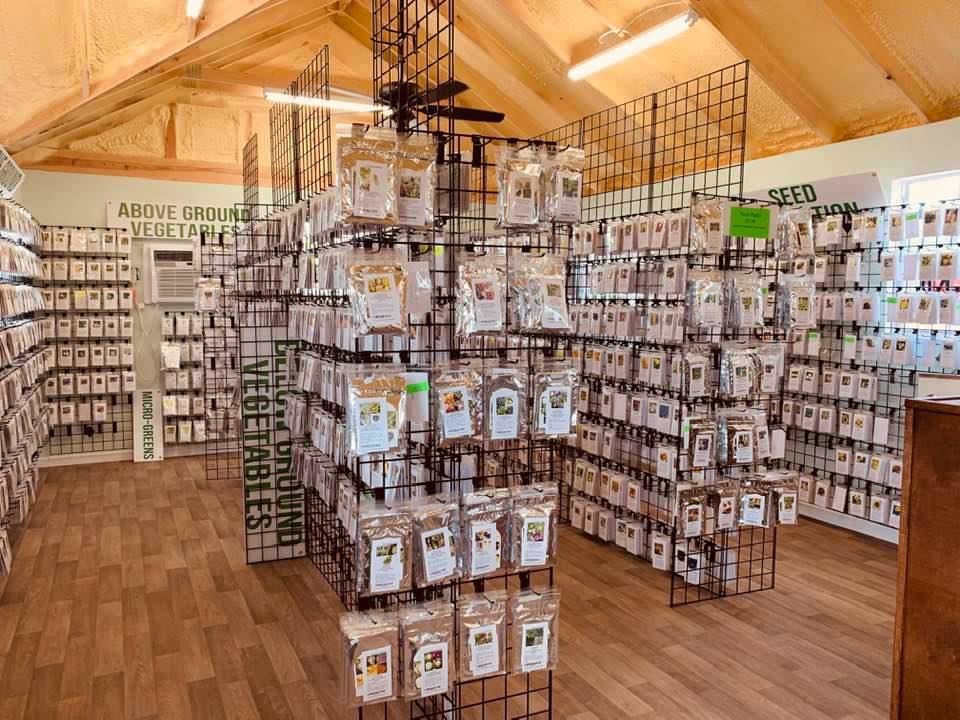
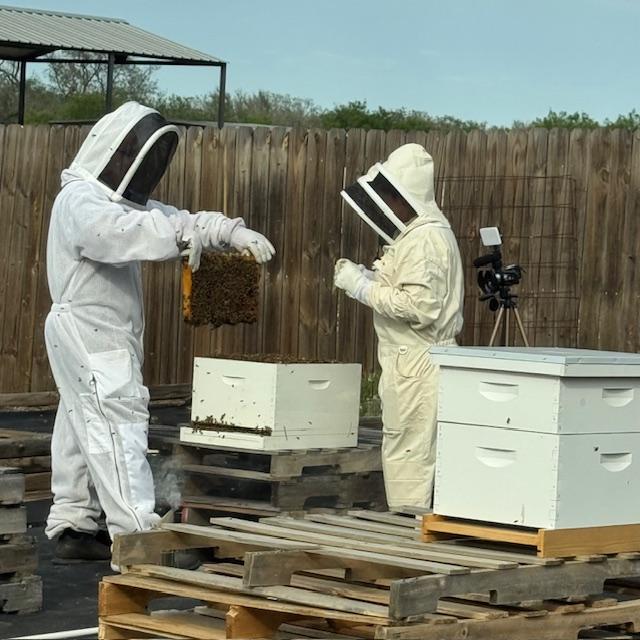 Our bee hives
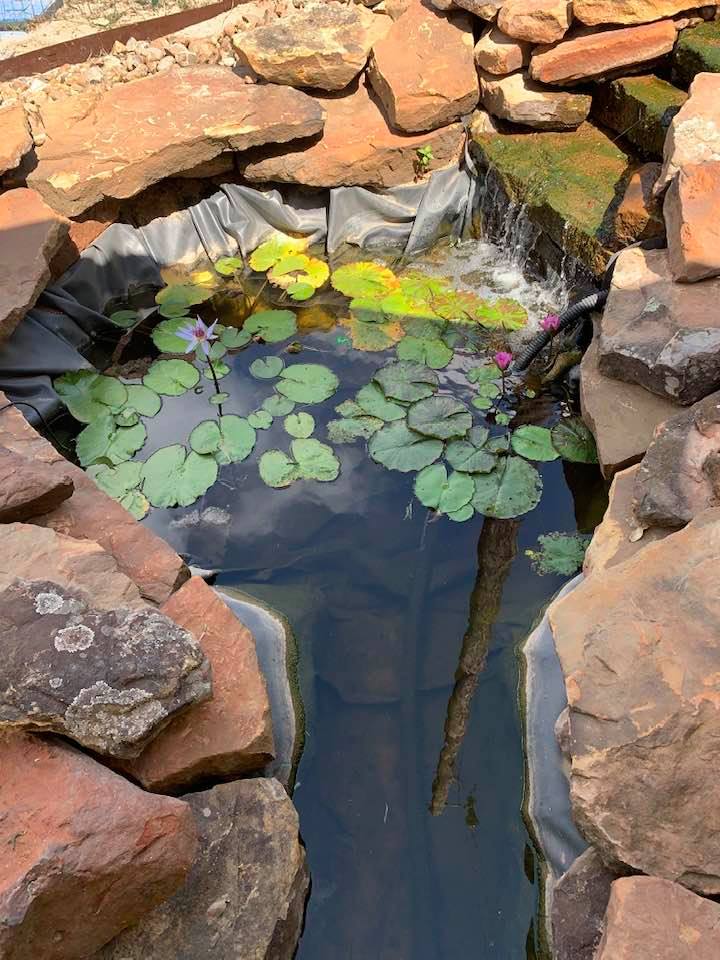
 Our fish pond
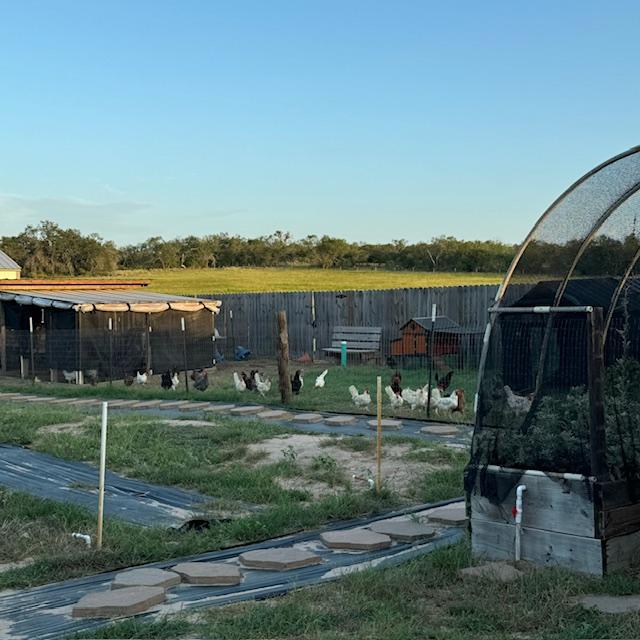 Our chickens
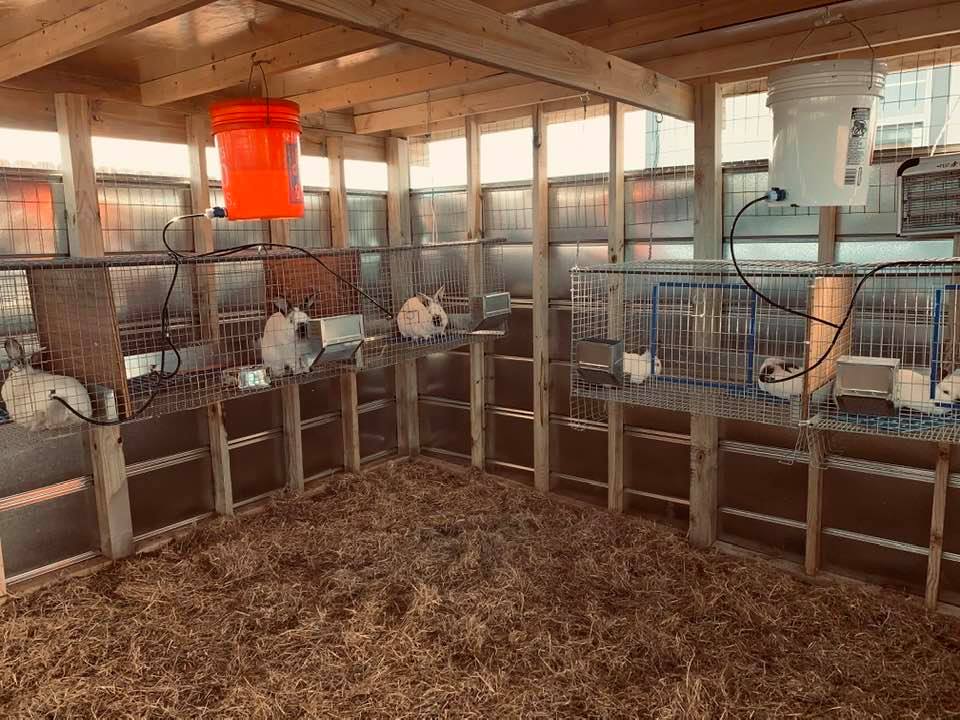 Our bunny rabbits
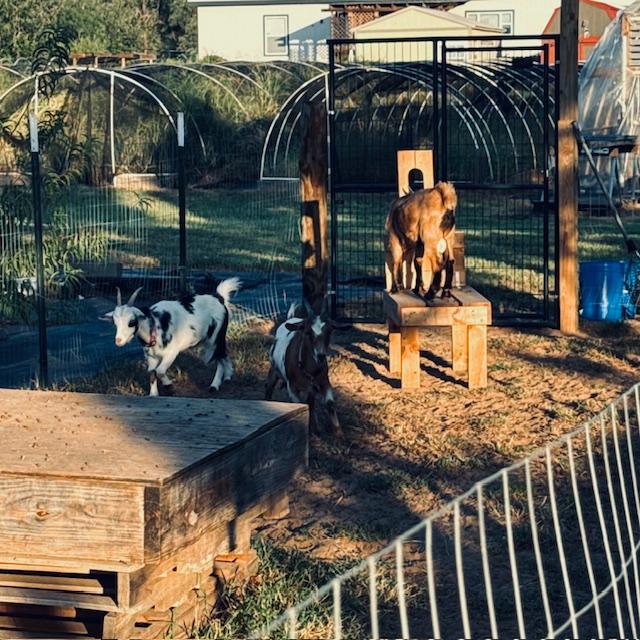 Our Nigerian Dwarf goats
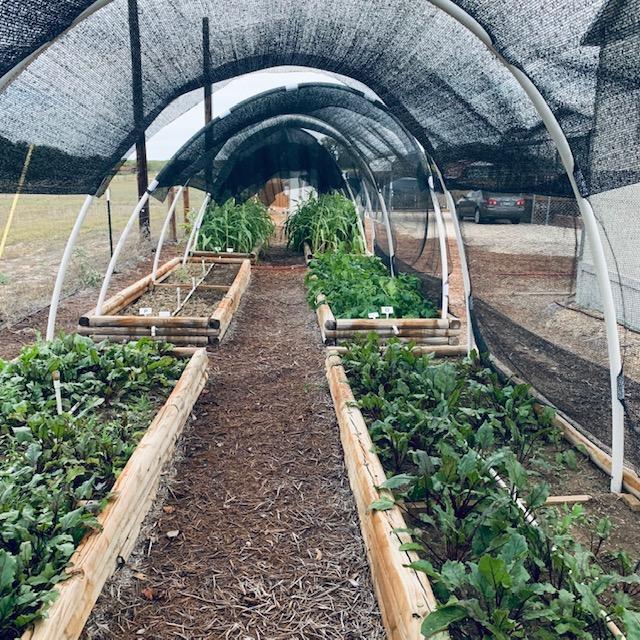
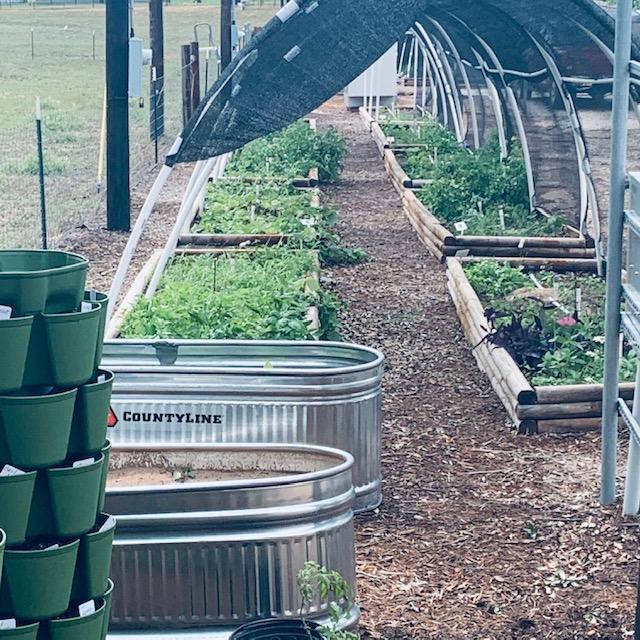 A few of our raised garden beds
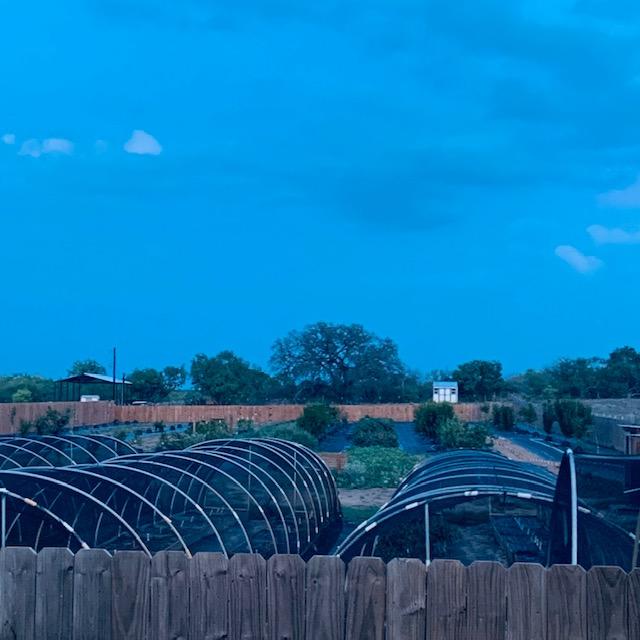 Our orchard and hoop houses
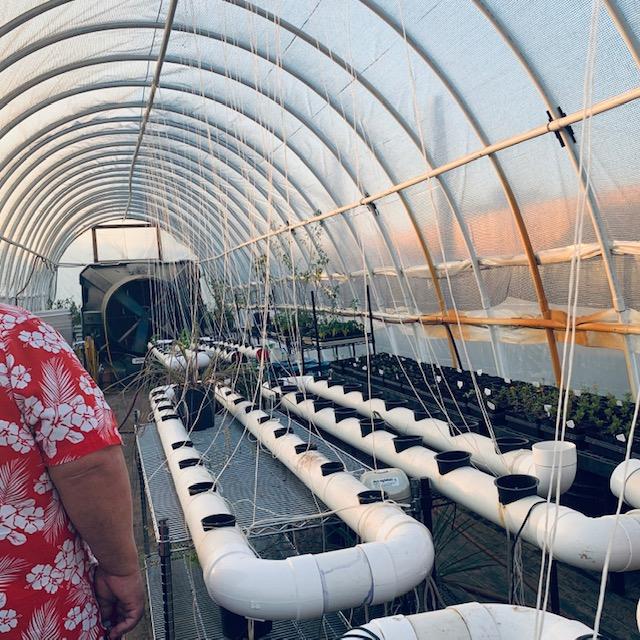 Inside our high tunnel
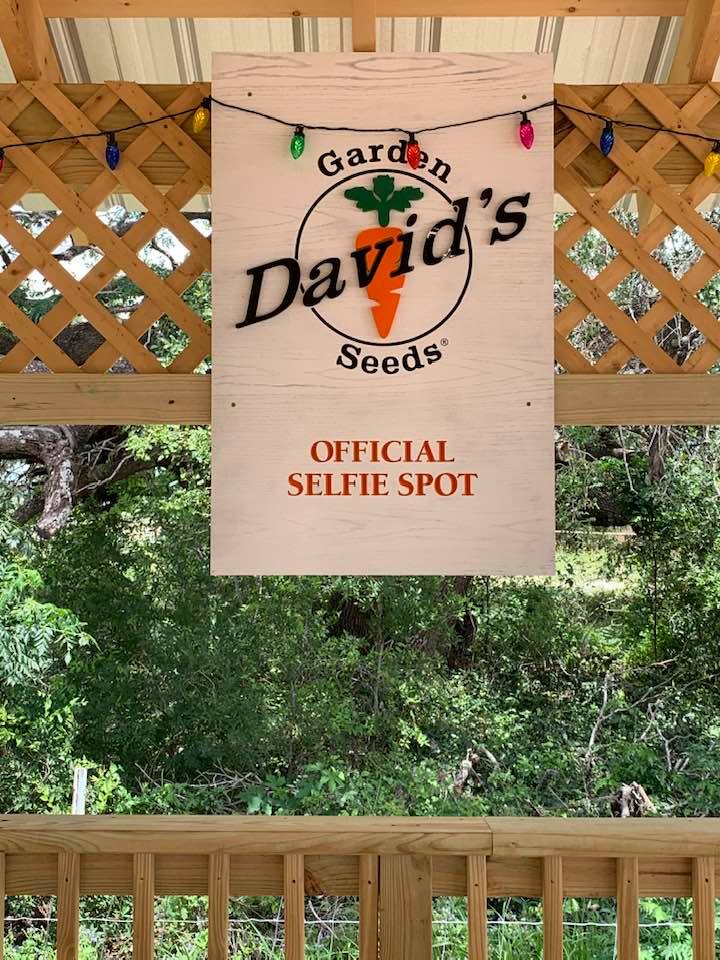 Take a selfie at our official selfie spot!
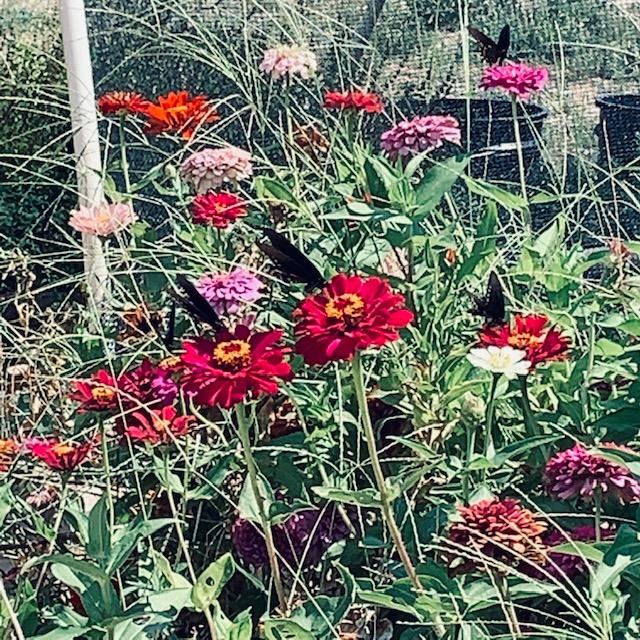 Flowers, bees, and butterflies are everywhere!