Grow Bush Beans
Fall is a wonderful time of year to grow bush beans in the garden. They will be sweet and delicious when you pick them off of the plant.
Grow Bush Beans - 10/6-10/12/2025
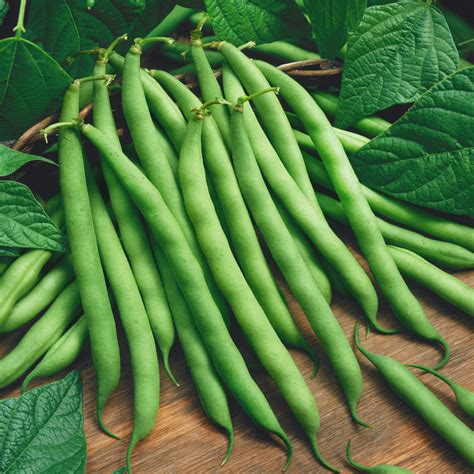 Grow bush beans like Blue Lake 274.
How to Grow Bush Beans in the Fall Garden
There's something magical about walking into your garden and picking fresh green beans for dinner. If you've never experienced this simple pleasure, you're in for a real treat. Growing bush beans in your fall garden is one of the easiest and most rewarding things you can do as a gardener.
You might think that fall is only for harvesting, but it's actually a perfect time to plant bush beans. The cooler temperatures mean fewer pests, and beans absolutely love the mild weather that fall brings. Plus, you'll have fresh vegetables when many other gardeners have already packed it in for the season.
I remember my first fall bean harvest. I had planted them almost as an afterthought in late summer, and by October, I was picking handfuls of crisp, tender beans every other day. My family couldn't believe how sweet and delicious they were compared to store-bought beans.
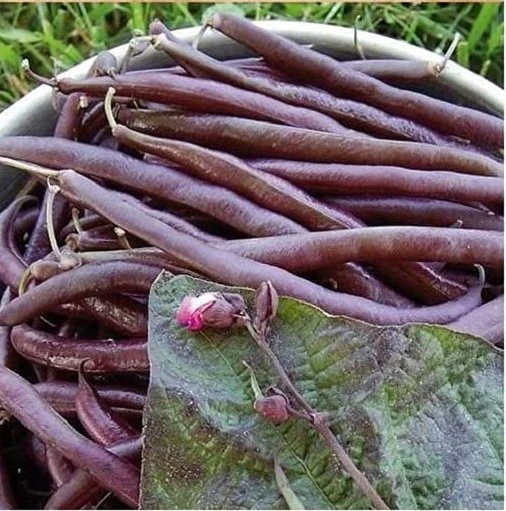 Grow bush beans like the purple Royalty.
Bush beans are different from pole beans because they don't need any support structures. They grow as compact, bushy plants that typically reach about two feet tall. This makes them perfect for small gardens, containers, or anywhere you have a sunny spot.
The beauty of bush beans is that they're incredibly prolific. From just a small planting, you can harvest hundreds of beans to feed your family throughout the fall. They keep producing for several weeks, giving you multiple harvests from a single planting.
Before we dive into the details, let me tell you that if you can plant a seed and water it, you can grow bush beans. They're forgiving, fast-growing, and don't require any special skills or equipment. Even if you're a complete beginner, you'll succeed with bush beans.
This guide will walk you through everything you need to know, from planting those first seeds to enjoying your harvest. We'll cover seven essential parts: choosing and planting seeds, watering, fertilizing, general care, pest management, harvesting, and what to do with your beans once you've picked them.
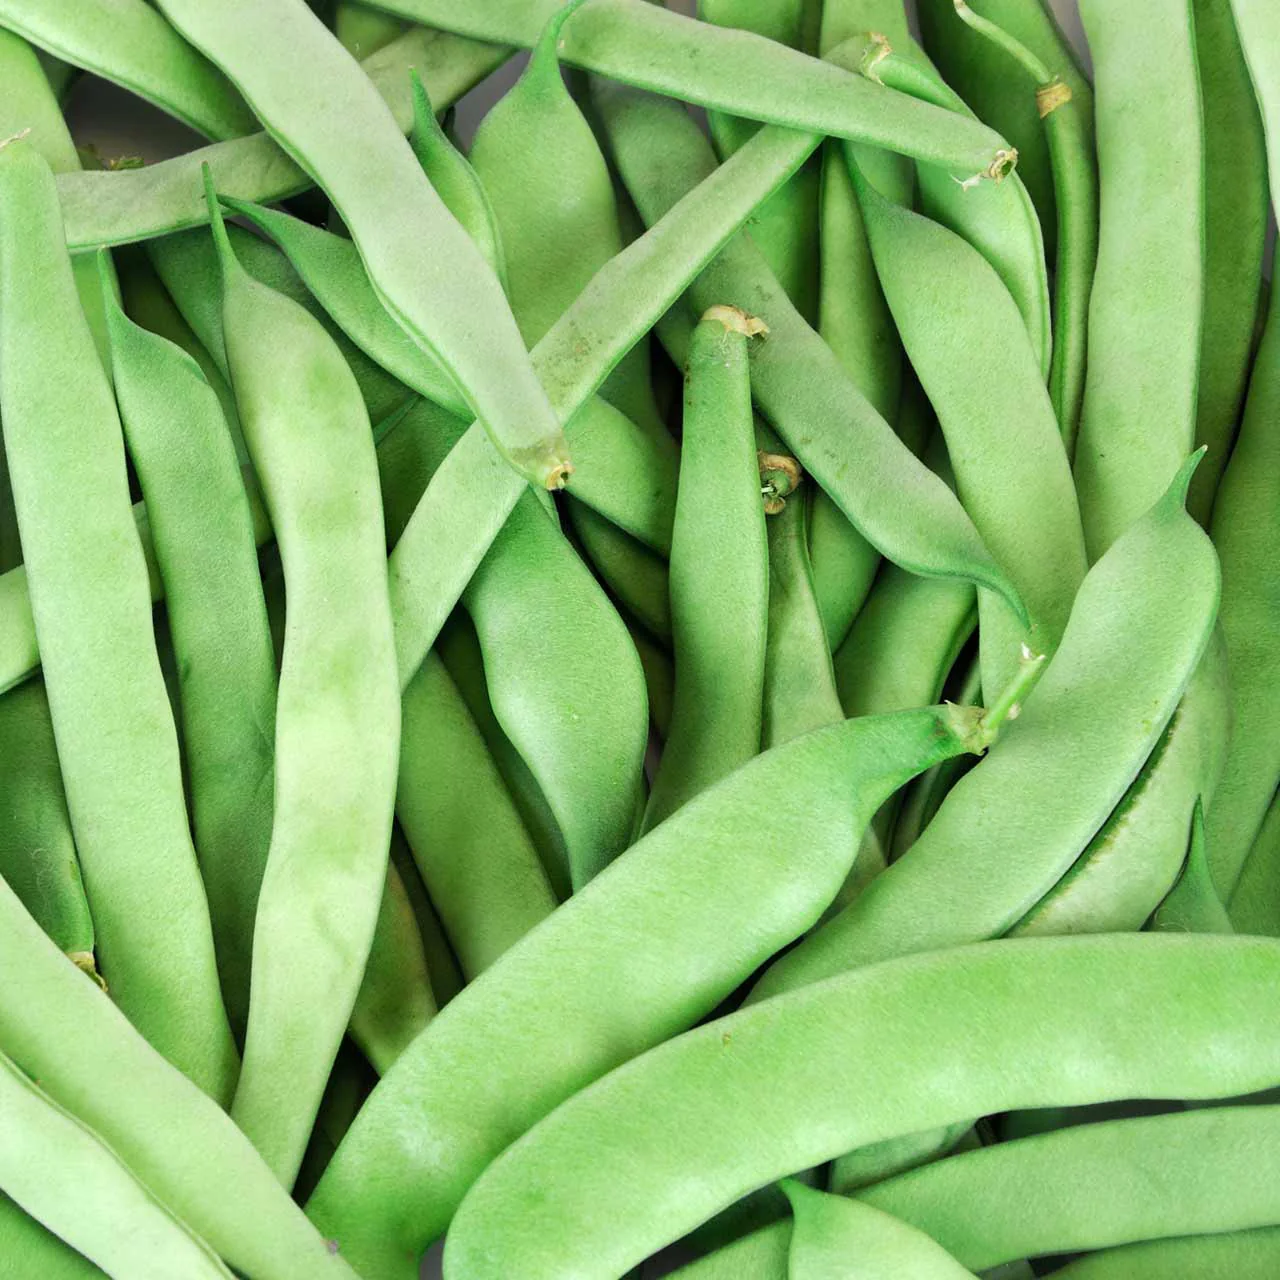 Grow bush beans like the Italian flat Roma bean.
Planting Bush Bean Seeds from David's Garden Seed®
Let's start at the beginning with selecting and planting your seeds. David's Garden Seeds® offers excellent quality bean seeds that are perfect for fall planting. When you're choosing varieties, look for ones that mature quickly, typically in 50-60 days.
Timing is everything when you grow bush beans in the fall garden. You need to count backward from your first expected frost date. If your first frost typically arrives in mid-November, you'll want to plant your beans by late August or early September at the latest.
Check your seed packet for the "days to maturity" information. Add about 10-14 days to that number for fall planting, since cooler temperatures slow growth slightly. This gives you your planting deadline.
Bush beans need warm soil to germinate properly. The soil temperature should be at least 60 degrees Fahrenheit, though they prefer 70 to 80 degrees. You can check this with an inexpensive soil thermometer from any garden center.
Choose a spot in your garden that gets full sun, meaning at least six to eight hours of direct sunlight daily. Beans are sun-lovers, and they'll produce much better in a bright location. I learned this the hard way when I tried planting them in partial shade and got half the harvest.
Your soil should drain well because beans don't like wet feet. If you have heavy clay soil, consider adding some compost to improve drainage. The good news is that beans aren't picky about soil fertility since they actually add nitrogen to the soil as they grow.
Before planting, prepare your garden bed by removing any weeds and loosening the soil to a depth of about six inches. You don't need to dig deeply because bean roots are relatively shallow.
 Grow bush beans like the incredible Contender. It's one of our favorites.
Now here's a tip that many gardeners don't know: avoid working with your bean seeds when the plants or soil are wet. Beans are susceptible to bacterial diseases that spread easily in wet conditions.
When you're ready to plant, create rows or furrows no more than one half inch deep. If you're planting multiple rows, space them about 18-24 inches apart. This gives you room to walk between rows for watering and harvesting.
Take your bean seeds and plant them about 2 to 3 inches apart in the row. Yes, this seems close, but you can always thin them later if needed. I like to plant them a bit thick because not every seed will germinate, especially in fall when conditions aren't perfect.
Cover the seeds with soil and gently firm it down with your hand. You want good seed-to-soil contact for the best germination. Don't pack it down too hard, though, or the seedlings will struggle to push through.
Water the row gently but thoroughly right after planting. The soil should be moist but not waterlogged. Think of it like a wrung-out sponge – damp throughout but not dripping.
Here's something I always do: mark your rows with labels or stakes. It's easy to forget what you planted where, and you don't want to accidentally disturb the area before the seeds sprout.
Bean seeds typically germinate in 7 to 14 days, depending on soil temperature. In fall, when the soil is still warm from summer, you might see sprouts in as little as five days. Be patient and keep the soil moist during this period.
Once your seedlings emerge and develop their first true leaves (not the seed leaves, but the next set), you can thin them if they're too crowded. Space them to about 4 to 6 inches apart for optimal growth.
Grow Bush Beans - Watering Your Bush Beans
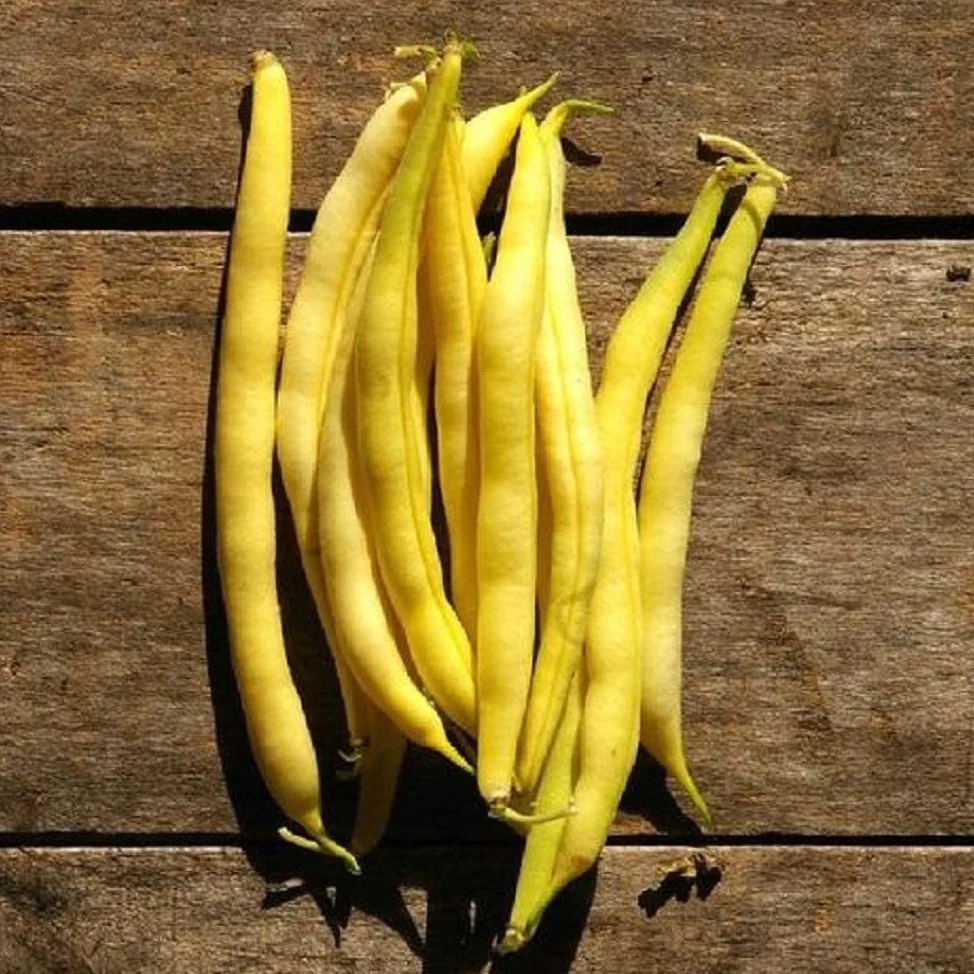 Grow bush beans like the yellow Cherokee Wax.
Watering is crucial when you grow green beans, but it's also where many gardeners make mistakes. The key is consistency. Beans like even moisture throughout their growing season, not feast or famine.
During the germination period, keep the soil consistently moist. Check it daily and water lightly if the top inch feels dry. Once those seeds start to sprout, they need moisture to continue growing.
After your beans are established and growing well, they need about one inch of water per week. This includes rainfall, so if Mother Nature provides, you can skip the hose.
The best time to water is in the morning. This allows the foliage to dry during the day, which helps prevent fungal diseases. I try to water before 10 a.m. whenever possible.
Water at the base of the plants rather than overhead. Wet leaves are an invitation for disease problems. Use a soaker hose or drip irrigation if you have it, or just aim your hose or watering can at the soil.
Deep watering is better than frequent shallow watering. When you water, make sure the moisture penetrates at least six inches into the soil. This encourages deeper root growth and creates stronger, more drought-resistant plants.
You can check soil moisture by sticking your finger into the soil near your plants. If it's dry past the first inch or two, it's time to water. If it's still moist, wait another day.
Pay special attention to watering when your beans are flowering and setting pods. This is their most critical time for moisture. Stress during this period can cause flowers to drop or pods to develop poorly.
In fall, you might find that you need to water less frequently than in summer because cooler temperatures mean less evaporation. Don't water on autopilot – always check the soil first.
Mulching around your bean plants helps retain soil moisture and reduces how often you need to water. A two-inch layer of straw, shredded leaves, or grass clippings works wonderfully.
Grow Bush Beans - Fertilizing Bush Beans
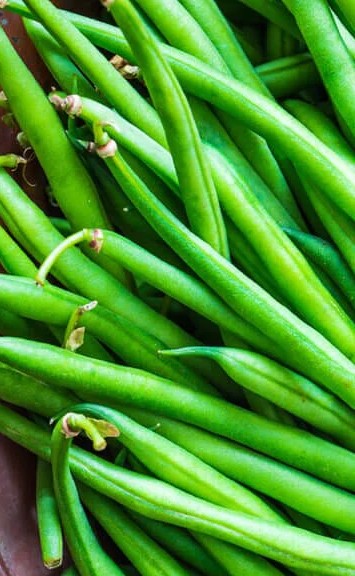 Grow bush beans like the Provider. Look at how green they are!
Here's some good news: beans are light feeders compared to many garden vegetables. In fact, they're nitrogen-fixing plants, which means they actually improve your soil by adding nitrogen as they grow.
If you've prepared your soil with compost before planting, your beans probably won't need any additional fertilizer at all. Beans grow beautifully in average soil without extra feeding.
Too much nitrogen fertilizer actually causes problems with beans. It makes them produce lots of leafy growth at the expense of pods. You'll have big, beautiful plants with very few beans to harvest.
If your soil is poor or you didn't add compost before planting, you can give your beans a light feeding when they start flowering. Use a balanced fertilizer like 10-10-10, but apply it at half the recommended rate.
I prefer using organic fertilizers for my beans. A side dressing of compost or well-rotted manure works wonderfully. Just sprinkle it around the base of the plants and water it in.
Another option is to use a liquid fertilizer diluted to half strength. Apply it every two to three weeks if your plants look pale or aren't growing vigorously.
Watch your plants for signs of nutrient deficiency. Yellowing leaves might indicate a need for nitrogen, though remember that lower leaves naturally yellow and drop as the plant matures.
Phosphorus helps with root development and flower production. If your beans are slow to flower, a fertilizer with a higher middle number (like 5-10-5) can help, but again, use it sparingly.
Grow Bush Beans - General Care for Bush Beans
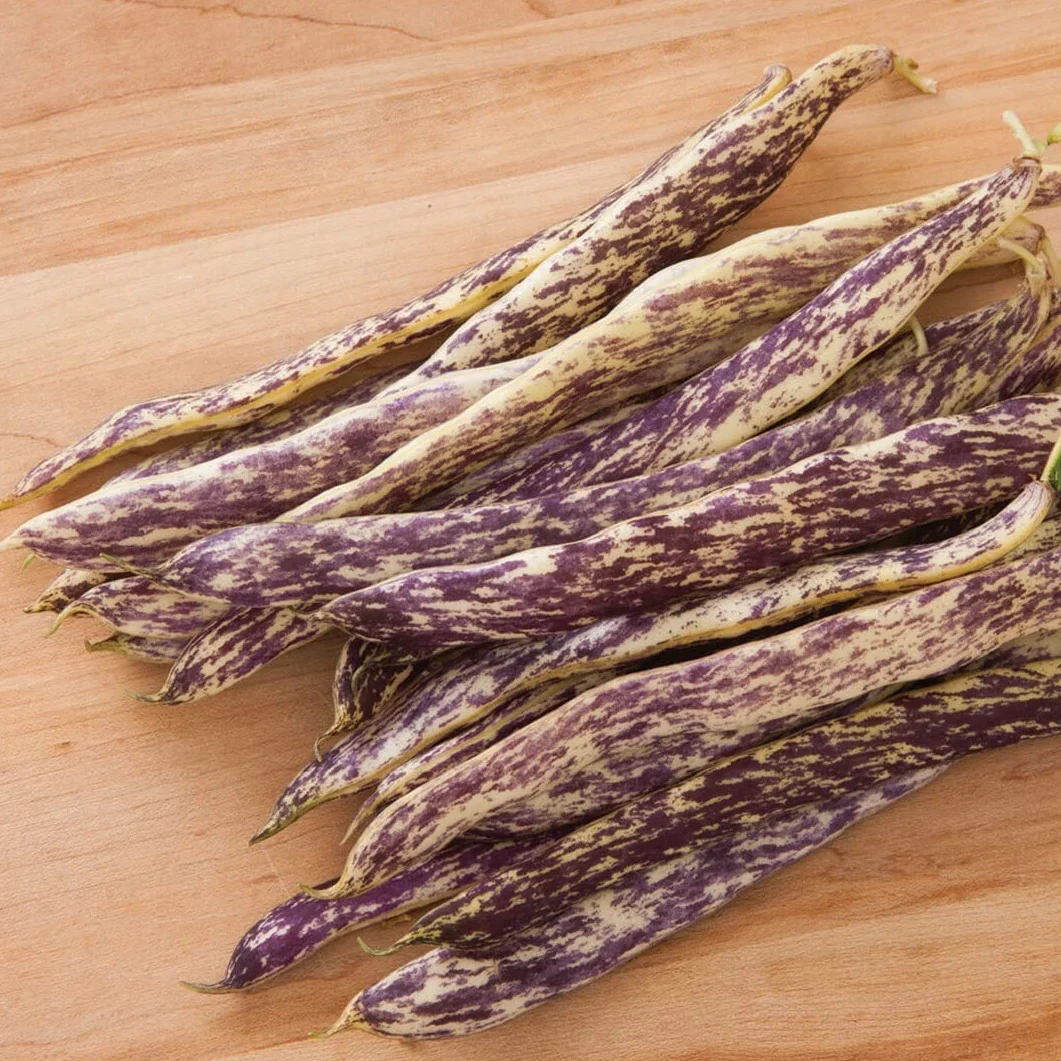 Grow bush beans like the pretty Dragon's Tongue.
Taking care of bush beans is refreshingly simple. Once they're established, they pretty much take care of themselves. Your main jobs are keeping weeds under control and watching for any problems.
Weeding is important, especially when plants are young. Weeds compete for water and nutrients, and they can harbor pests. Pull weeds by hand or use a hoe, but be careful not to disturb the shallow bean roots.
That mulch I mentioned earlier does double duty by suppressing weeds. Once your bean plants are about six inches tall, add a layer of mulch around them. This is one of the best things you can do for your fall bean crop.
Bush beans don't need staking or support, which is one reason they're so easy to grow bush beans compared to pole varieties. They stand up on their own and form neat, compact bushes.
Avoid working around your bean plants when they're wet from dew or rain. This is when diseases spread most easily. Wait until the foliage is completely dry before you walk through the bean patch.
Fall weather can be unpredictable. If an early cold snap threatens, be ready to cover your plants with row covers or old sheets. Beans are sensitive to frost and will die if temperatures drop below 32 degrees Fahrenheit.
Keep an eye out for pests, though fall plantings typically have fewer pest problems than spring plantings. The main culprits are Mexican bean beetles, aphids, and sometimes Japanese beetles if they're still active.
If you spot pests, hand-picking works well for larger insects like beetles. For aphids, a strong spray of water often dislodges them. Organic insecticidal soap is effective if you need something stronger.
Grow Bush Beans - Harvesting Your Bush Beans
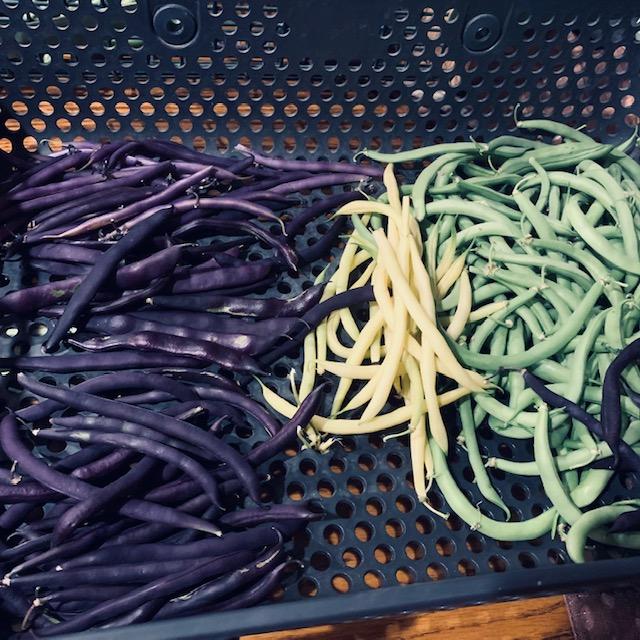 We like to grow bush beans in the fall and we always get an amazing harvest. We enjoy planting and growing purple, yellow, and green beans.
This is the fun part – harvesting your beans! Bush beans are typically ready to pick about 50-60 days after planting, depending on the variety. You'll know they're ready when the pods are firm, crisp, and about as thick as a pencil.
The best time to harvest is in the morning after the dew has dried but before the heat of the day. The beans are crisper and more flavorful at this time. I grab my basket and head out right after breakfast.
To pick beans, hold the stem with one hand and gently pull the pod with the other. If you just yank on the pod, you might damage the plant or pull it up by the roots.
Harvest regularly – every two to three days during peak production. The more you pick, the more the plant produces. If you let pods mature fully on the plant, it signals the plant to stop producing new flowers and pods.
Look for pods that are smooth and haven't developed large bumps where the seeds are forming. Once you can see the bean seeds bulging through the pod, they're past their prime for fresh eating, though they're still fine for cooking.
A single bush bean plant can produce a handful of pods at each harvest. When you grow bush beans in the fall garden with multiple plants, you'll quickly have more than enough for fresh eating, with plenty left over for preserving.
Grow Bush Beans - Cooking and Preserving Your Harvest
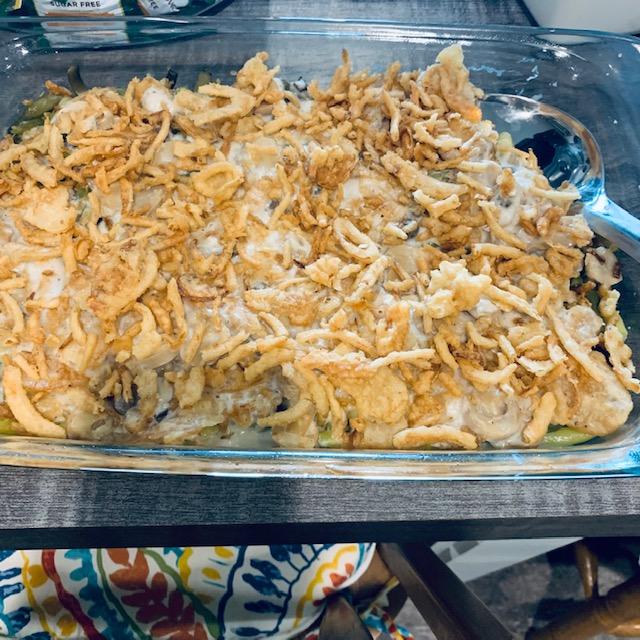 Grow bush beans and make some delicious bean dishes such as green bean casserole.
Fresh garden beans are delicious simply steamed or boiled until tender-crisp, then tossed with butter and salt. There's no comparison to store-bought beans. The flavor is sweeter, the texture is better, and you'll wonder why you ever bought beans from the grocery store.
If you have more beans than you can eat fresh, don't worry – they preserve beautifully. You can freeze them by blanching for three minutes in boiling water, plunging them into ice water, draining, and packing into freezer bags. They'll keep for up to a year in the freezer. Canning is another option if you have a pressure canner, and pickled beans are another option. You can also share your abundance with neighbors and friends, which is one of the joys of gardening and a great way to spread the love of homegrown vegetables.
Monday, October 6, 2025
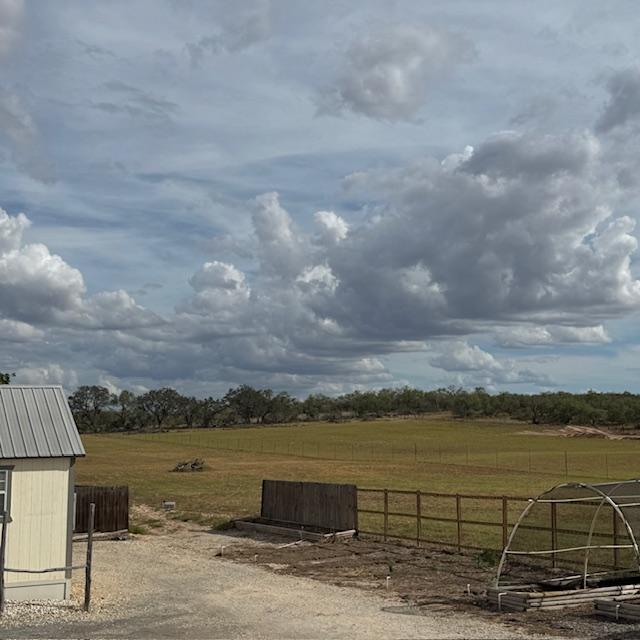 It was cloudy all day long.
Good morning. I woke up late because I had another sort of rough night. For the first time in eight days, I had a neuropathy episode in my left foot. It lasted for about 30 minutes, even after putting on that Mama Bear Oasis cream with magnesium. As I have mentioned before, I started using that Epsom salt lotion and it kept all neuropathy at bay until last night.
I made bacon and eggs with sourdough toast for breakfast. I need to finish getting ready and get over to work to start on orders. I hope you enjoy this week's article on how to grow bush beans in the fall. This is the one crop we grow every fall and love picking and eating.
Today, we had just one set of customers in the store. We counted and packed a lot of seeds. I got most of the orders out and received several bills in the mail. That's always fun, right? Ha!
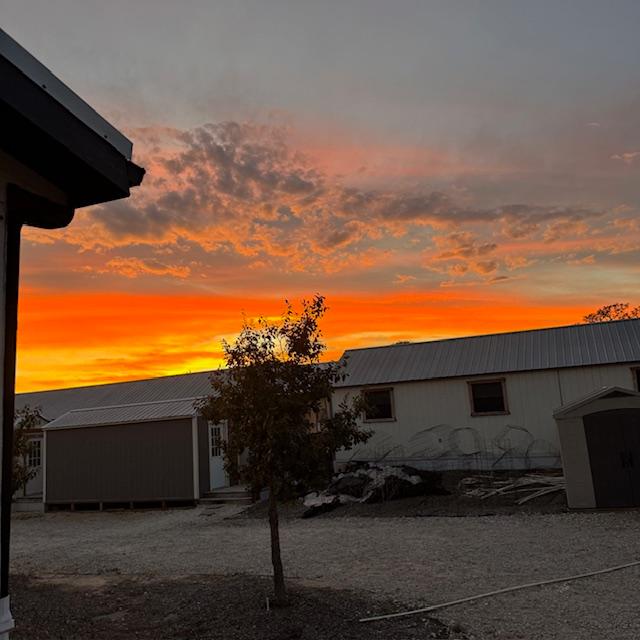 Sunset from the side porch with a lot of junk from taking apart sheds in front...
Tuesday, October 7, 2025
 My deconstructed omelet. I have learned so much by watching Chef Gordon Ramsay's shows.
Good morning. I have been tidying up as David has some new maid service coming this morning. I finally made a delicious breakfast--a deconstructed omelet with ham, mushrooms, spinach, and cheddar cheese.
We have outdoor workers cleaning up the back and our seed helper is here. I need to get out and start working.
The joke is on me because the maid service was supposed to get here at 10am but it is now 10:32am and they never showed. Ha ha. If I knew who it was supposed to be, I would call but I have no information...
It is very humid this morning. The air has been getting warmer and it is cooling to the 70s instead of the 60s again.
The time is 11:15am and still no maids. David has been calling and texting and not getting any response. This service is supposed to be out of Big Foot. Other services we've made appointments with have ghosted us as well. I have no idea why. We pay and we tip so what on earth is going on?
Also, David has been trying for three days to make an appointment to see the podiatrist but they never answer. He leaves messages but they never call back. He just left a message saying he never gets a call back so he will now look for a new podiatrist. It is ridiculous.
I went through this same crap several weeks ago when trying to make three appointments with our eye doctor that we have used now for six years. All I got on Friday, Saturday, and Monday was an answering machine that said they were out to lunch no matter what time of day I called. I finally called again late that Monday and the doctor himself answered and scheduled our appointments. I think we will go elsewhere next year. It really isn't worth all of the hassle.
We left the farm shortly after 2pm to order glasses. It was a fairly easy, painless process this time. The frames are all big now like they were when I was young. It was pretty easy to pick some. I only tried on four pairs, all various shades of pink since that goes so well with my complexion.
Then we picked up a few groceries. Now we are back. It is 4:30pm and still no sign of the maids. David has called, texted, and messaged on Facebook all throughout the day and has gotten zero responses. He booked this cleaning last Thursday on the phone. I heard the call because he had his phone on speaker. The name of the service, I finally found out is Espinoza's Cleaned It. Well, they didn't clean it or even tell us why they wouldn't clean it after they agreed to last week. I am so disappointed.
Now, you might think I am lazy. However, I have never had to work 6 to 7 days a week, 10 to 12 hours a day before. I just don't have the time to keep up with everything. I keep up with dishes, meals, and laundry with little time for much else. Isn't that why people work as cleaners? Yet they don't bother to come here...The least they could do is shoot a text saying they don't want to come or they are having some sort of emergency, right? Oh well.
There are dark clouds above now but no chance of rain. I wish it would pour.
Almost time to close up shop and then I need to start cleaning the house a bit since we can't seem to pay anyone to do it. Hamburger is for dinner. Yuck. That is so depressing. David loves it. I will eat it if I have to but it is nothing that I enjoy.
We just had a gust of wind that made something crash on the porch outside of my work office. Nothing broke.
It's now after 5pm. Time to go in.
Well, the cleaning folks never called. Instead, they blocked David on Facebook because he wanted to know why they didn't show up. It doesn't make sense. Instead of calling and apologizing for not showing up, they ghosted us and blocked David. What kind of business does that? It really bothers me. I hate being ignored and treated badly, especially when we've never even met these people.
I started cleaning last night because obviously no one else is going to do it. I started in the master bathroom. Then I folded several loads of laundry until my feet were killing me. After that, I planted myself on the couch in the den with my feet up. We have been watching Land Man, a new TV show about the oil business in Texas. It is so good. We are now on the last episode of the first season. The second season comes out on November 14. David got tired of Ironside so we took a break from it.
Wednesday, October 8, 2025
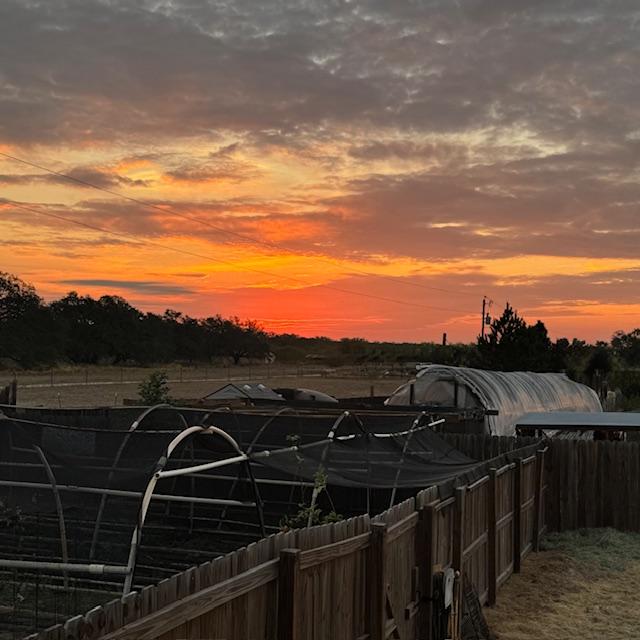 Sunrise was beautiful this morning.
Good morning. I woke up early this morning with neuropathy in my right foot but it was fairly mild and just on a small place on the foot. I will keep up with the Epsom Salt lotion.
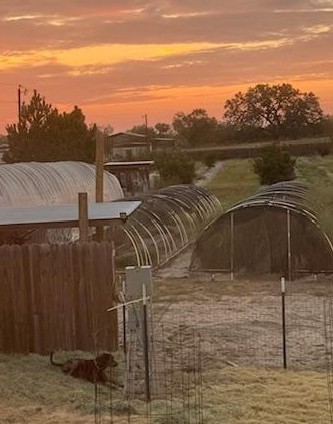 I found Trump enjoying the early morning as the sun came up in the backyard. Isn't he so cute? The cages are where our new fruit trees will soon be planted.
We had a few customers today but it was a fairly slow day. Late this afternoon, we had a very brief rainstorm which was enough to get everything wet but did not move the rain gauge.
I went on Facebook this afternoon and found the cleaning company, Espinoza's Cleaned-It, that did not come to our house yesterday even though they booked an appointment with us to do so.
Today, they were asking for business so I commented on their request for business asking why they did not show up for the booked cleaning and why they never returned our calls. They took my comment down. No answer, no apology, nothing.
This is definitely how not to do business--very unprofessional. I wonder why they just refused and didn't even let us know why. They are not even worth anymore of my time. I blocked the two owners and the business page on Facebook. It's definitely not the first time we have been treated badly by others that we don't even know and it certainly won't be the last.
I have lots of laundry to fold and lots of dusting and vacuuming to do.
The problem is that my hands cramp up after just a few minutes of pushing the vacuum which is why I no longer vacuum like I used to. That is one of the reasons I am so upset about not having the house cleaned. I used to keep a spotless house and I worked full time. I did not have constant pain back then in my hands and feet like I do now.
Well, the rain is all over and has moved on. It is the first rain we have had in about two months.
Matt went to town this afternoon to get animal feed and hay. He also picked up some prescriptions and some Church's chicken. Then he left as he has dinner plans.
David wanted me to make him some sugar-free oatmeal cookies. They just came out of the oven.
Thursday, October 9, 2025
Good morning. It is already Thursday! How? I just finished paying a bunch of doctor bills and other bills and the most fun of all, balancing the checkbook. I just love to do math early in the morning...
Why is it that doctor offices don't have the brains to take a copay when we visit? I always insist on paying my copay when I go but some of David's doctors don't or won't, even if I insist. They say oh we don't think there is a copay. Duh. Of course there is a copay.
I need to think of something to make for breakfast after all of this excitement.
Apparently, there was a 2.0 earthquake this morning near Jourdanton and we have had seven earthquakes near us in the past 24 hours. I saw that someone in Poteet was mentioning this. I had no idea. That is terrifying. Here is the link to see them all.
It was a busy day of mostly counting seeds and getting orders out. We had one customer who bought four dozen eggs.
Hell's Kitchen was fabulous tonight. Gordon threw both teams out of the kitchen during dinner service. Three chefs went home. The first one walked into Gordon's office after his team won the competition and a fabulous reward. Instead of going on the reward trip, he told Gordon he couldn't handle it because two years ago, he got divorced. What? I definitely would have gone on the fabulous reward first. Two years ago? Why on earth did he even sign up for Hell's Kitchen then?
Friday, October 10, 2025
 This morning's egg casserole is one of the best I have ever made.
Good morning. I have been awake since 4:56am. I tried to get back to sleep but could not so I got up and made a fabulous egg casserole which is now baking. I am so hungry. I loaded it up with ham, cheese, mushrooms, and salsa!
I just pulled the casserole out of the oven and started cutting it. Then I remembered to take a photo for all of you. It smells amazing in here. It tastes even better. Best of all, it is still dark!
I went out to work early and pulled orders. Then I mailed them all. At 10am, I went back in the house and changed clothes and got some makeup on. We left at 11am to meet our pastor and his wife, along with one other couple for lunch at Triple C. Why? Because October is Pastor Appreciation Month and we wanted to be sure and let the pastor and his wife know that we appreciate all that they do at church.
Why the other couple? Because they are a lot of fun and we happen to love them. We had such a good time.
Back when David was a pastor, no one ever took the time to bless us during the month of October with a lunch, a cake, a card, nothing...
Actually, our congregations gave us a lot of grief all year long so we decided to make sure our pastors are taken care of now that we can afford to do so.
Be sure that you do something special for your pastor this month. Don't let the month end without doing something. Cash is always nice because most pastors don't make enough. When we were in ministry back in the 1990s, we got the kingly sum of $125 a week. We didn't even have enough to buy groceries for our family so we had to go on food stamps eventually.
One time, in Marquette, MI, during our first pastorate at the Church of the Nazarene, the cupboard was bare. We'd only been there not even two months. We tried to get jobs but the military base there had just closed and all of the available jobs were grabbed up. We couldn't find anything.
Our kids were seven, four, and three. We had a jar of peanut butter and some dry beans. That was it. No food, no laundry detergent, nothing. I kept asking David what we were going to do. He just said that God would take care of us, but I never dreamed how that would actually happen.
That Sunday morning, we had some visitors from lower Michigan in the church service. They stayed after church was over and wanted a tour of the church building and grounds. While we were showing them around, the lady got our oldest son to take her into the kitchen without us knowing. He was seven at the time. (The reason we know this is that he later told us more than a week after it happened.) She asked him lots of questions and he readily provided answers. He was not happy about not having anything good to eat and told her everything.
This lady opened the refrigerator and the cupboards and saw how little we had. Of course, we had no idea and our son never mentioned it to us all during the week. They took us out to lunch that afternoon. Someone else sent us a small amount of cash in the mail so we got a few things to get us through the next week.
The following Saturday morning, a large pickup pulled up. This same couple from the Sunday before got out and they began unloading the truck with all kinds of groceries and household supplies and carried bags and boxes into the kitchen. All kinds of foods that small children would love, laundry supplies, cleaning supplies, toilet paper, even chewable vitamins for the kids, juice, milk, eggs, bread, everything we needed except for meat. We were so grateful.
Then the man went back out and pulled in a huge cooler filled with freshly butchered cuts of beef. He casually mentioned that he owned a cattle ranch in lower Michigan. We filled the freezer with fresh meat, totally shocked, surprised, and again, so grateful for everything.
Before they left, they also gave David several hundred dollars in case we needed anything else. The people in our congregation knew they weren't paying us enough but they did not bring us one thing. These people were Nazarenes in lower Michigan who were on vacation the previous week and chose our church to attend. God took care of us through them for sure.
Again, make sure your pastor knows you appreciate him. Pastoring is the hardest job. Even if it looks like everything is going okay for him, he needs encouragement. It is a lonely job.
It's time to go in and get some dinner cooking.
Saturday, October 11, 2025
Good morning. Have you been bombarded by mushroom coffee ads? I have. Supposedly, they are good for you in various ways. So I went on Amazon and order three different brands to see how I like them and see if they "change my life for the better".
Two of them came in yesterday and the other is supposed to come today. This morning, we tried the Doze brand. It tastes just like coffee but is supposed to support better sleep and more. The problem is they are expensive. You get enough for 30 cups and it costs about $49. These things had better be good.
David did not know that I had ordered it yesterday morning when he told me not to make a pot of coffee anymore because now it upsets his stomach. I told him about the mushroom coffee. He has not said anything about it yet but mine went down smooth.
It is now 8:10am and I need to go out and feed all of my critters. I know it must be hot out there already.
All of our broccoli, cauliflower, cabbage, and kohlrabi seeds are on sale for 25% off right now. Our farm store is open from 10am until 2pm today so come on by. Or order online here.
 Sweet little George with his twin, Gracie, looking on...
Well, I am heartbroken. I went out to take care of the chickens and some of the goats were loudly crying. I looked over and something was not moving. I walked over and found poor little George, slumped and twisted, all dead. So sad.
I called David crying and told him. He said "well, I have to go and hung up." Then I called Matthew who said he was on his way over. He got here and took care of everything while I stood there crying...
Then I got in and fed and watered the rest of them. Alice and Trixie were fighting with each other. I believe I will have to separate them because Alice is quite territorial now and won't allow Trixie to eat until she is finished. We will start setting up Norton's old yard for Alice and her two girls.
After all of that fun was complete, Matt picked persimmons and pomegranates.
I have two loaves of sourdough rising. I need to get my happy self over to work.
I filled orders until about 1pm with no in-person customers and then got some lunch for David and me. I brought it back over to work to eat. As soon as I sat down to eat mine, a vehicle pulled in. I thought it was the mailman. It wasn't.
It was an SUV with four ladies-a mother and three adult daughters. They bought a lot and we are grateful. They left the store at 2pm and that is when the gate closes.
The mailman did not make it. Last Saturday when he got here, he called David so David took him the mail. Maybe he will call again.
The mailman did not call. He dropped our mail off in the box but did not pick your orders up. This afternoon I got very sick to my stomach. I got really sick around 10pm and continued being sick all night long.
Sunday, October 12, 2025
I had a very miserable night with little sleep and stayed sick all day long. I thought I might die. I hate being sick.
Return from Grow Bush Beans to Year Seven Of Farm Life
Anything To Share On This Topic?
Would you like to share additional information about this topic with all of us?
Since 2009, over 2,000,000 home gardeners, all across the USA, have relied on David's Garden Seeds® to grow beautiful, productive gardens. Trust is at the heart of it. Our customers know David's Garden Seeds® stocks only the highest quality seeds available. Our mission is to become your lifetime supplier of quality seeds. It isn't just to serve you once; we want to earn your trust as the primary supplier of all of your garden seeds.
Watch Our 2022 TV Commercial!
Sing Along To Our Jingle
♪♫♪♪ ♫ ♪ ♫♪♫♫
♪♫♪♪♫♫
Peppers and peas
And lots of yummy greens
You can't go wrong
With Squash This Long
At David's Garden Seeds
♪ ♫ ♪ ♫
Our New 2024 TV Ad
Please like and subscribe on YouTube and come visit us at our Farm Store! The music on our TV ad was written, played, and sung by our son, Matthew Schulze. You can meet him when you come to the farm. He just might give you a tour. Ask him to grab a guitar and sing our jingle that he wrote.

We are David's Garden Seeds®. If you need great seeds, we've got over 1,400 varieties to choose from.
Subscribe To Mrs. David's Garden Seeds® Newsletter For FREE!
Find out what is going on down on the farm by reading our blog and by subscribing to our free newsletter for all of the information going down at David's Garden Seeds® and on the farm. I love to share helpful information with you. Please let your friends know and y'all come on down for a visit when you get the chance. We would love to meet you!
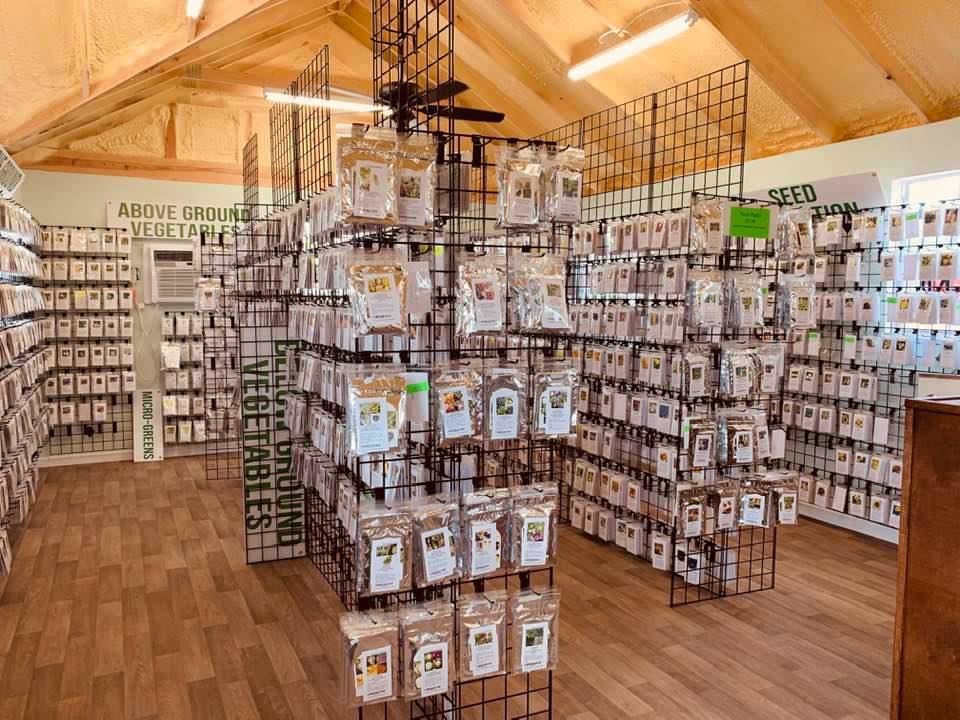
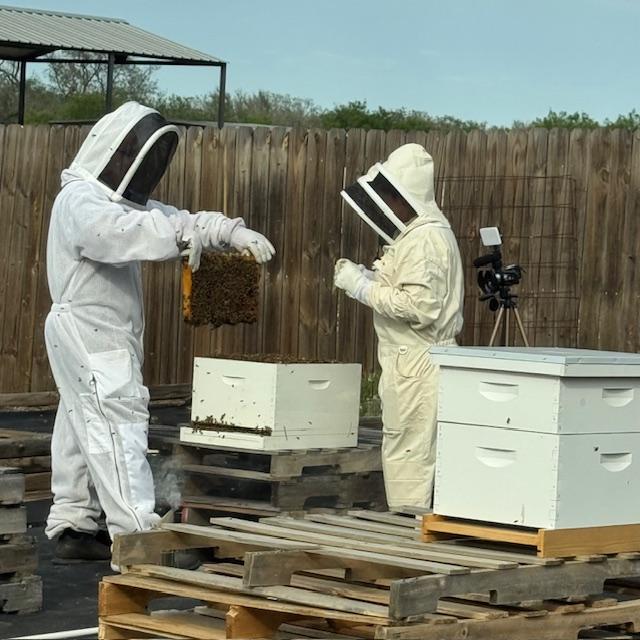 Our bee hives
 Our fish pond
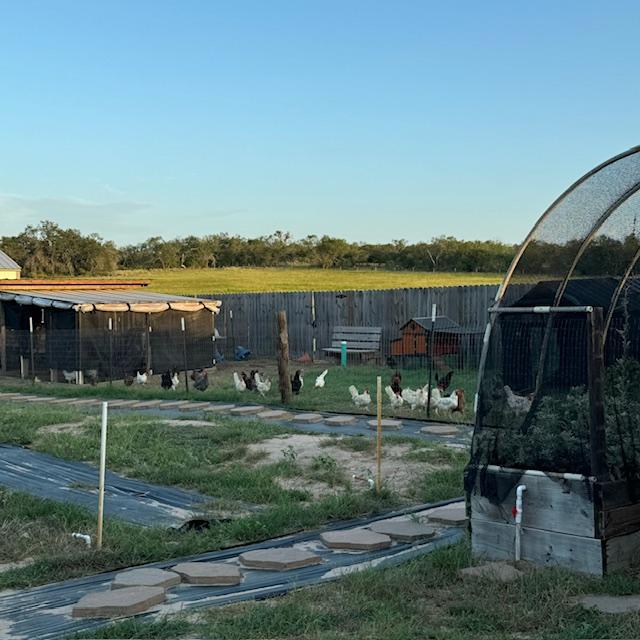 Our chickens
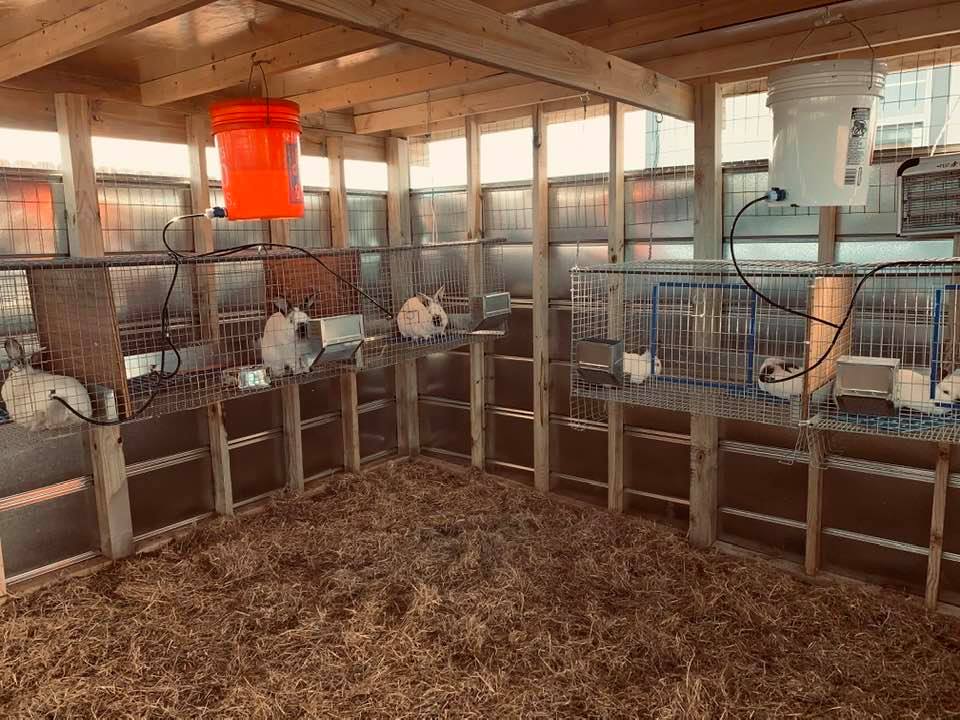 Our bunny rabbits
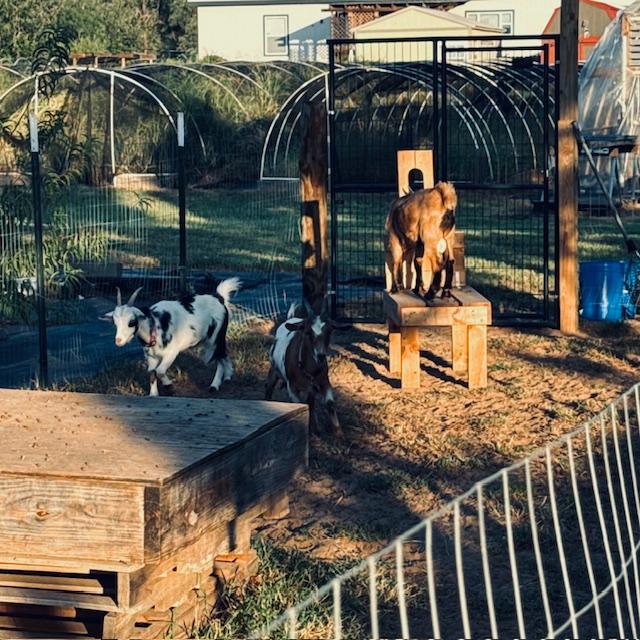 Our Nigerian Dwarf goats
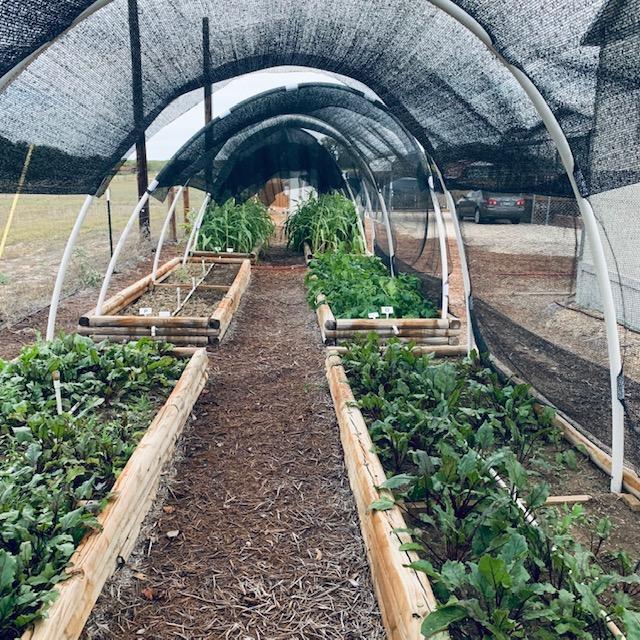
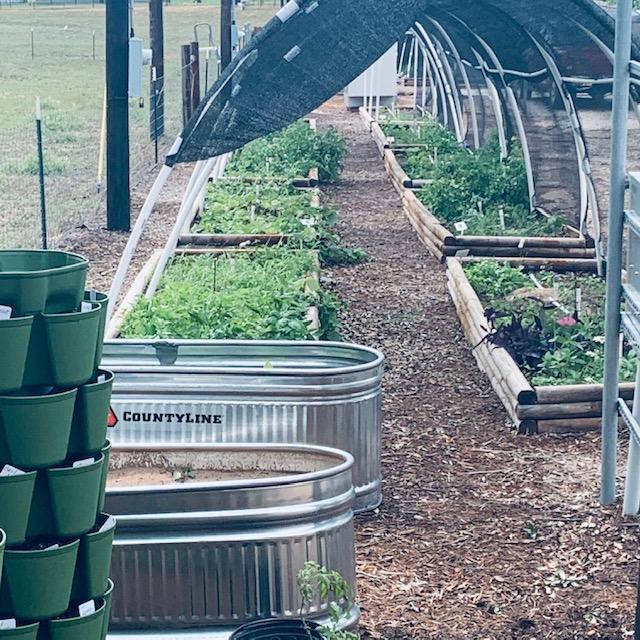 A few of our raised garden beds
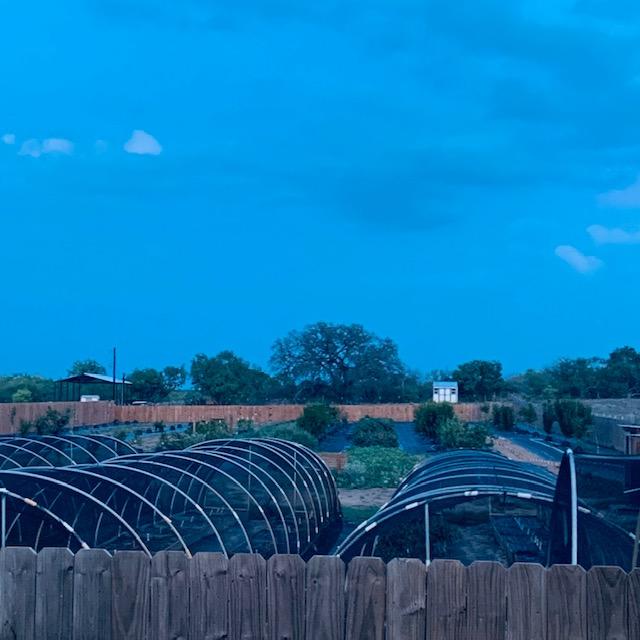 Our orchard and hoop houses
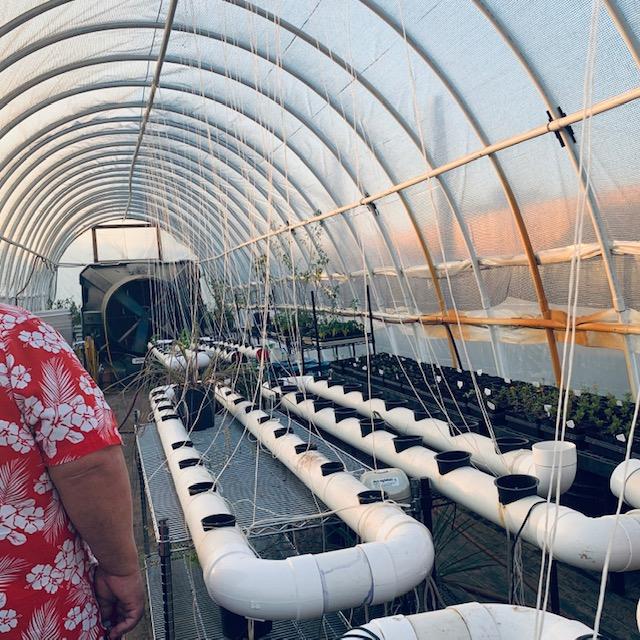 Inside our high tunnel
 Take a selfie at our official selfie spot!
 Flowers, bees, and butterflies are everywhere!