Grow Broccoli
Fall is the best time in Texas to grow broccoli. In many areas of the country, it can also be grown in the spring.
Grow Broccoli - 11/10-11/16/2025
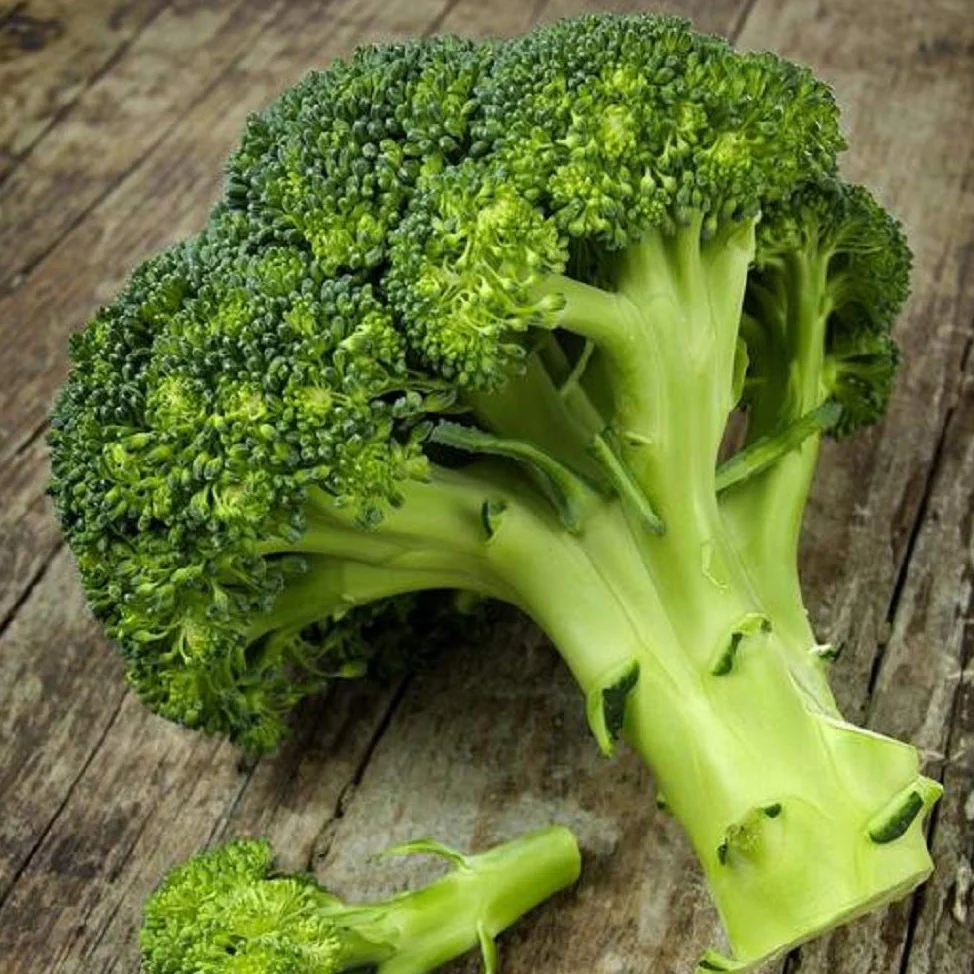 Right now, Waltham broccoli is a favorite among our seed customers.
Hey there, fellow gardener! Let me tell you something exciting—growing your own broccoli is one of the most rewarding experiences you can have in your garden. There's nothing quite like walking out to your vegetable patch and harvesting fresh, crisp broccoli heads that you grew yourself from tiny seeds. Today, I'm going to share everything you need to know about how to grow broccoli in the spring garden and grow broccoli in the fall garden with heirloom seeds from David's Garden Seeds.
I remember the first time I tried growing broccoli. I was nervous, thinking it would be too complicated. But guess what? It turned out to be much easier than I expected! Broccoli is actually a pretty forgiving vegetable once you understand its basic needs. And the best part? You get two chances every year to grow it—once in spring and once in fall.
Before we dive into the nitty-gritty details, let's talk about why broccoli is such a fantastic crop for your garden. This nutritious vegetable is packed with vitamins, minerals, and fiber. It's a superfood that tastes amazing when it's fresh from your garden. Plus, homegrown broccoli has a flavor that store-bought versions just can't match.
Here's something important you need to know right from the start: broccoli grows best in cool weather. This is why we plant it in spring and fall rather than during the hot summer months. Understanding this simple fact will help you succeed with your broccoli growing adventures.
David's Garden Seeds offers excellent broccoli seed varieties that are perfect for both spring and fall planting. These seeds are carefully selected for their quality, germination rates, and ability to produce delicious, healthy broccoli heads. When you start with good seeds, you're already halfway to success.
Grow Broccoli - Understanding Broccoli's Growing Requirements
 This is Deciccio broccoli.
Let's talk about what broccoli needs to thrive in your garden. This cool-season crop has specific requirements that, when met, will reward you with beautiful, tasty heads. Think of broccoli as a plant that likes the weather you'd enjoy wearing a light jacket in—not too hot, not too cold.
Broccoli prefers temperatures between 60 and 70 degrees Fahrenheit during the day. When temperatures climb above 80 degrees, broccoli plants can become stressed and may bolt, which means they'll flower prematurely and you won't get those nice, tight heads you're hoping for.
Your soil needs to be rich in nutrients and have good drainage. Broccoli is what we call a "heavy feeder," meaning it needs lots of nutrients to produce those big, beautiful heads. The soil pH should be between 6.0 and 7.0 for optimal growth.
Sunlight is another crucial factor. Your broccoli plants need at least 6 hours of direct sunlight each day. In spring, you can plant them in full sun, but in fall, especially in warmer climates, a little afternoon shade can actually help keep them cool and happy.
Grow Broccoli - Planning Your Spring Garden
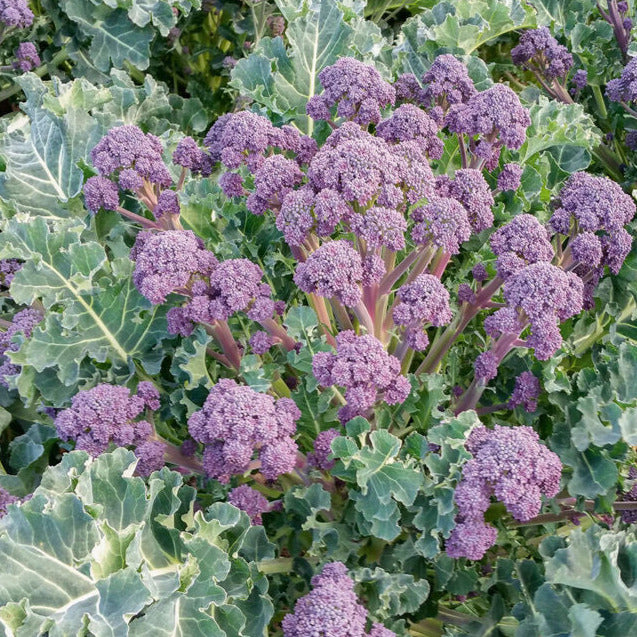 Purple Sprouting broccoli is pretty and tastes just like the green broccoli.
Spring broccoli planting requires some planning because you need to time things just right. You want your broccoli to mature before the hot summer weather arrives. This timing varies depending on where you live, but I'll give you the general guidelines that work for most areas.
In most regions, you'll want to start your broccoli seeds indoors about 6 to 8 weeks before your last expected spring frost date. If you live in zone 7 or warmer, you might even be able to direct sow seeds outdoors in early spring.
When I plan my spring broccoli garden, I always check my local frost dates first. This information is usually available from your local extension office or online. Once you know your last frost date, you can count backward to figure out when to start your seeds.
Here's a tip from my own experience: don't rush it! I once got too eager and planted my broccoli seedlings outside too early. A late frost damaged several plants, and I learned my lesson. It's better to wait a week or two longer than to risk losing your plants to cold damage.
Grow Broccoli - Starting Broccoli Seeds Indoors for Spring
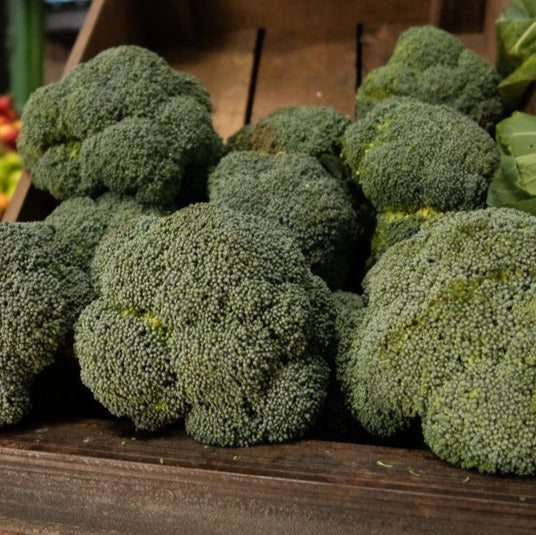 Calabrese is a tight-headed Italian variety.
Starting broccoli seeds indoors is actually pretty straightforward. You'll need seed starting trays or small pots, good quality seed starting mix, and a warm spot in your home. The seeds will germinate best at temperatures between 70 and 75 degrees Fahrenheit.
Fill your seed starting containers with moistened seed starting mix. Plant your David's Garden Seeds broccoli seeds about 1/4 to 1/2 inch deep. You can plant two seeds per cell or pot, and if both germinate, you can thin to the strongest seedling later.
Water your seeds gently after planting. I like to use a spray bottle for this because it won't disturb the seeds. Keep the soil consistently moist but not waterlogged. Think of it like a wrung-out sponge—damp but not dripping.
Your broccoli seeds should germinate within 5 to 10 days. Once they sprout, move them to a bright location. A sunny windowsill works, but a grow light is even better because it provides consistent light. Keep the lights about 2 to 3 inches above the seedlings.
As your seedlings grow, they'll develop their first true leaves. These look different from the initial seed leaves and are the first real broccoli leaves. Once your seedlings have 3 to 4 true leaves, they're getting ready for the next stage.
Grow Broccoli - Hardening Off Your Spring Seedlings
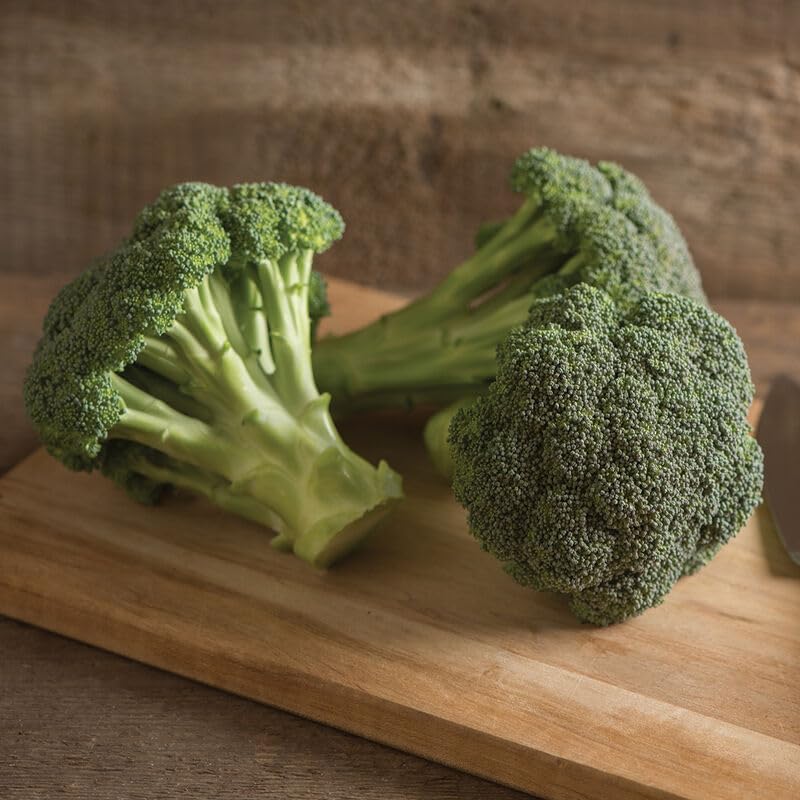 Grow broccoli like Green Magic broccoli in your garden.
Before you can transplant your indoor-grown seedlings outside, they need to go through a process called "hardening off." This is basically teaching your pampered indoor plants how to survive in the real world outside.
Start the hardening off process about a week before you plan to transplant. On the first day, place your seedlings outside in a sheltered, shady spot for just an hour or two. Bring them back inside afterward.
Each day, gradually increase the time your seedlings spend outside and slowly introduce them to more sunlight. By the end of the week, they should be able to stay outside all day and night, as long as temperatures don't drop below 40 degrees Fahrenheit.
I learned about hardening off the hard way. My first year growing broccoli, I moved my seedlings straight from indoors to the garden. They wilted dramatically and took weeks to recover. Some didn't make it at all. Don't skip this step—your plants need this transition time!
Grow Broccoli - Transplanting Spring Broccoli to the Garden
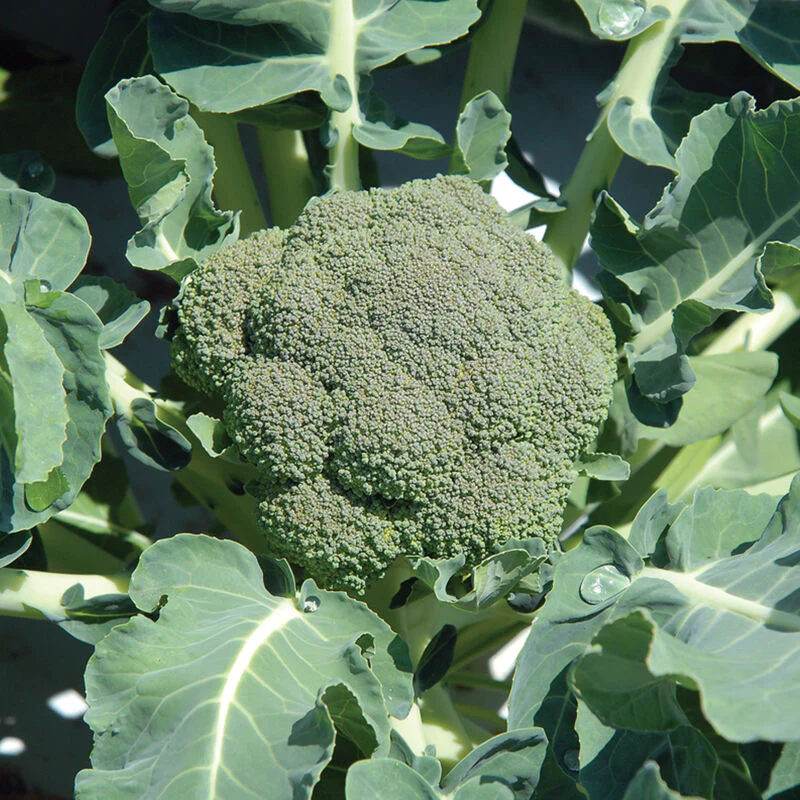 Grow broccoli such as Belstar broccoli.
When your seedlings are hardened off and your soil is workable, it's time to transplant. Choose a cloudy day or transplant in the evening to reduce transplant shock. Your seedlings should be about 4 to 6 weeks old and have several sets of true leaves.
Prepare your garden bed by working in plenty of compost or well-rotted manure. Remember, broccoli is a heavy feeder, so you want that soil rich and nutritious. I usually add about 2 to 3 inches of compost and work it into the top 6 inches of soil.
Space your broccoli plants about 18 to 24 inches apart in rows that are 24 to 36 inches apart. This might seem like a lot of space, but trust me, broccoli plants get big! They need room for their leaves to spread out and for air to circulate around them.
Dig holes that are slightly larger than your seedling root balls. Gently remove each seedling from its container, being careful not to disturb the roots too much. Place the seedling in the hole so it's at the same depth it was growing in the container, or even slightly deeper.
Fill in around the roots with soil and press firmly to eliminate air pockets. Water each plant thoroughly after transplanting. I like to give each plant about a cup of water right after planting to help settle the soil around the roots.
Grow Broccoli - Planning Your Fall Broccoli Garden
 This is Purple Magic broccoli. It grows a full head, unlike the Purple Sprouting pictured above.
Now let's talk about how to grow broccoli in the fall, which is actually my favorite time to grow this crop. Fall broccoli often tastes sweeter because the cooler temperatures bring out the best flavors. Plus, you have fewer pest problems in fall than in spring.
For fall broccoli, you need to count backward from your first expected fall frost date. Most broccoli varieties need about 70 to 100 days to mature from transplanting. Check your seed packet for the specific "days to maturity" for your variety.
In most areas, you'll start your fall broccoli seeds in mid to late summer. Yes, this means starting seeds during hot weather, but don't worry—I'll share some tricks to help with that. The key is getting those seeds started even though it's hot, so the plants will mature when the weather cools down.
When I grow broccoli in the fall, I actually find it more reliable than spring crops. There's no race against rising temperatures, and the plants just keep getting better as the weather cools. Some varieties even taste better after a light frost!
Grow Broccoli - Starting Seeds for Fall Broccoli
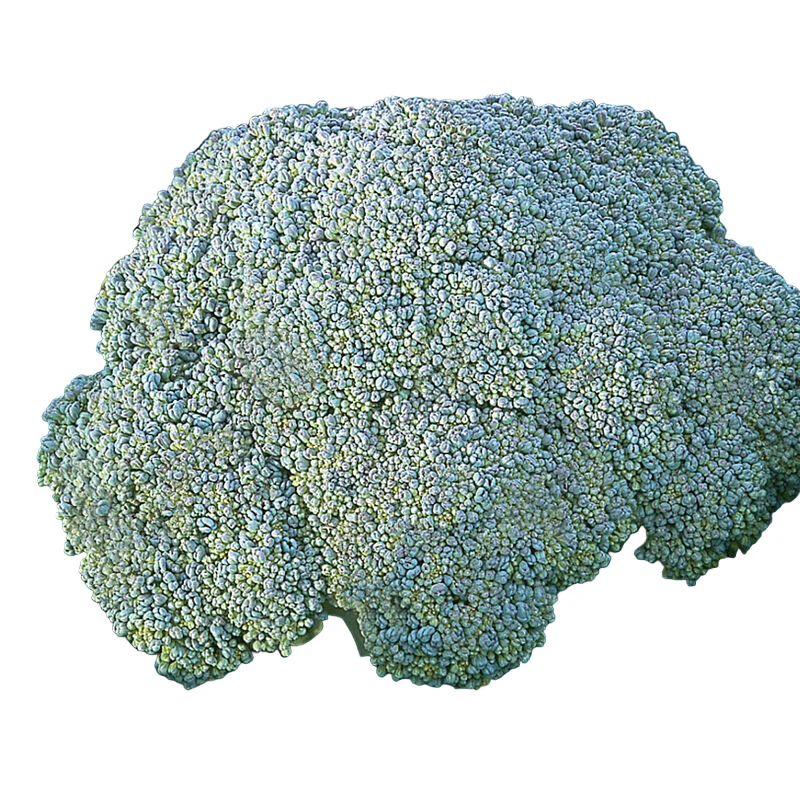 Grow Gypsy broccoli, a heat tolerant hybrid variety.
You can start your fall broccoli seeds indoors where it's air-conditioned, or you can direct sow them in the garden if you provide some shade and keep them well-watered. I usually start mine indoors because I can control the conditions better.
If you're starting seeds indoors during summer, try to find the coolest spot in your house. A basement is ideal if you have one. You can also place your seed trays in front of an air conditioning vent to keep them cool.
Another trick I've used successfully is to germinate the seeds in the refrigerator! Place your planted seeds in the fridge for 2 to 3 days, checking daily for germination. Once they sprout, move them to a cool, bright location. This method really works when it's too hot for normal germination.
Follow the same seed starting procedures I described for spring planting. Plant seeds 1/4 to 1/2 inch deep, keep the soil moist, and provide good light once they germinate. Your goal is to have sturdy seedlings ready to transplant in about 4 to 6 weeks.
Starting broccoli seeds in summer heat can be tricky, but it's definitely doable. The challenge is that broccoli seeds prefer cooler temperatures for germination, but you're starting them when it's warm outside.
Grow Broccoli - Transplanting Fall Broccoli
Transplanting fall broccoli happens during late summer, which means you're moving plants into the garden when it's still pretty warm. This requires some extra care to help your seedlings survive the transition.
Prepare your garden bed the same way you would for spring broccoli—lots of compost worked into the soil. If you grew a spring crop in this spot, you might want to add some additional fertilizer since the previous crop used up nutrients.
Transplant in the evening or on a cloudy day to reduce stress on your seedlings. Water your seedlings well before transplanting—this helps them handle the stress better. I also water the planting holes before putting the seedlings in.
Space your fall broccoli the same as spring broccoli—18 to 24 inches apart. After transplanting, water thoroughly and consider providing some temporary shade for the first few days. I use shade cloth or even old bed sheets propped up on stakes to protect new transplants from intense sun.
Keep your newly transplanted fall broccoli well-watered during the first couple of weeks. They need consistent moisture to establish their roots. Once they're established and the weather starts cooling down, they'll take off and grow vigorously.
Grow Broccoli - Watering Your Broccoli Plants
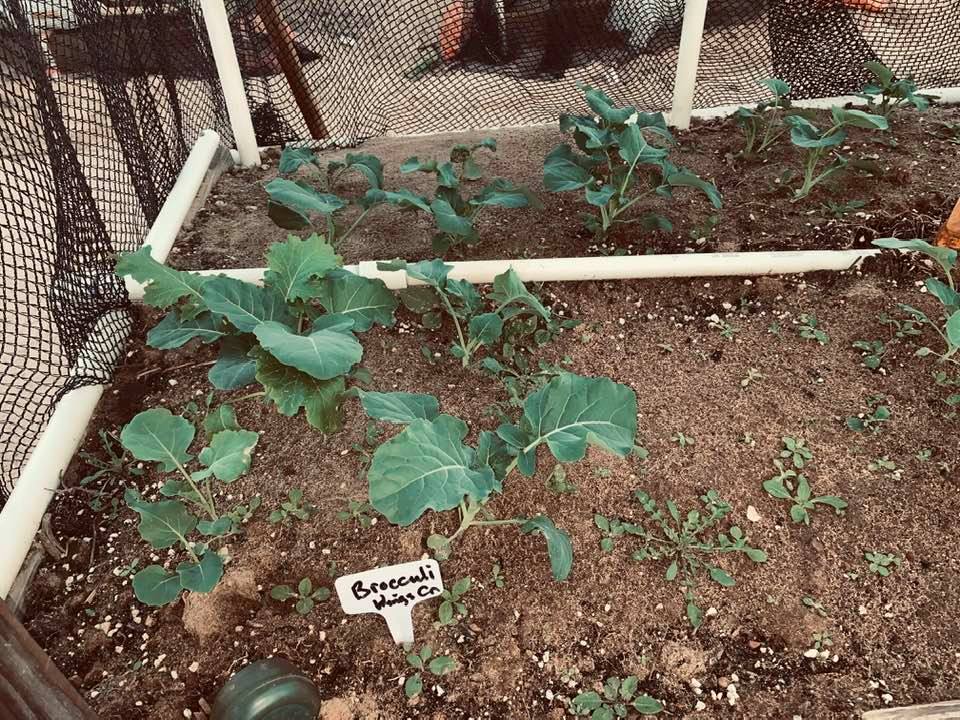 Broccoli plants that are growing in the garden...
Whether you're growing spring or fall broccoli, proper watering is crucial for success. Broccoli needs consistent moisture throughout its growing period. The soil should stay evenly moist but not waterlogged.
I recommend providing about 1 to 1.5 inches of water per week, either from rainfall or irrigation. During hot, dry periods, you might need to water more frequently. The best way to check is to stick your finger into the soil—if it's dry an inch down, it's time to water.
Water deeply rather than frequently. This encourages roots to grow deep into the soil, making your plants more drought-resistant. I water my broccoli 2 to 3 times per week, giving them a good soaking each time rather than a little sprinkle every day.
Try to water at the base of the plants rather than overhead. Wet leaves can promote disease problems. I use soaker hoses or drip irrigation in my broccoli beds, which delivers water right where it's needed and keeps the foliage dry.
Mulching around your broccoli plants helps retain soil moisture and keeps the roots cool. I spread 2 to 3 inches of organic mulch like straw or shredded leaves around my plants, keeping it a few inches away from the stems to prevent rot.
Grow Broccoli - Fertilizing Your Growing Broccoli
Remember how I mentioned that broccoli is a heavy feeder? This means you need to provide regular fertilization throughout the growing season. Your plants are working hard to produce those big, beautiful heads, and they need fuel to do it.
Start with a nitrogen-rich fertilizer about three weeks after transplanting. Nitrogen promotes leafy growth, which is exactly what your broccoli needs early on. You can use a balanced organic fertilizer or fish emulsion diluted according to package directions.
Continue fertilizing every 3 to 4 weeks throughout the growing season. As your plants start forming heads, you can switch to a fertilizer with less nitrogen and more phosphorus and potassium. This helps with head development.
I like to side-dress my broccoli plants with compost every few weeks. This provides a slow, steady release of nutrients and improves soil structure at the same time. Just sprinkle a handful of compost around each plant and gently work it into the soil surface.
Watch your plants for signs of nutrient deficiency. Yellow leaves can indicate nitrogen deficiency, while purple-tinged leaves might mean the plants are cold or need phosphorus. Healthy broccoli plants should have deep green leaves and sturdy stems.
Grow Broccoli - Dealing with Common Pests and Problems
Growing broccoli from seed means you'll eventually encounter some pests. The most common culprits are cabbage worms, aphids, and flea beetles. Don't let this discourage you—these problems are manageable with some attention and the right strategies.
Cabbage worms are the larvae of white butterflies you'll see fluttering around your garden. These green caterpillars can quickly defoliate your broccoli plants if left unchecked. I inspect my plants every few days and hand-pick any worms I find. You can also use row covers to keep the butterflies from laying eggs on your plants.
Aphids are tiny insects that cluster on the undersides of leaves and on growing tips. A strong spray of water from the hose usually knocks them off. For persistent problems, insecticidal soap works well and is safe for organic gardens.
Flea beetles create tiny holes in leaves, making them look like they've been hit with a shotgun. These are more of a problem in spring than fall. Row covers work great for preventing flea beetle damage, or you can use diatomaceous earth sprinkled around the base of plants.
Grow Broccoli - Harvesting Your Homegrown Broccoli
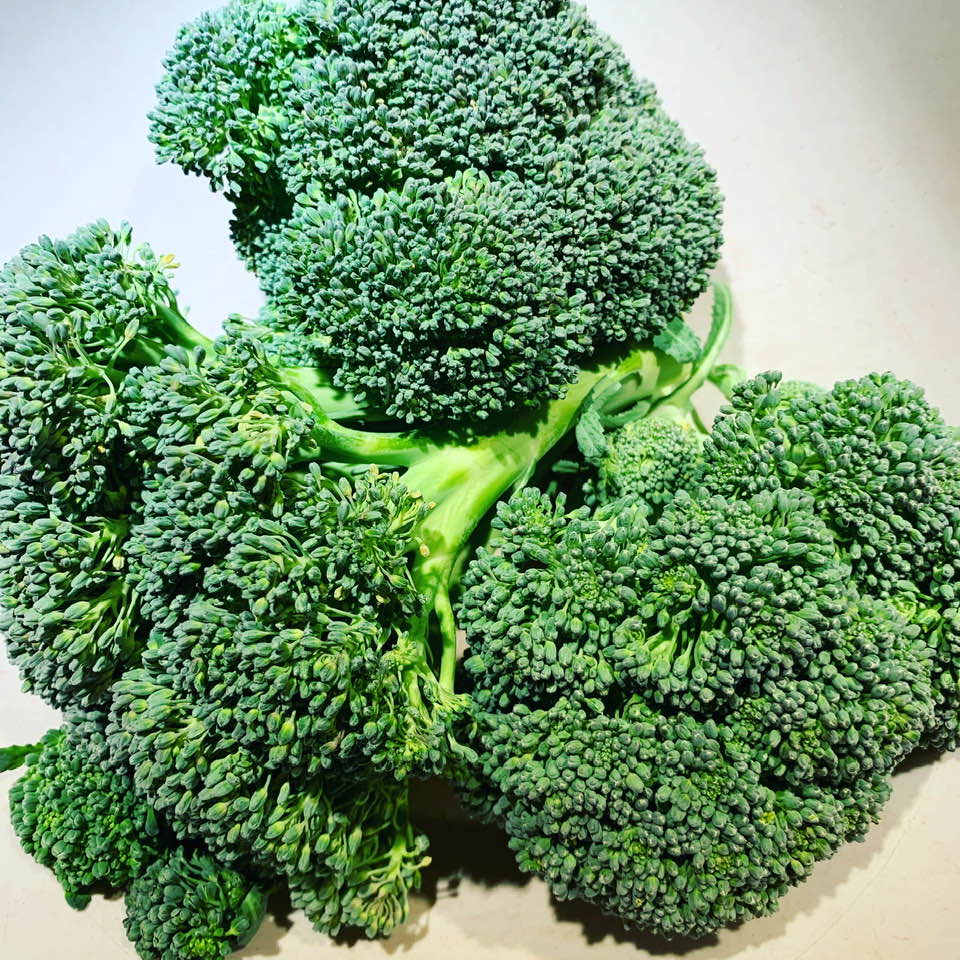 Here is one of our broccoli harvests. Broccoli is David's favorite vegetable so we grow broccoli as much as we can.
The moment you've been waiting for—harvest time! Knowing when to harvest broccoli is important because timing affects both yield and quality. You want to cut the main head when it's fully formed but before the tiny flower buds start to open. The head should be tight, firm, and deep green.
If you see any yellowing or the buds starting to separate, harvest immediately—you're at the edge of the window. Cut the main head with 5 to 6 inches of stem using a sharp knife. Make the cut at an angle to prevent water from pooling on the stem.
Here's a bonus: after you harvest the main head, don't pull up the plant! Leave it in the garden and it will produce smaller side shoots that are just as delicious. I've gotten weeks of additional harvests from the side shoots.
For spring broccoli, harvest in the morning after the dew dries but before the day heats up.
For fall broccoli, you have more flexibility, and some gardeners even harvest after a light frost.
Monday, November 10, 2025
Good morning. Well, here in Texas, we are having first winter after second summer this year. By Wednesday, we will go to third summer as the temperatures will be back up in the 80s.
Right now, it is 44° and the air feels amazing outside...
It is now 9:25am and 52°. The air is pleasant.
Currently, we have 1146 products for sale on our website.
I filled orders and then counted seeds until after 5pm when I gave up and went in to do dishes and make dinner.
It will be a cold one tonight. At 9:50pm, I put the dogs out for their last potty break of the night. Pamela and Sue Ellen came back. Trump did not.
I went to the kitchen door and opened it. Trump was there waiting for me. He squeezed out by the empty pool. We will have to fix that tomorrow.
Tuesday, November 11, 2025
 David is a veteran of the United States Army. Wasn't he handsome?
Happy Veteran's Day! It is 35° this morning. I came out to the kitchen and all three of our outer doors were open. David, the dogs, and our truck were all gone. I opened the back door and started whistling for the dogs. They were way out in the back 40, although I could not see them. I whistled four times and they finally came running like a pack into the backyard and up the steps to me and their breakfast.
I texted David and he finally came home. He was out on the road looking for the dogs.
Since he is in the process of taking the pool down, the dogs got out easily. We need to put a fence up today. Trump got out last night and he came in the backdoor so I just figured that is where they would come in today. All of this before 7am.
Today, because it is Veteran's Day, enjoy saving 15% when you purchase any and all of our seeds.
Matt and I worked all day counting and packing seeds. We had no visitors at all today, not even the mailman because of the holiday.
David spent the whole day in Leakey with a friend and just got home. It is now 5pm. It warmed up to 75° and the low tonight will be 50° so our winter is now complete. Tomorrow it will be 85° so we will be back to summer again...
Wednesday, November 12, 2025
Good morning. It is 49° but the temperature is supposed to climb rapidly up to 85°.
David took Pamela and Sue Ellen to be groomed and then went into San Antonio to talk to the accountant.
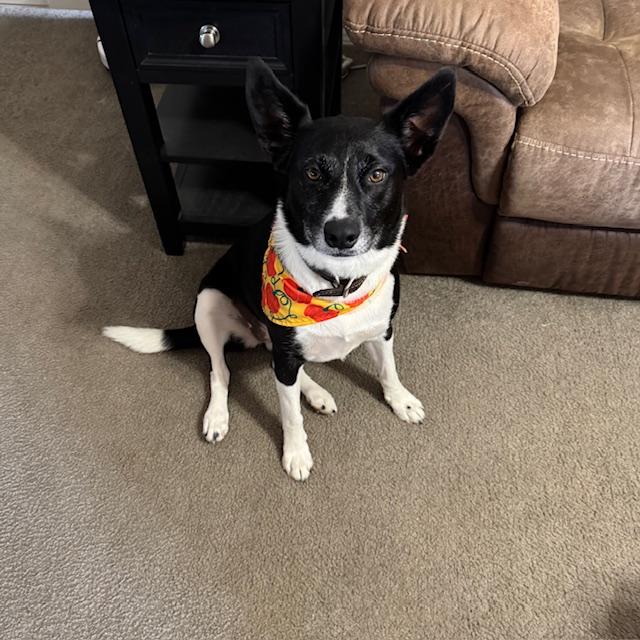
 It is hard to get Pamela to pose but here she is. It is hard to get Pamela to pose but here she is. |
 Sue Ellen is not camera shy. Sue Ellen is not camera shy. |
We had one family of customers today after a week of no customers. They went out and took a look at the fall garden growing near the parking lot.
I counted so many seeds this afternoon.
After work in my home office, I finally made a bunch of new folders for all of the papers lying around that needed to be filed away for safe keeping. We got our 2026 insurance cards and some other important things in the mail today. I got everything filed and put away.
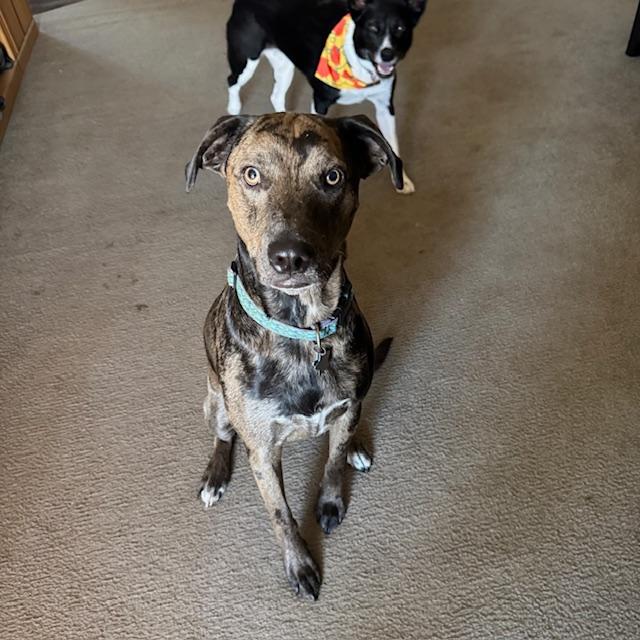 Even though he wasn't groomed today, Trump insisted on posing in front of Sue Ellen today. He gets his turn tomorrow.
David made ground chicken tacos tonight for dinner and they were so good. I fell asleep on the couch just after 8pm which was great. How I hate what these idiotic time changes do to me now that I am older. It truly is ridiculous.
When I woke up, President Trump had signed the bill to reopen the government. Unfortunately, there were some things put in the bill that shouldn't have been there.
Thursday, November 13, 2025
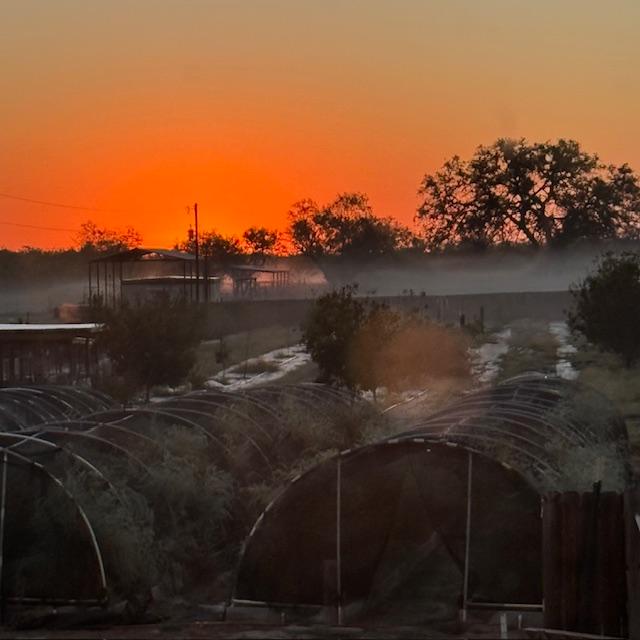 Sunrise with a bit of fog around the property.
Good morning. It is foggy around the property as the sunrise photo above shows. I slept pretty good except for about an hour around 3am as I had neuropathy again. That is two nights in a row.
This morning, David is taking Trump to be groomed. There are so many seeds to be counted and packed.
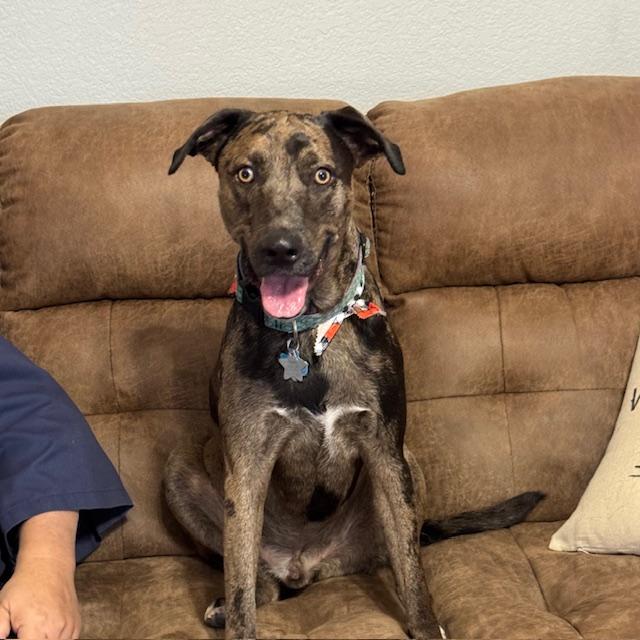 Trump posing on the living room couch after his grooming. He is sitting next to his father. Isn't he so handsome?
Trump is home and he looks so handsome! It is currently 1pm and 83°. It feels miserable out there except for a nice breeze.
So far today, we have had two in-person customers and I've sold the last four dozen eggs we've had. Right now, the chickens are moulting and we probably won't have eggs for sale for at least a month, maybe more. Right now, I am getting about two eggs a day, give or take one or two.
Hopefully, the chickens will get back on track. Of course, a bunch of them are five years old now and they don't lay much at that age either. Our babies are three. This coming spring, we will have to get some new babies, but no more large amounts because most of the time, our eggs don't get bought even though I sell them cheaper than most of my competitors in the area. Most of the time, I boil the older ones and give them back to my chickens for calcium. My competitors are selling theirs for $7 and $8 a dozen but when I went up to $6 a dozen, most of my competitors quit buying them from me.
It is now almost 5pm and we had another customer today. It is 84° outside. The good thing is that it is Gordon Ramsay night! Time to go home and fix dinner.
Friday, November 14, 2025
 Look how foggy it is this morning! Look how foggy it is this morning! |
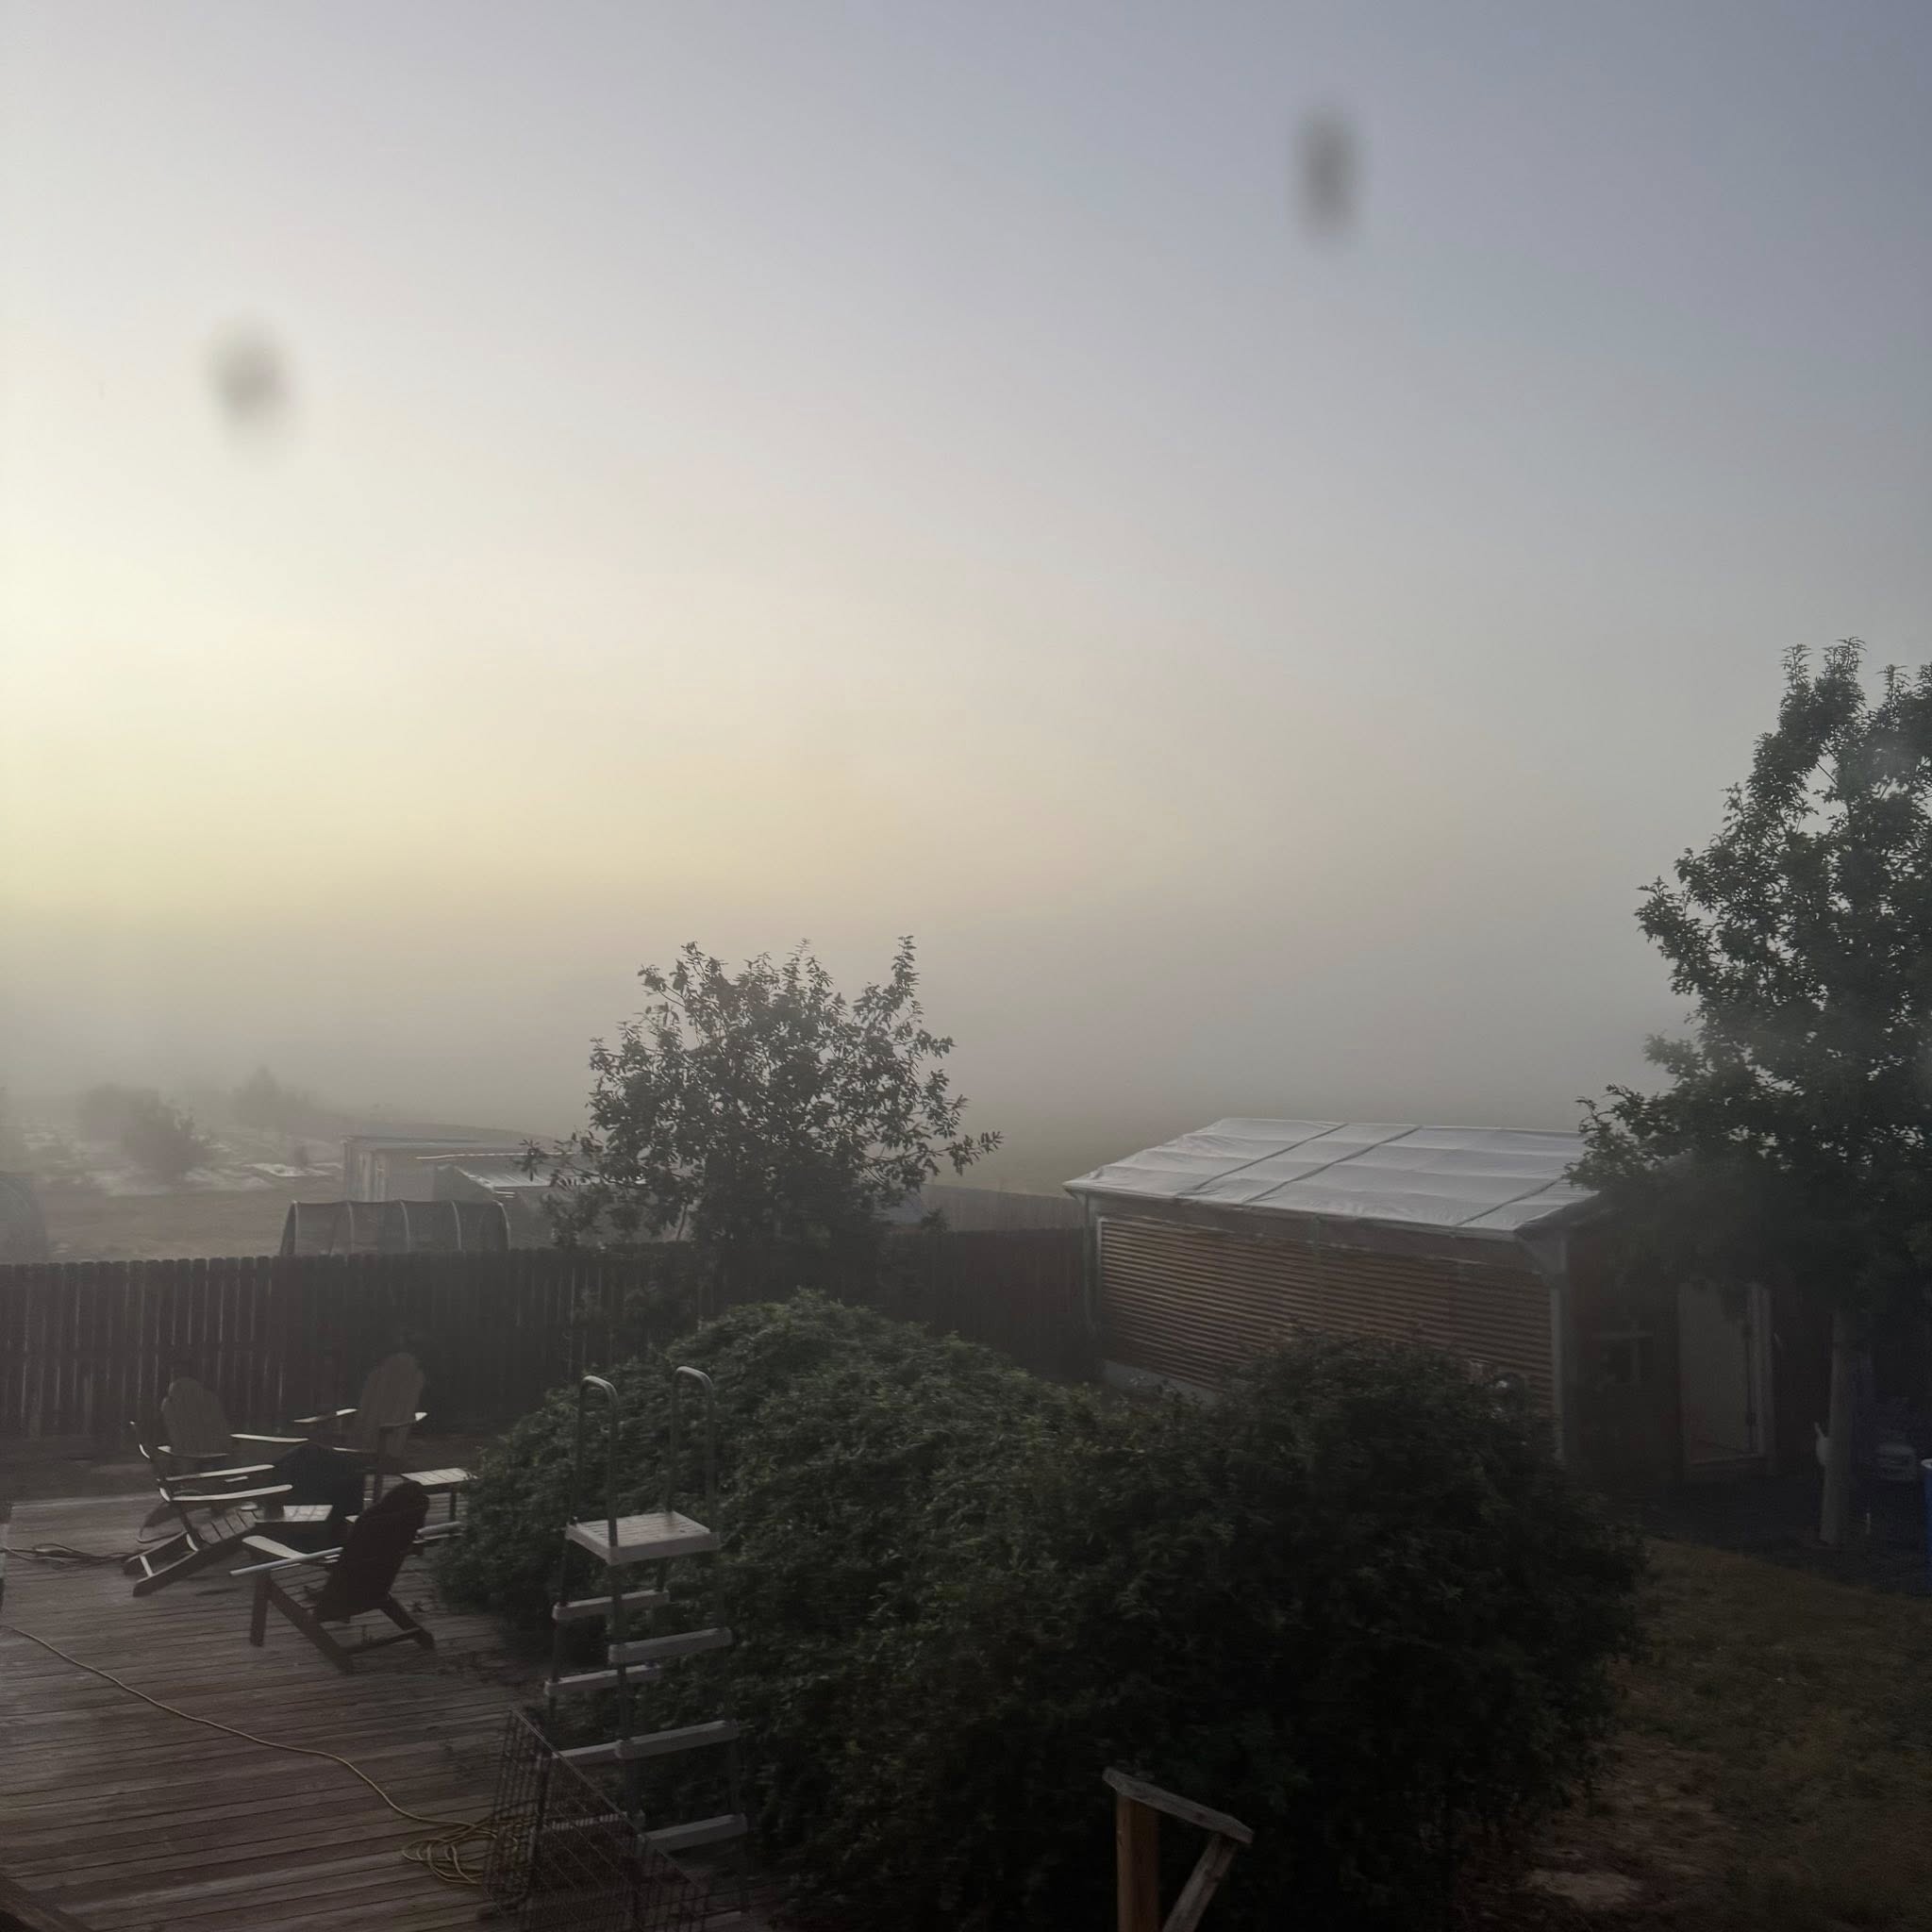 The fog continues at 8am. The fog continues at 8am. |
Good morning. There is a thick fog this morning and it is 61° Fahrenheit.
Texas 1015Y Onion Sets
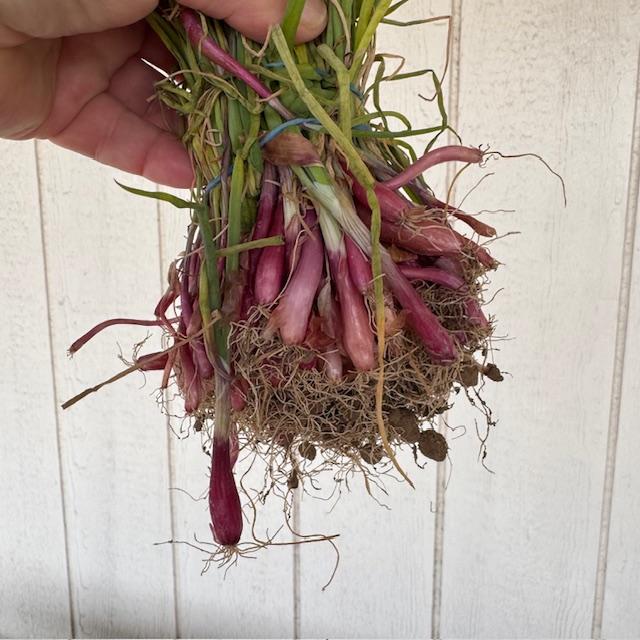
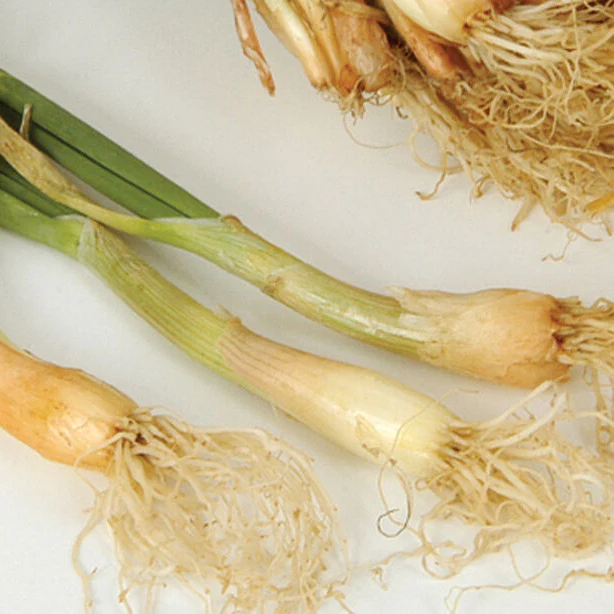 Onion sets are tiny onion plants that have been started from seed.
We will be selling a limited amount of onion sets this year. We will ship out our first batch on Monday, November 24. We will ship them only on Mondays so the sets can reach you in a timely manner. We do not have the onion sets yet so do not come by expecting to take them home with you this week.
If you would like to learn more about planting onion sets, I put up an article on them this morning. This article has the link to purchase a set if you are interested.
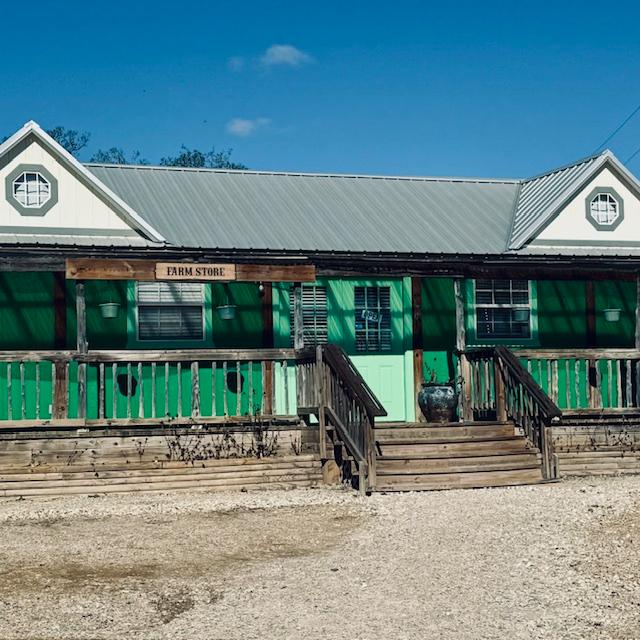
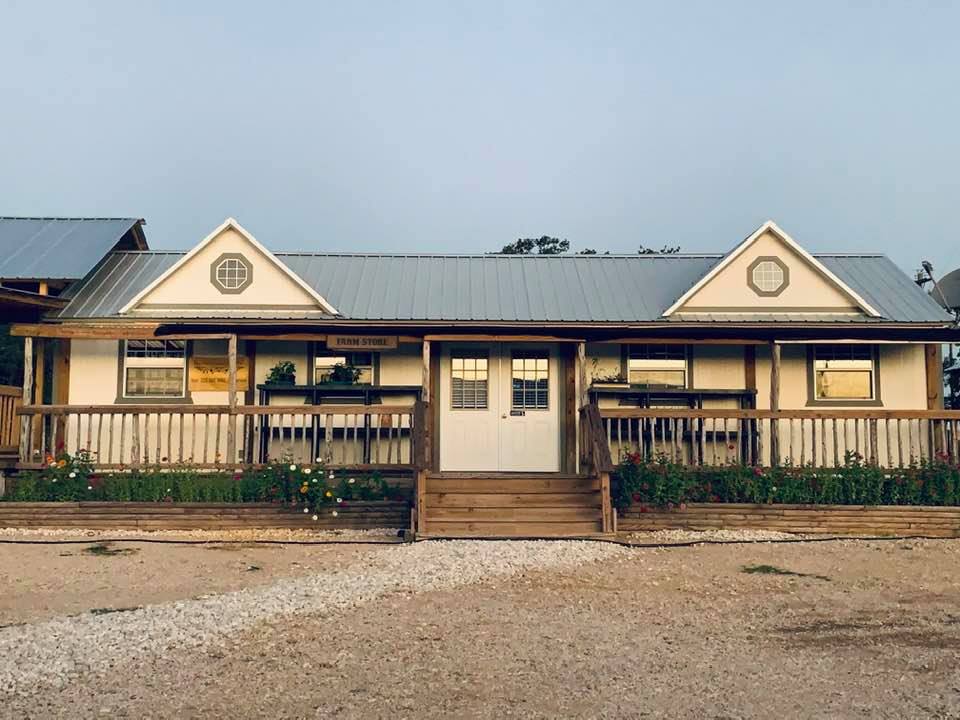
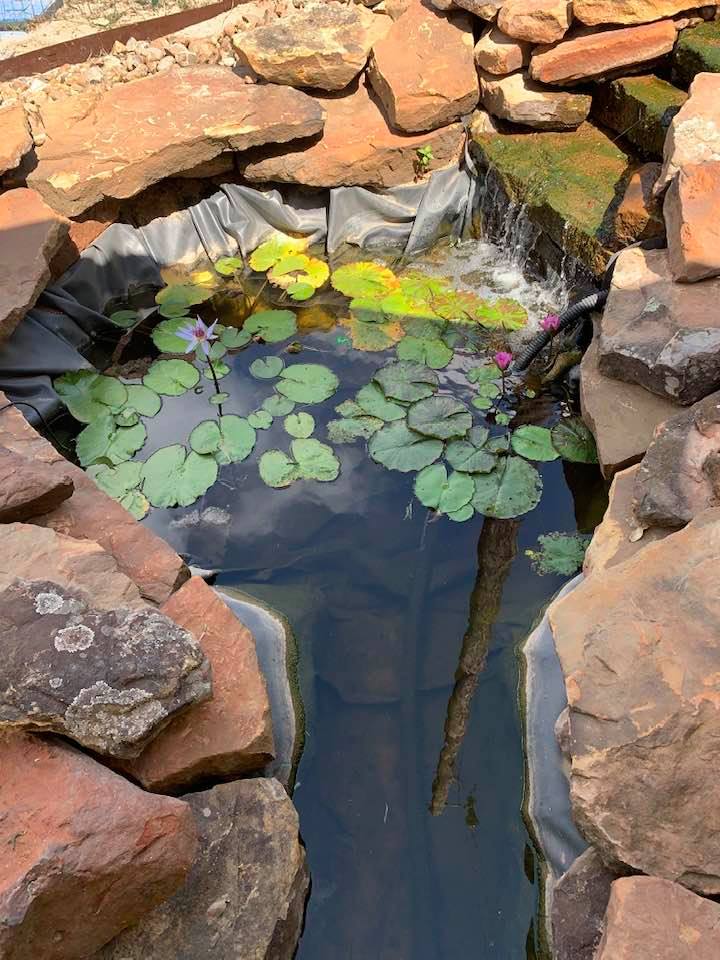
David and Matt are working in the back. I pulled a few orders and am filling the pond now. I looked at the garden. Our neighbor's sheep are working the fenceline right by the garden. I am also watering the snapdragon seeds in front of the Farm Store.
We were planning to go to Hermann Sons on Monday for a late lunch but they are not open on Mondays. Boo! I think we will go on Tuesday instead. That means we will not be open on Tuesday afternoon.
We also have plans for next Wednesday and Thursday, not to mention Friday. More on all of that next week...
It is now 10:30am and no customers today, back to the usual for fall of nobody up in here...
Sure enough, even though it was a warm day like yesterday, we did not have one customer show up all day long. What is up with that?
David was boiling something this afternoon and fell asleep. The pan ran out of water and burned a lot. I was at work. When I came back to the house, I was greeted with a horrible smell and my large pot burned badly. It is a Martha Stewart pot so I had to save it.
I scrubbed that stupid thing with a lot of stove top cleaner and finally got all of the nastiness out. I need to make sugar water for the bees in it. Maybe tomorrow.
Saturday, November 15, 2025
Good morning. It is not foggy at all today. I had a bunch of strange dreams last night. I got up and made some mushroom coffee. Then I watched a bunch of short videos. Interesting stuff...
I made some eggs for breakfast and then I made some sugar water. David said he needs three gallons but my pot is not that big. Once it cools, I will pour it into jugs and then make some more. I also need to clean the house and start setting up some Christmas instead of waiting until the last minute.
Yes, the store is open today but I do not expect anyone to show up since no one came for most of the week.
Just as I figured, no one showed up.
I cleaned some of the house. Then I made a pizza crust for tonight and baked a blueberry dump cake for tonight as well. Matt loves blueberries. I baked a chocolate cherry dump cake for the church potluck tomorrow.
I found a lot of places in my home with layers of dust and sand that should not be there since my house has been cleaned a lot this year by housecleaners. It really makes me mad. That woman that was here just three weeks ago didn't do crap. Apparently, when you hire these people to clean, they do a light cleaning on the outside layer only. I won't pay people to pretend to clean my home anymore. I had Matt come in and shampoo the dirty living room carpet. It looks much better.
I decorated the mantle for Thanksgiving. I also had Matt remove the entry table. I plan to put the tree in that spot this year.
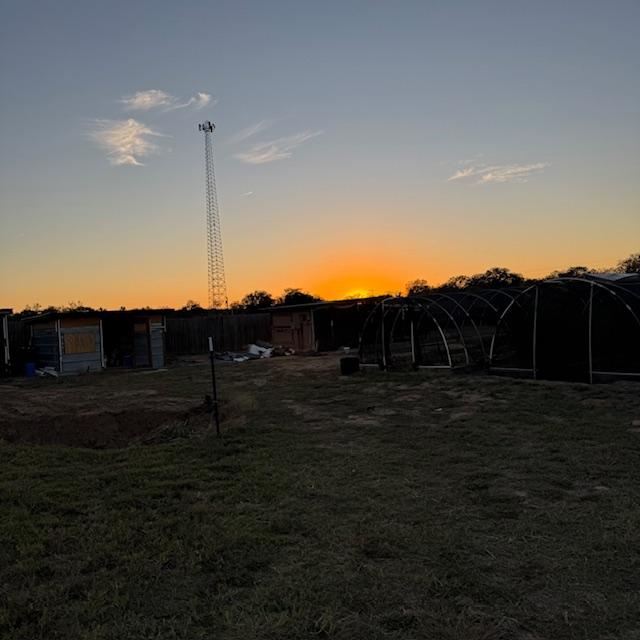 Sunset from the goat pen.
The pizza was delicious if I do say so myself. We watched a 1978 Blob movie. It was fun.
Sunday, November 16, 2025
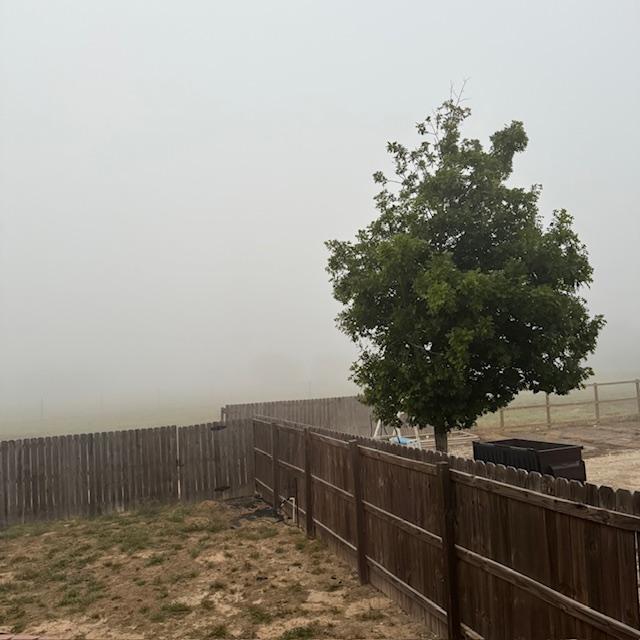 The thick fog has the road and the cell tower invisible.
Good morning. We have a thick fog again this morning. The cell tower and the road cannot be seen at all. I do not want to go out in it to take care of the animals. Hopefully it lifts soon.
The dogs were just barking. The kitty was outside waiting for me to come feed her. I went out and fed her and the fish. The snake is in the pond all wrapped around the hose at the waterfall.
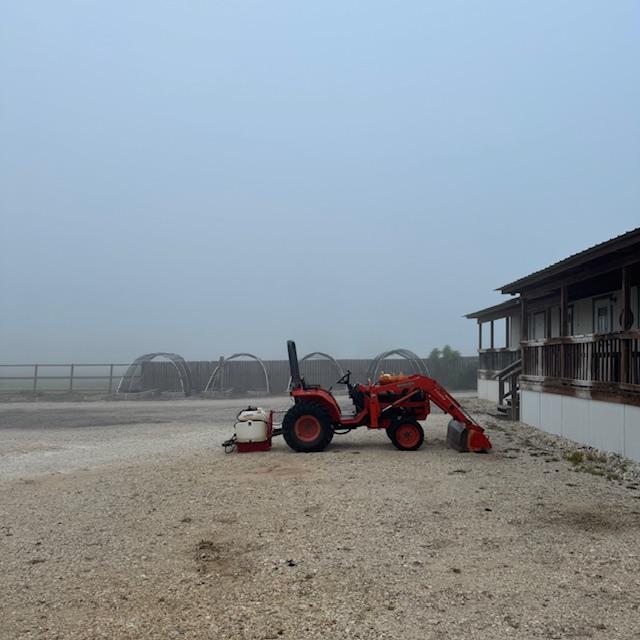 I saw something on this tractor in the fog. I saw something on this tractor in the fog. |
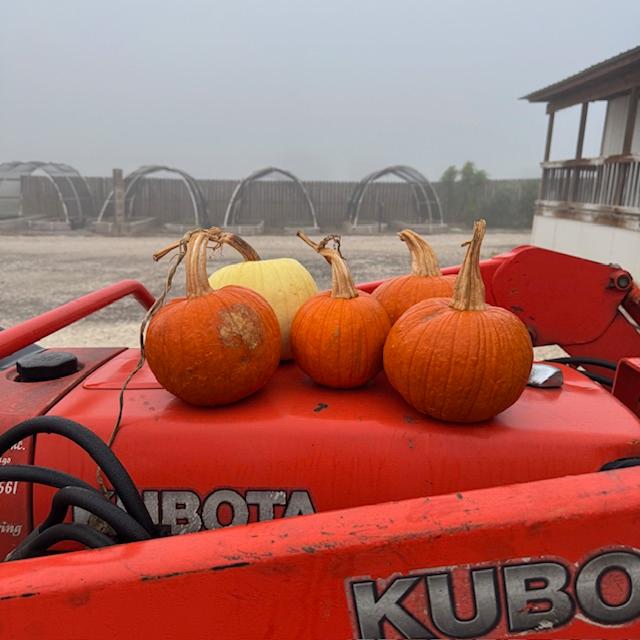 Pumpkins! Pumpkins! |
As I was going back to the house, I noticed pumpkins on the tractor in the parking lot.
David said they are from a friend of his who stopped by yesterday.
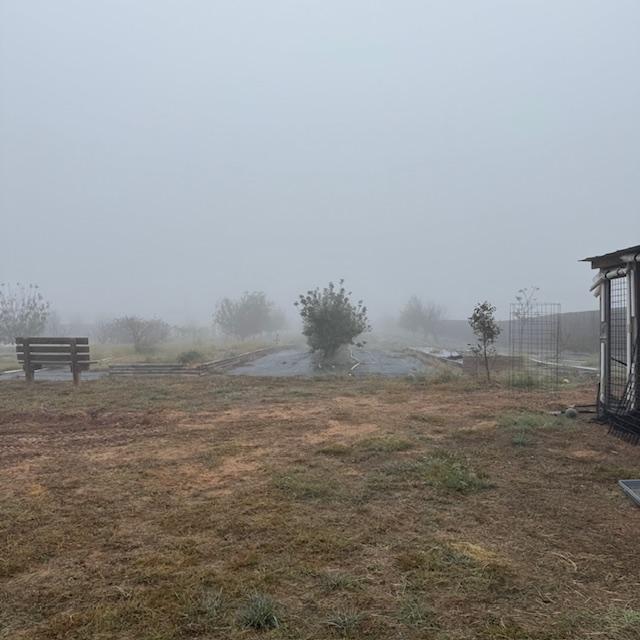 It was still a bit foggy when I went out to take care of the animals this morning.
I went out and took care of the chickens and goats in the fog. It is now 9am and the fog is still there, although it is beginning to lift.
The church potluck was good. I had four compliments on my dessert which, by the way, was delicious. I brought most of it home and we definitely don't need all of that sugar here so maybe I will start making food instead of dessert.
This afternoon, the dogs were outside barking. I looked out the kitchen window and one of my white chickens was walking around out past the fence. She apparently flew over her fenced yard and was having a good old time driving the dogs crazy. I went out there and she followed me into the coop. I had a terrible time getting everyone to go in and it was almost sunset. Six chickens would not go in.
I went over to the goats and took care of them. By the time I went back, all were in but one. I had to go out in their yard and chase her in, then run out and around the back to get into the coop. I finally got all of them in for the night. I got four eggs!
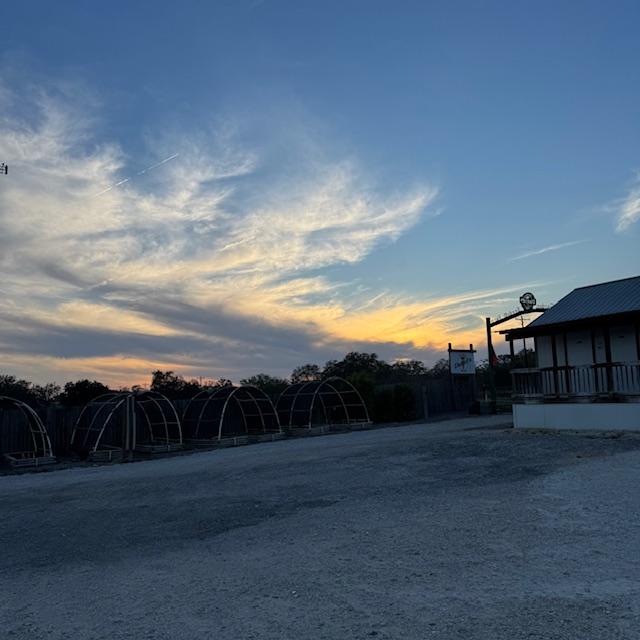 Another sunset in the books.
Return from Grow Broccoli to Year Seven Of Farm Life
Anything To Share On This Topic?
Would you like to share additional information about this topic with all of us?
Since 2009, over 2,000,000 home gardeners, all across the USA, have relied on David's Garden Seeds® to grow beautiful, productive gardens. Trust is at the heart of it. Our customers know David's Garden Seeds® stocks only the highest quality seeds available. Our mission is to become your lifetime supplier of quality seeds. It isn't just to serve you once; we want to earn your trust as the primary supplier of all of your garden seeds.
Watch Our 2022 TV Commercial!
Sing Along To Our Jingle
♪♫♪♪ ♫ ♪ ♫♪♫♫
♪♫♪♪♫♫
Peppers and peas
And lots of yummy greens
You can't go wrong
With Squash This Long
At David's Garden Seeds
♪ ♫ ♪ ♫
Our New 2024 TV Ad
Please like and subscribe on YouTube and come visit us at our Farm Store! The music on our TV ad was written, played, and sung by our son, Matthew Schulze. You can meet him when you come to the farm. He just might give you a tour. Ask him to grab a guitar and sing our jingle that he wrote.

We are David's Garden Seeds®. If you need great seeds, we've got over 1,400 varieties to choose from.
Subscribe To Mrs. David's Garden Seeds® Newsletter For FREE!
Find out what is going on down on the farm by reading our blog and by subscribing to our free newsletter for all of the information going down at David's Garden Seeds® and on the farm. I love to share helpful information with you. Please let your friends know and y'all come on down for a visit when you get the chance. We would love to meet you!
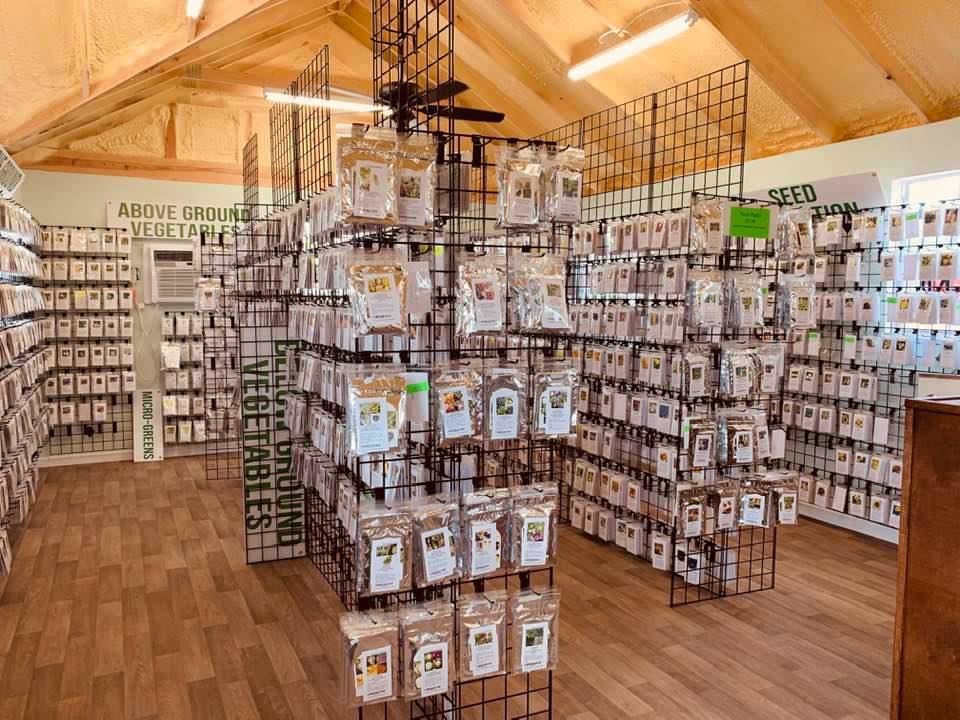
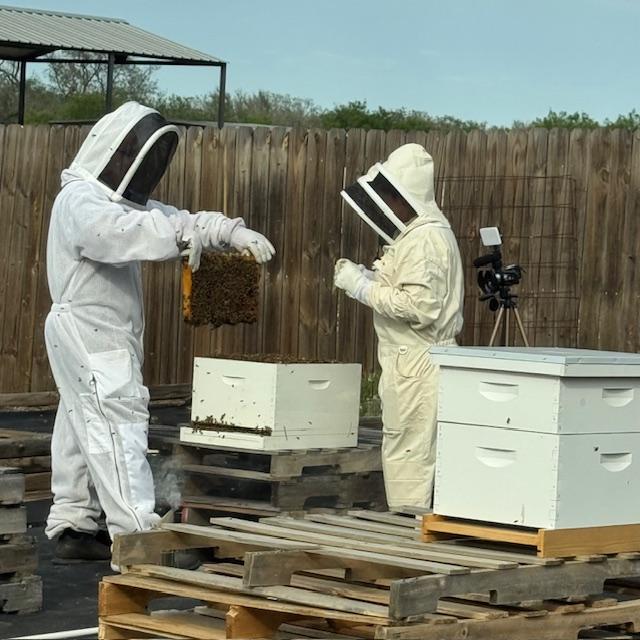 Our bee hives
 Our fish pond
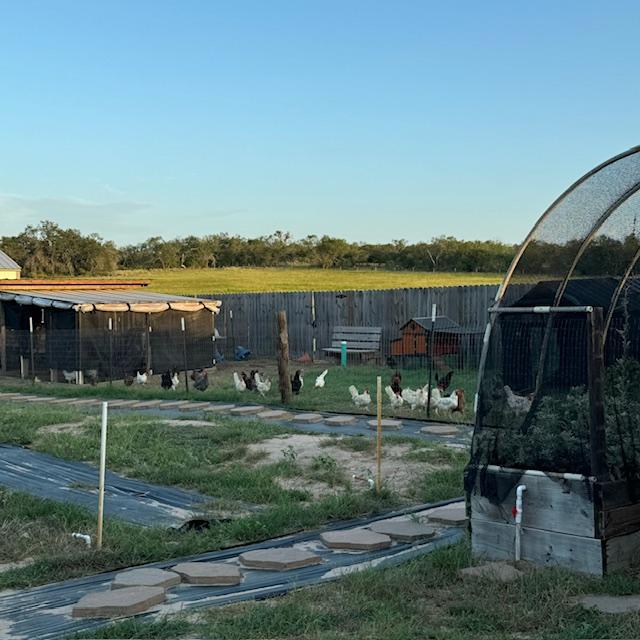 Our chickens
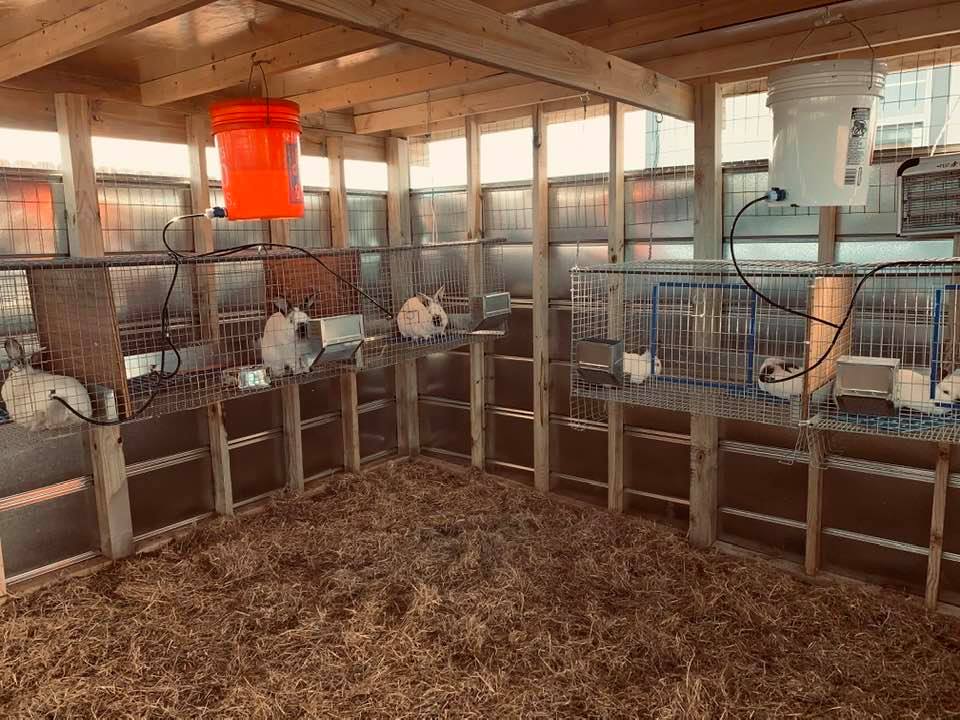 Our bunny rabbits
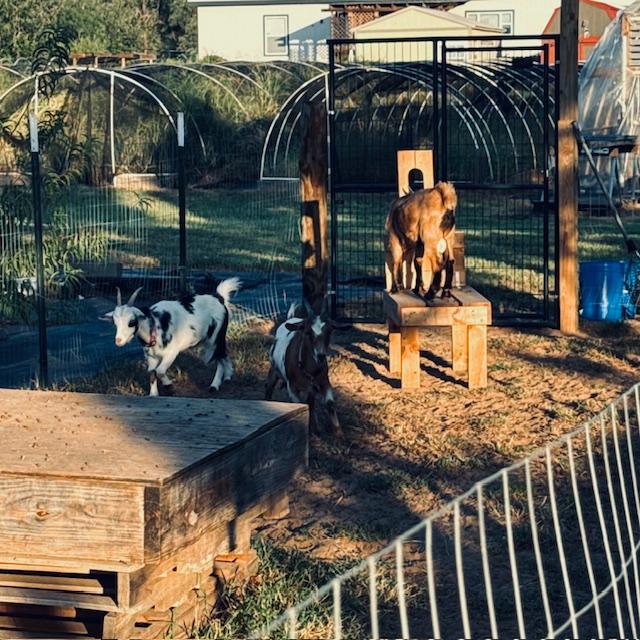 Our Nigerian Dwarf goats
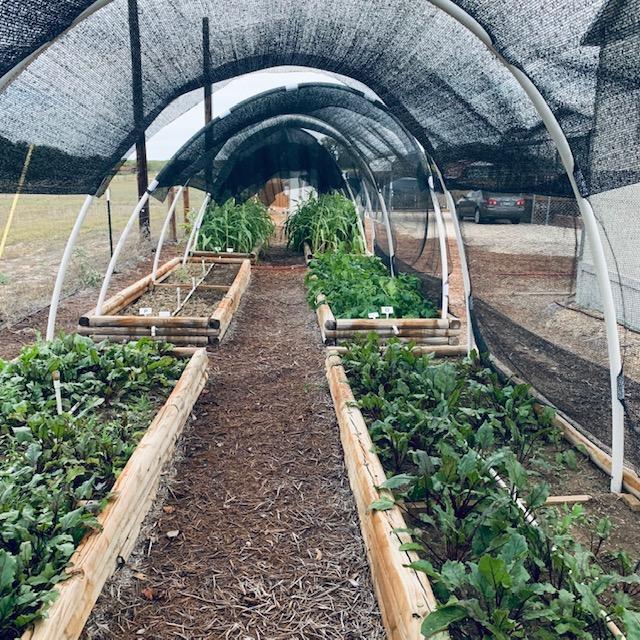
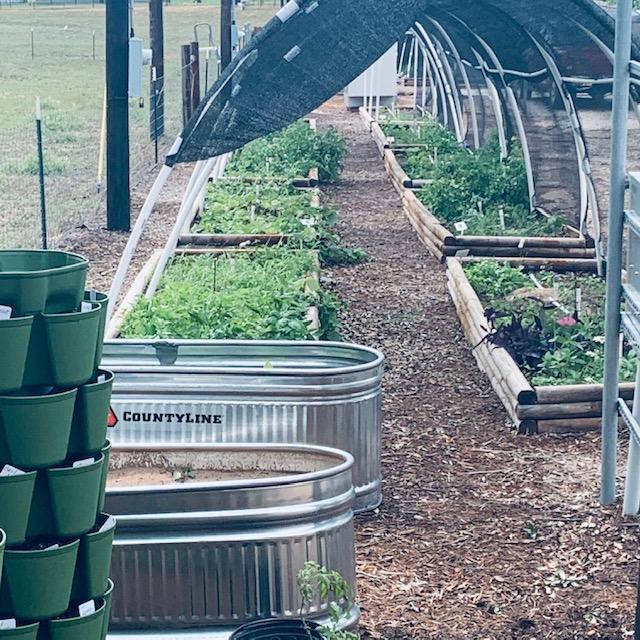 A few of our raised garden beds
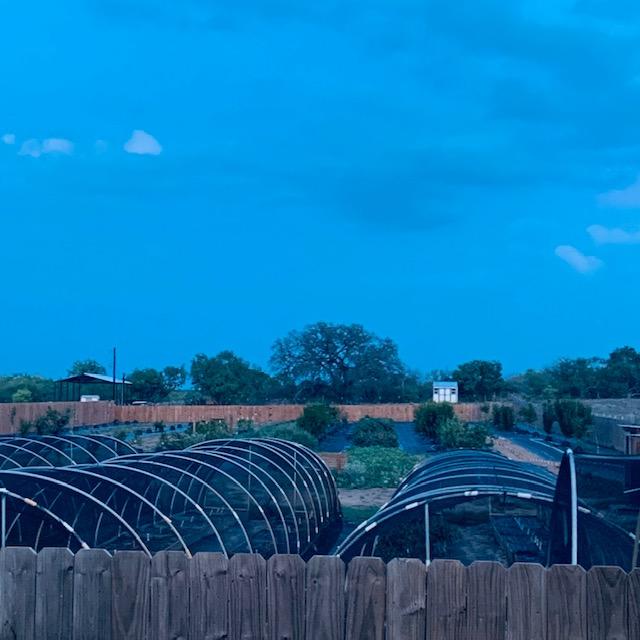 Our orchard and hoop houses
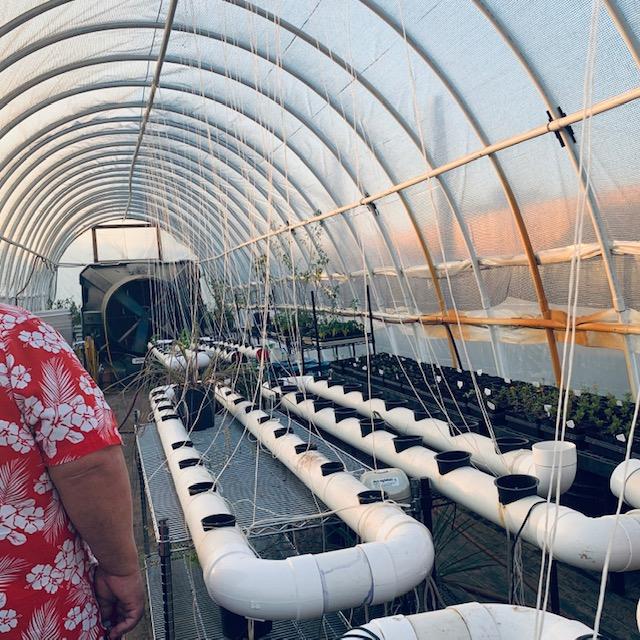 Inside our high tunnel
 Take a selfie at our official selfie spot!
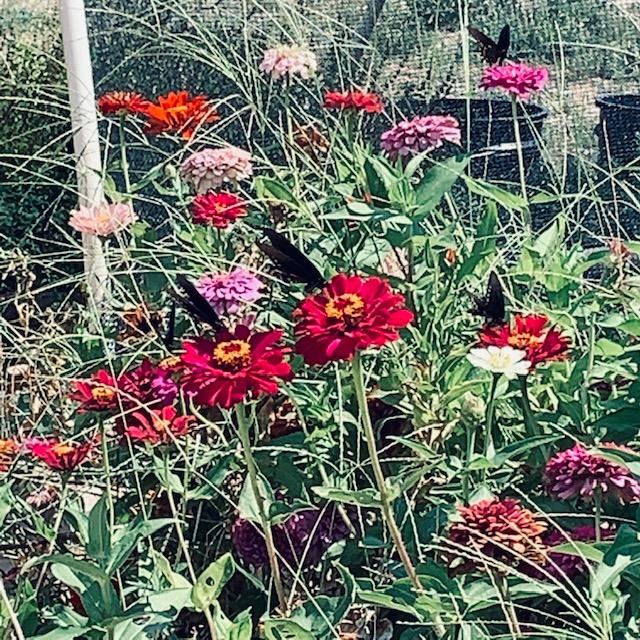 Flowers, bees, and butterflies are everywhere!