Grow English Lavender
Grow English lavender in your backyard garden. Also called True Lavender, English lavender is edible. We sell Vera lavender seeds. Vera is an English lavender variety.
You already grow veggies and herbs to feed your family. Why not add a plant that smells amazing, attracts bees, and tastes good too? In this guide, you'll learn how to grow English lavender in your backyard garden, even if your space is small.
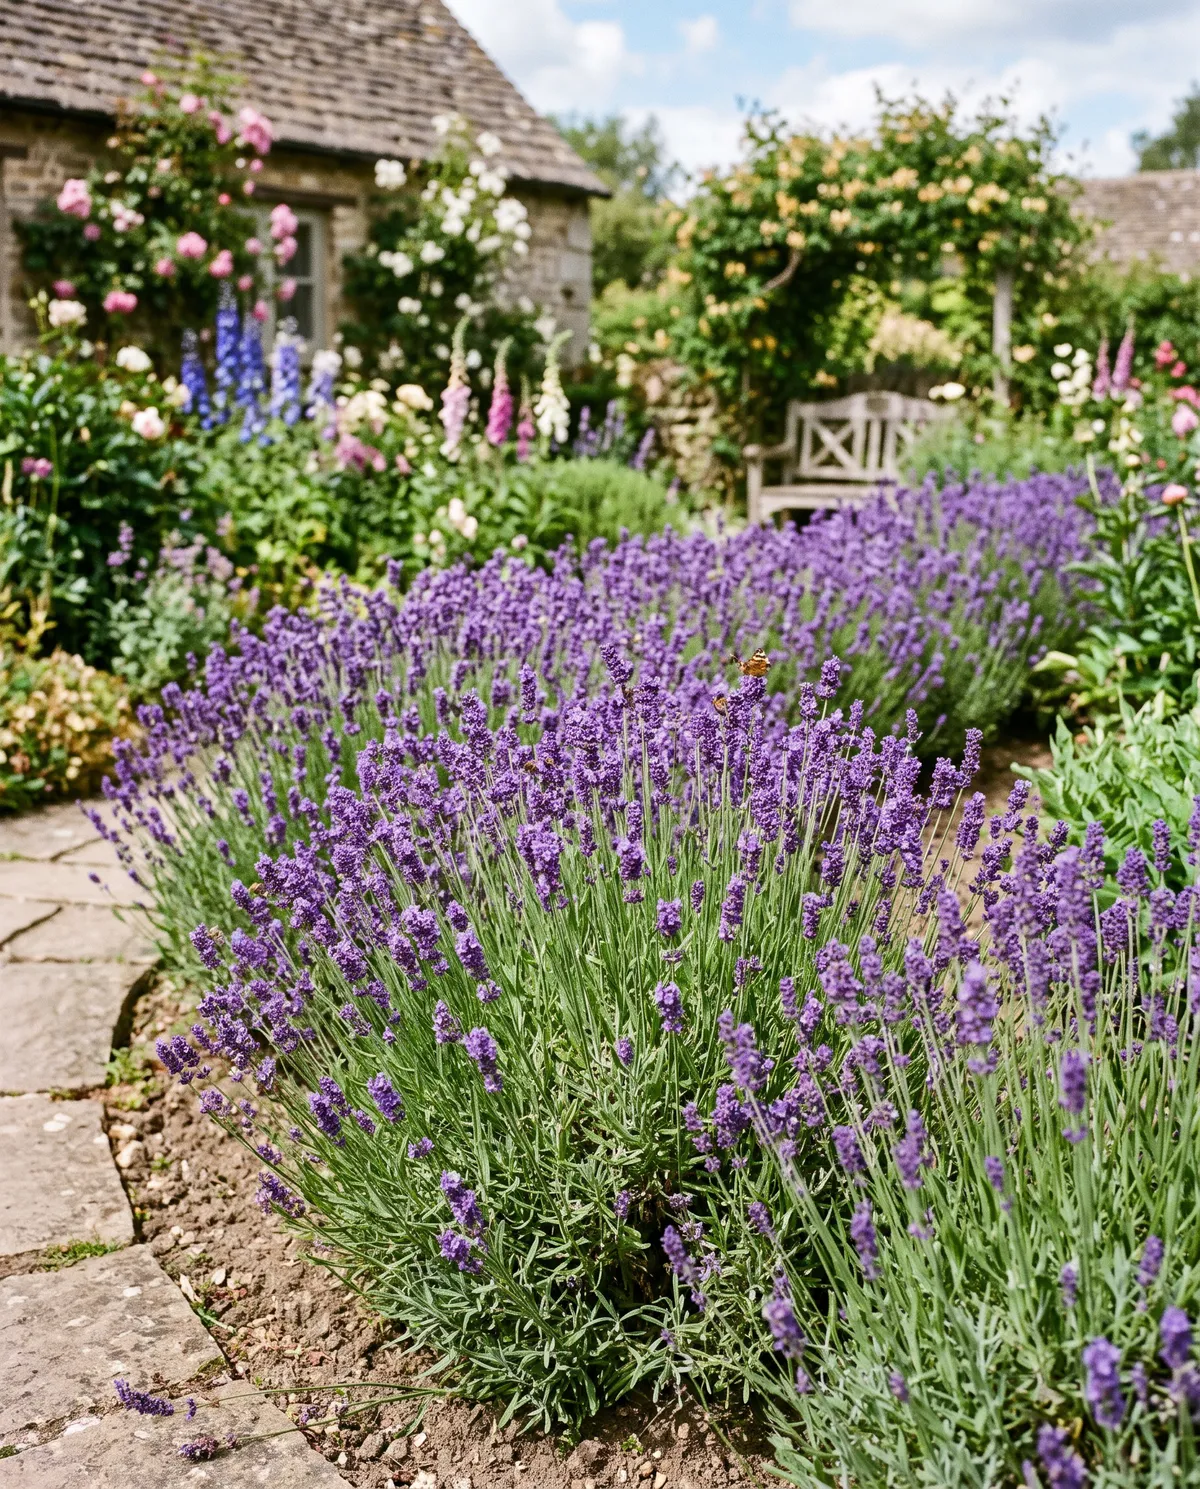
Grow English Lavender - 11/9-11/15/2026
Grow English Lavender - When to Grow English Lavender
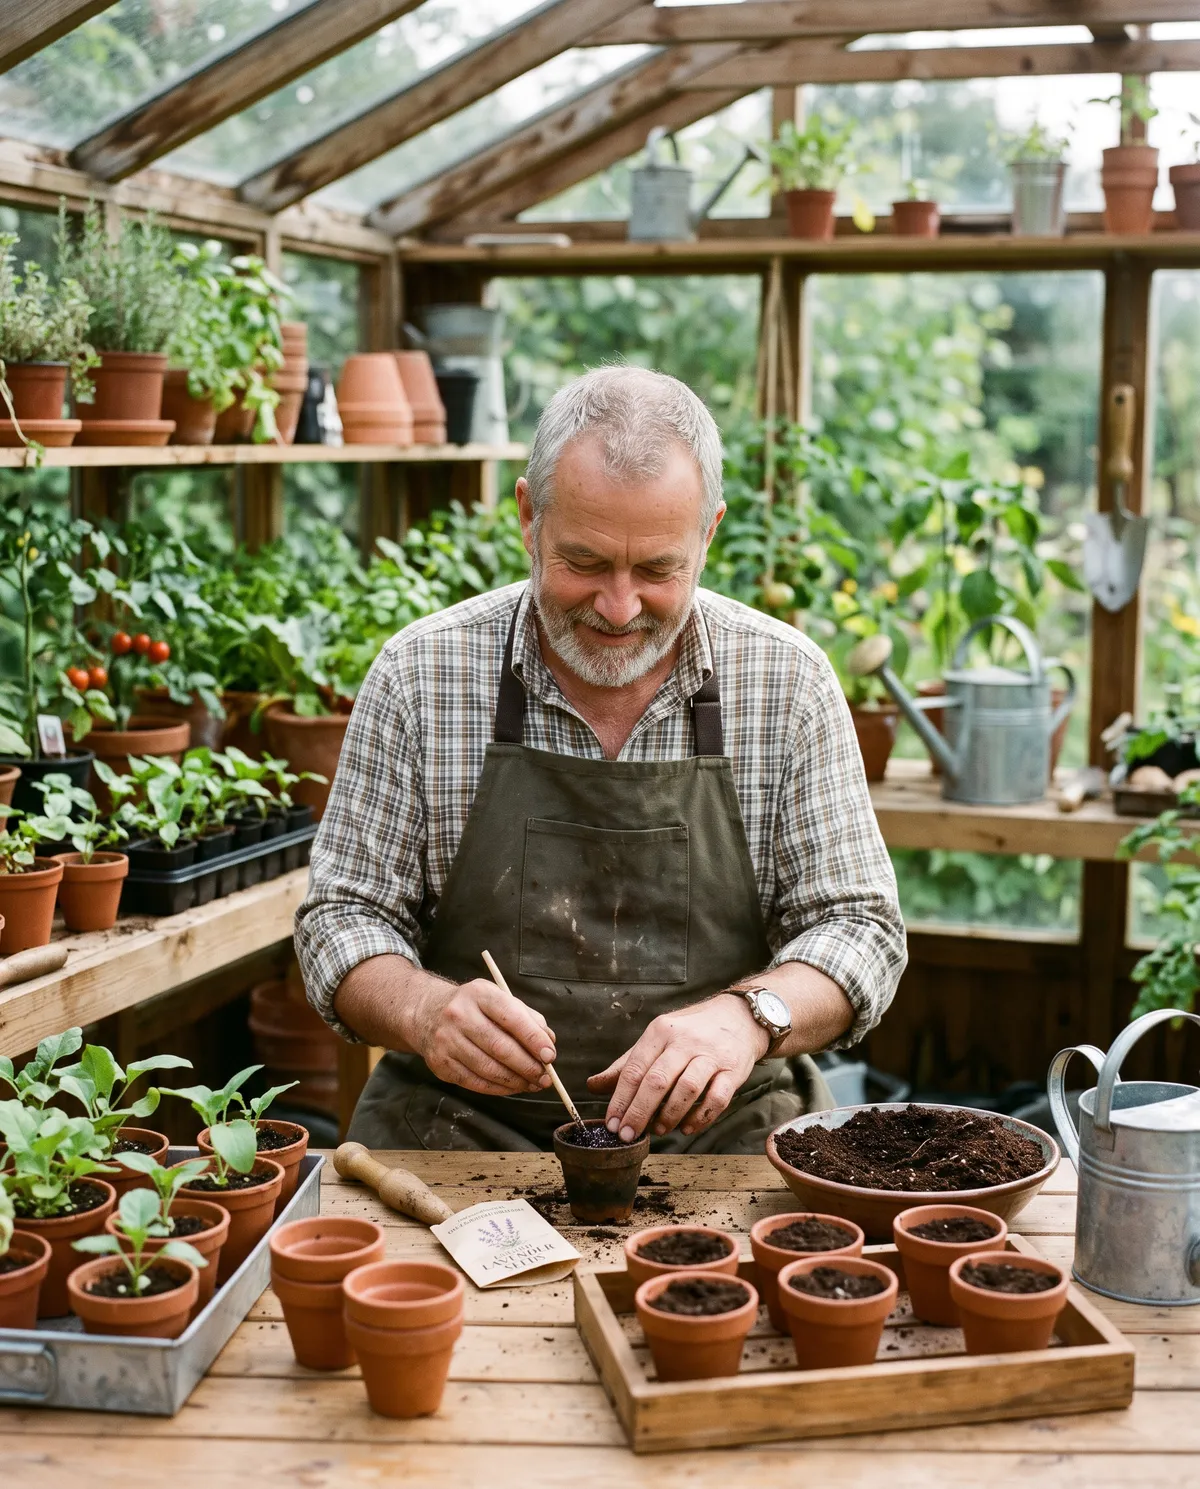
English lavender is also called True Lavender. Its Latin name is Lavandula angustifolia. It's a tough, fragrant perennial, so it comes back year after year.
Here's an important point: not all lavender is edible. English lavender is the type most people use in the kitchen. If you want to grow edible lavender, start with a variety sold for culinary use and skip any plants treated with chemicals.
David's Garden Seeds® sells Vera lavender seeds. Vera is an English lavender variety. It's a great choice if you want lavender that you can brew into tea, stir into lemonade, and bake into sweets.
Lavender seeds are slow, so start early. Sow them indoors about 8 to 12 weeks before your last spring frost. For many American gardeners, that means late winter.
Seeds often sprout better after a cold spell. Here's an easy way to give them one:
- Mix your seeds with a little damp sand or seed-starting mix.
- Seal them in a bag.
- Keep the bag in your fridge for about 4 to 6 weeks.
- Then sow them.
Press the seeds onto the soil and cover them with only a very light dusting, because lavender seeds like some light. Keep the soil barely moist and in a warm spot. Sprouting can take two to four weeks, sometimes longer. Be patient. This is normal.
Once your seedlings are sturdy and the frost danger has passed, get them used to the outdoors. Set them outside for a few hours a day and add more time each day for about a week. This is called the hardening off process. Then plant them in the garden.
English lavender grows best in USDA zones 5 to 8. Expect a slow first year. Young plants spend their energy on roots and leaves, and you may get few flowers until the second year. Good things come to patient gardeners.
It is possible to grow lavender in USDA zone 9 because we have friends who have a lavender farm not far from where we are.
Grow English Lavender - Where to Plant Lavender
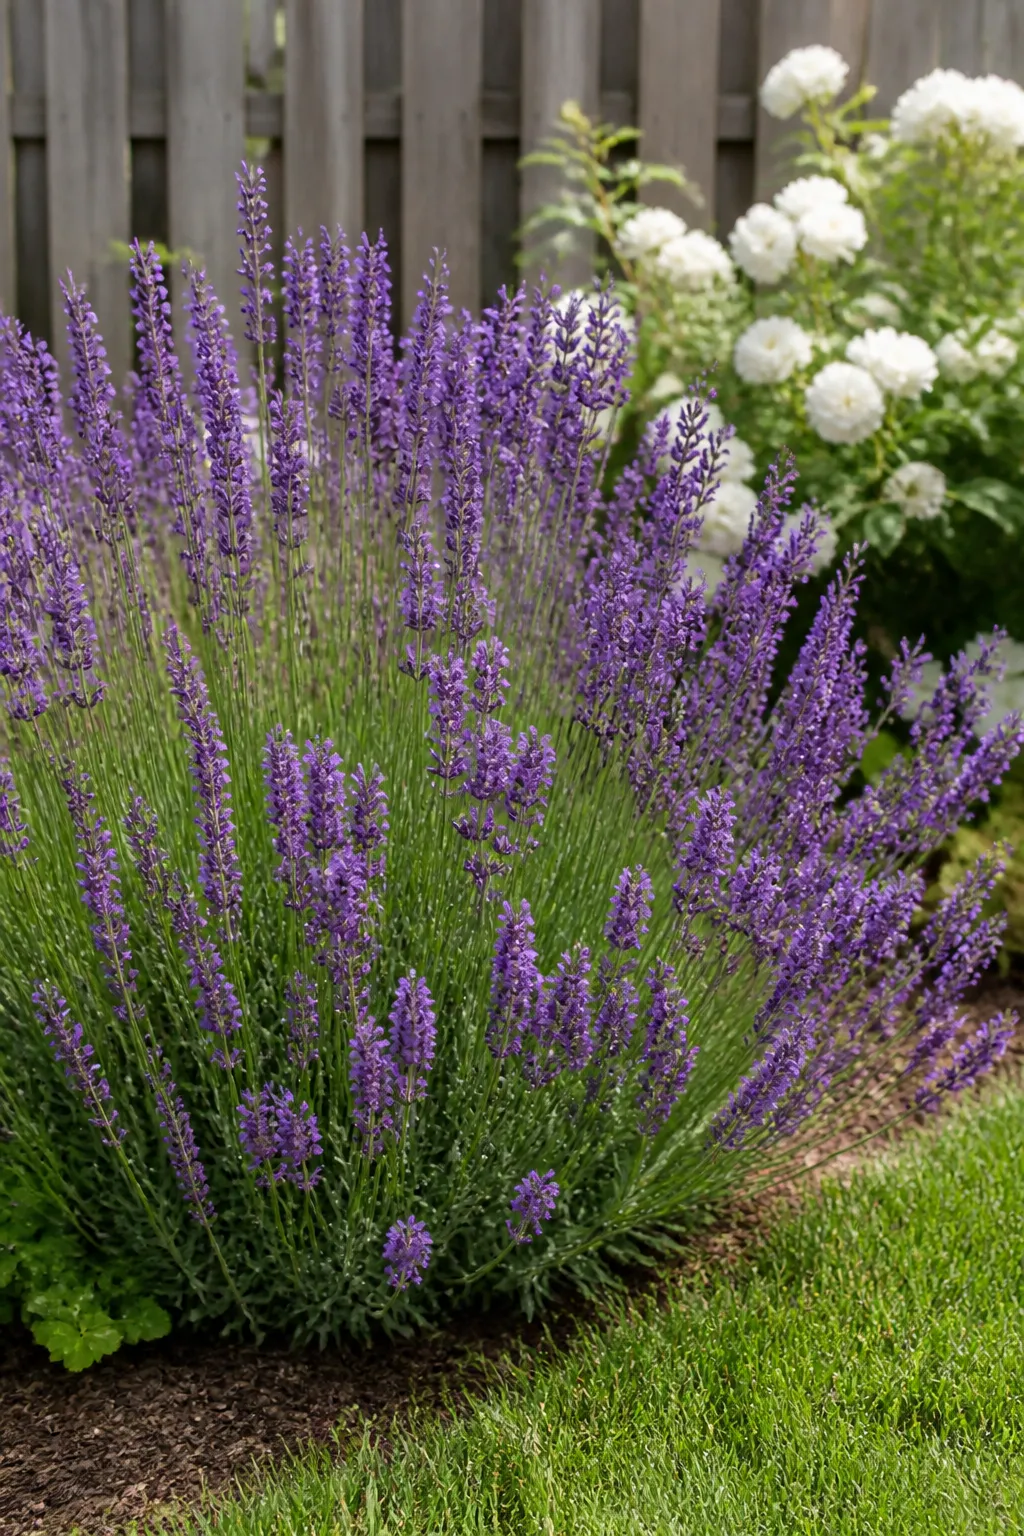
Lavender loves sun. Pick the sunniest spot in your yard, one that gets at least 6 to 8 hours of direct light a day. Less sun means fewer flowers and weaker scent.
Drainage matters even more than sun. Lavender hates wet feet, and soggy soil is the number one plant killer. Avoid low spots where water pools after rain.
Lavender likes lean, sandy or gritty soil that is neutral to slightly alkaline. If your soil is heavy clay, mix in coarse sand or fine gravel. If your soil is quite acidic, a little garden lime can help. A cheap soil test kit will tell you where you stand.
Short on space? Try a raised bed or a large pot. Both drain well, and both fit small yards. Choose a pot with drainage holes and fill it with a gritty mix, such as potting soil blended with sand or perlite.
Give each plant room to breathe. Space English lavender about 12 to 18 inches apart, or a bit more for bigger varieties. Good airflow helps keep the plants healthy, especially in humid places.
Lavender plays well with other Mediterranean herbs like rosemary, thyme, and sage. They all like sun and dry feet. Keep it away from thirsty veggies like cucumbers or lettuce, which need much more water than lavender wants.
Here's how to plant your seedlings:
- Dig a hole as deep as the root ball and a bit wider.
- Set the plant in so the top of the root ball sits level with the soil.
- Fill in the hole and press the soil down gently.
- Water well once to settle the roots.
Skip thick wood chip or bark mulch around the base of the plant. It holds moisture and can cause rot. A thin layer of gravel or small stones works better.
Grow English Lavender - How to Take Care of Lavender Plants
The good news is that lavender is low fuss. Once it settles in, it asks for very little. You can enjoy your sunny, fragrant corner without a lot of work.
Go easy on fertilizer. Rich soil gives you leafy plants with fewer flowers and a weaker scent. If your soil is very poor, a light sprinkle of compost in spring is plenty.
Pull weeds while your plants are young. Small lavender seedlings can't compete with fast-growing weeds. Once the plants fill out, they shade the soil and weeds are less of a problem.
Pruning keeps lavender healthy and full. Without it, plants get woody and floppy over time. A simple yearly trim keeps them tidy and blooming.
Here's an easy pruning plan:
- Right after the main bloom, cut back about one-third of the plant.
- Shape it into a neat mound.
- Don't cut into the old, bare, woody stems. They often won't grow back.
- Leave some green growth on every stem you trim.
In cold areas, a little winter care helps. Don't prune hard in fall. Leave the plant be, and check that the soil drains well so water doesn't freeze around the roots. In wet winters, good drainage is your best protection.
Lavender has few pest problems. Its strong scent keeps many pests away, and it's a favorite of bees and butterflies. That makes it a nice helper plant near your veggie beds, since pollinators will visit.
If a plant looks sick, check the basics first. Is it getting enough sun? Is the soil draining? Is it getting too much water? Most lavender problems come from too much love, not too little.
Grow English Lavender - How to Water Lavender
Overwatering is the biggest mistake new lavender growers make. Vegetable gardeners are used to watering often, so this can feel odd. With lavender, less is more.
Seedlings need gentle, steady moisture. Keep the soil lightly damp, but never soaking wet. Use a spray bottle or a small watering can so you don't wash the tiny seeds away.
In the first season outdoors, water young plants regularly so the roots can spread. A deep soak about once a week is a good starting point, and less if you get rain. Let the soil dry between waterings.
Once your plants are established, usually after the first year, they are quite drought tolerant. In many areas, rainfall may be enough. During long, hot, dry spells, give them a deep drink every couple of weeks.
Try the finger test. Push your finger 2 inches into the soil near the plant. If it feels damp, wait. If it feels dry, it's time to water.
Water at the base of the plant, not over the top. Wet leaves and flowers can invite mold, especially in humid weather. Morning is the best time to water, so the plant dries off during the day.
Pots dry out faster than garden beds, so check them more often. Still, never let a pot sit in a saucer of standing water. Drooping, yellowing, or mushy plants can signal too much water, so cut back.
If you live somewhere rainy or humid, raised beds and gravel mulch are your friends. They help water drain away fast. A little extra planning goes a long way.
Grow English Lavender - How to Harvest Lavender
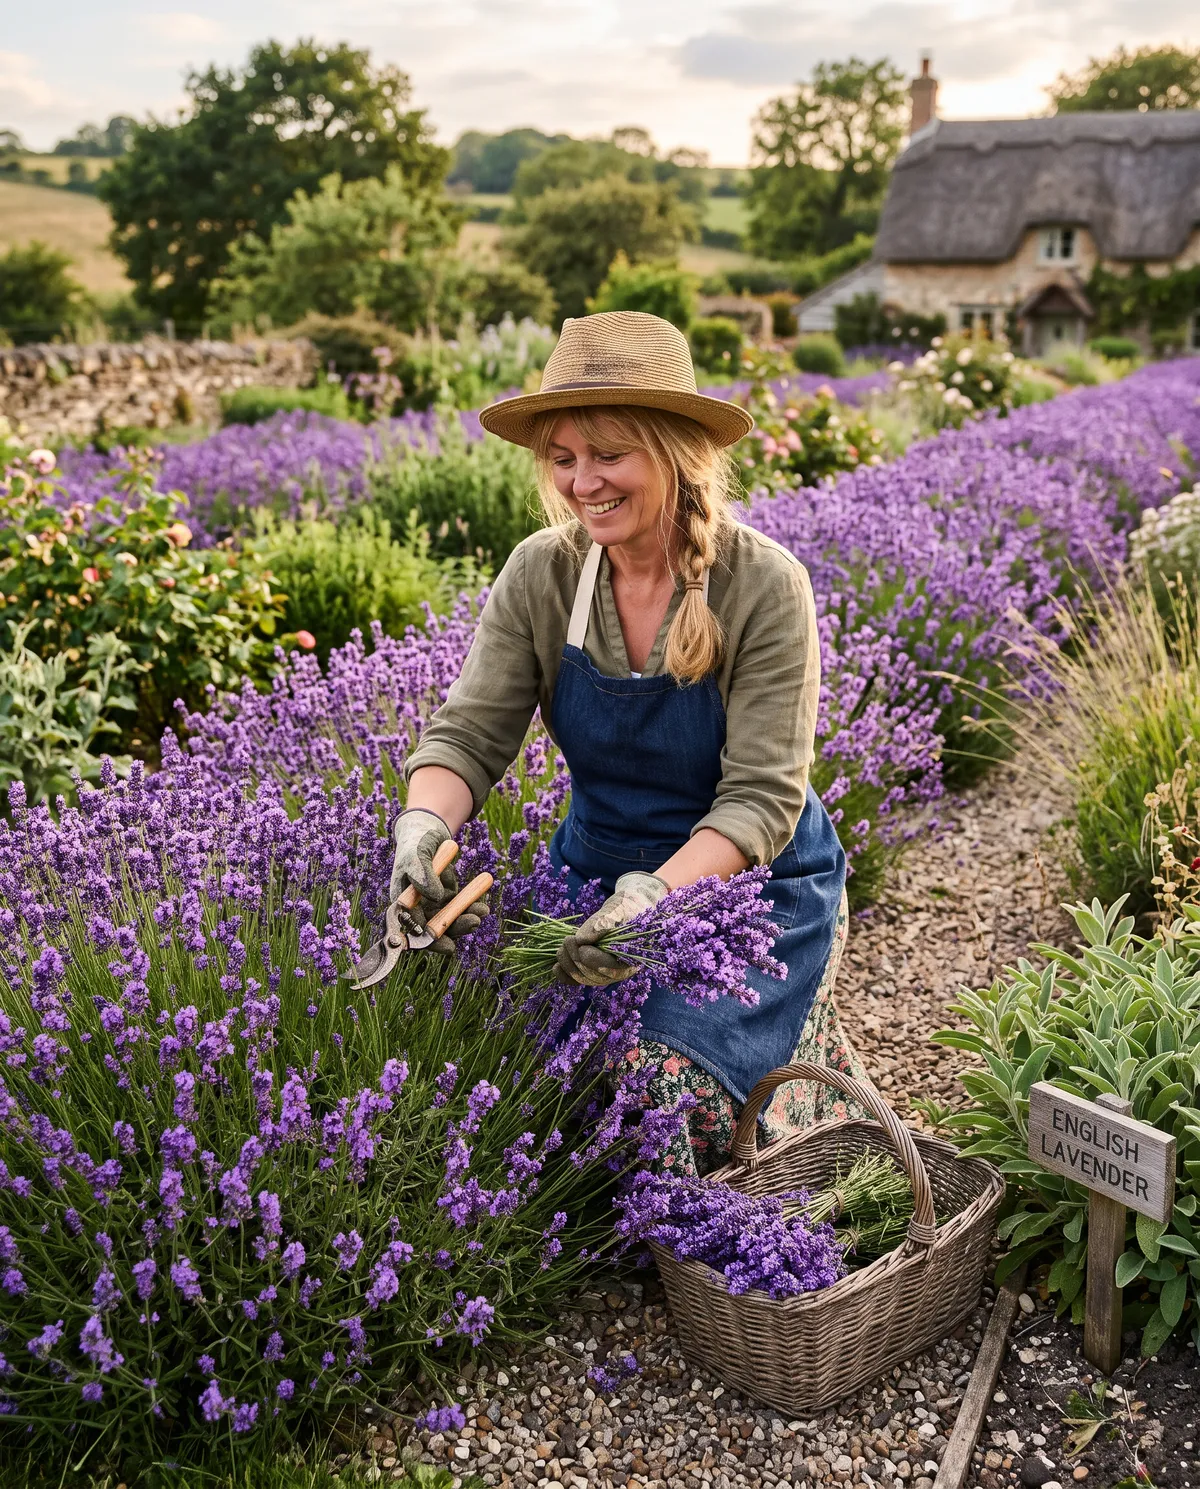
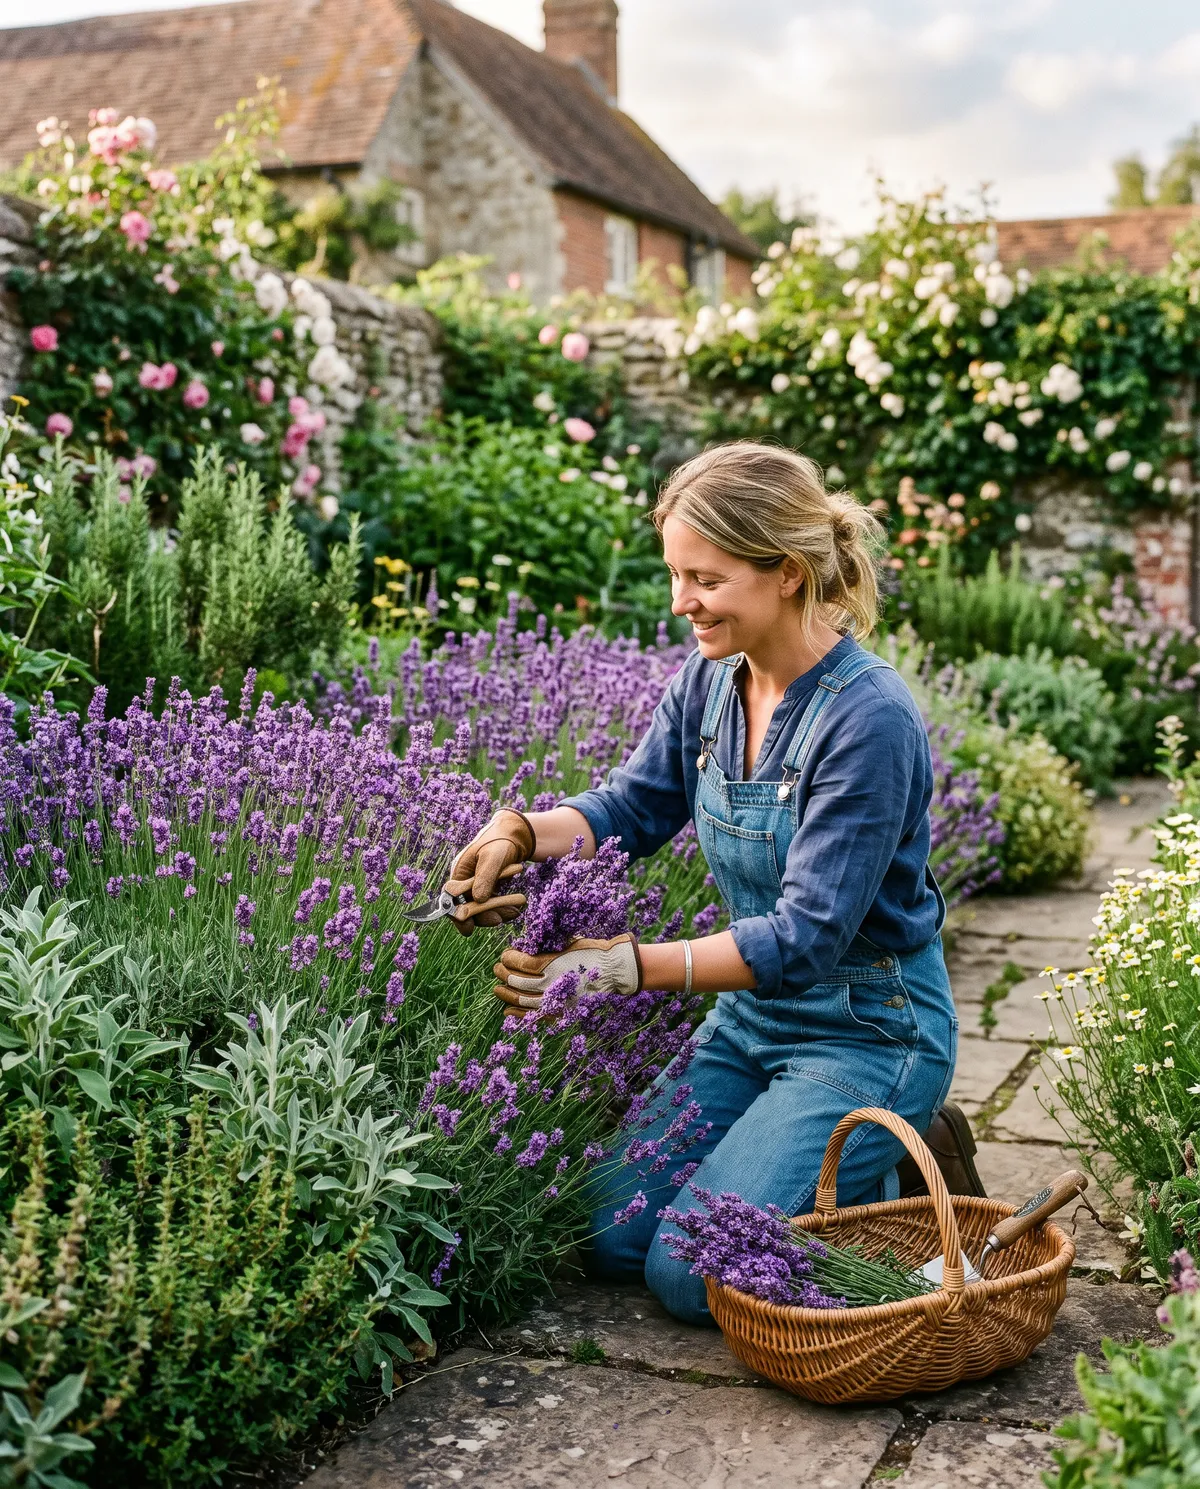
Harvesting is the fun part. Your plants will be buzzing with bees and smelling wonderful. Here's how to get the best flavor and scent.
The best time to cut is when about one-third to one-half of the buds on a flower spike have opened. At that stage the oils are strong. For most gardeners, this is early to mid summer.
Pick on a dry morning, after the dew has dried but before the afternoon heat. Wet flowers can mold when you dry them.
Use clean, sharp scissors or pruners. Cut the stems long, just above the leaves, and leave some green growth on the plant. Gather a small bunch in your hand and snip all at once.
If you plan to cook with your lavender, harvest only from plants you know are free of chemical sprays. Never use lavender from a store-bought plant unless the label says it's safe to eat.
To dry your harvest:
- Bundle 20 to 50 stems and wrap a rubber band around them.
- Hang the bundle upside down in a warm, dark, airy spot.
- Wait about 2 to 4 weeks, until the stems snap and the buds feel dry.
When the bundles are dry, rub the buds off the stems into a bowl. Store the buds in a clean glass jar with a tight lid, away from light and heat. Label the jar. Dried lavender holds its scent and flavor best when it stays dark and dry.
Your first-year plants may give you only a small harvest. That's fine! Even a few stems make a nice tea or a small sachet. Each year the plants get bigger and you'll get more.
Grow English Lavender - How to Use Your Harvest
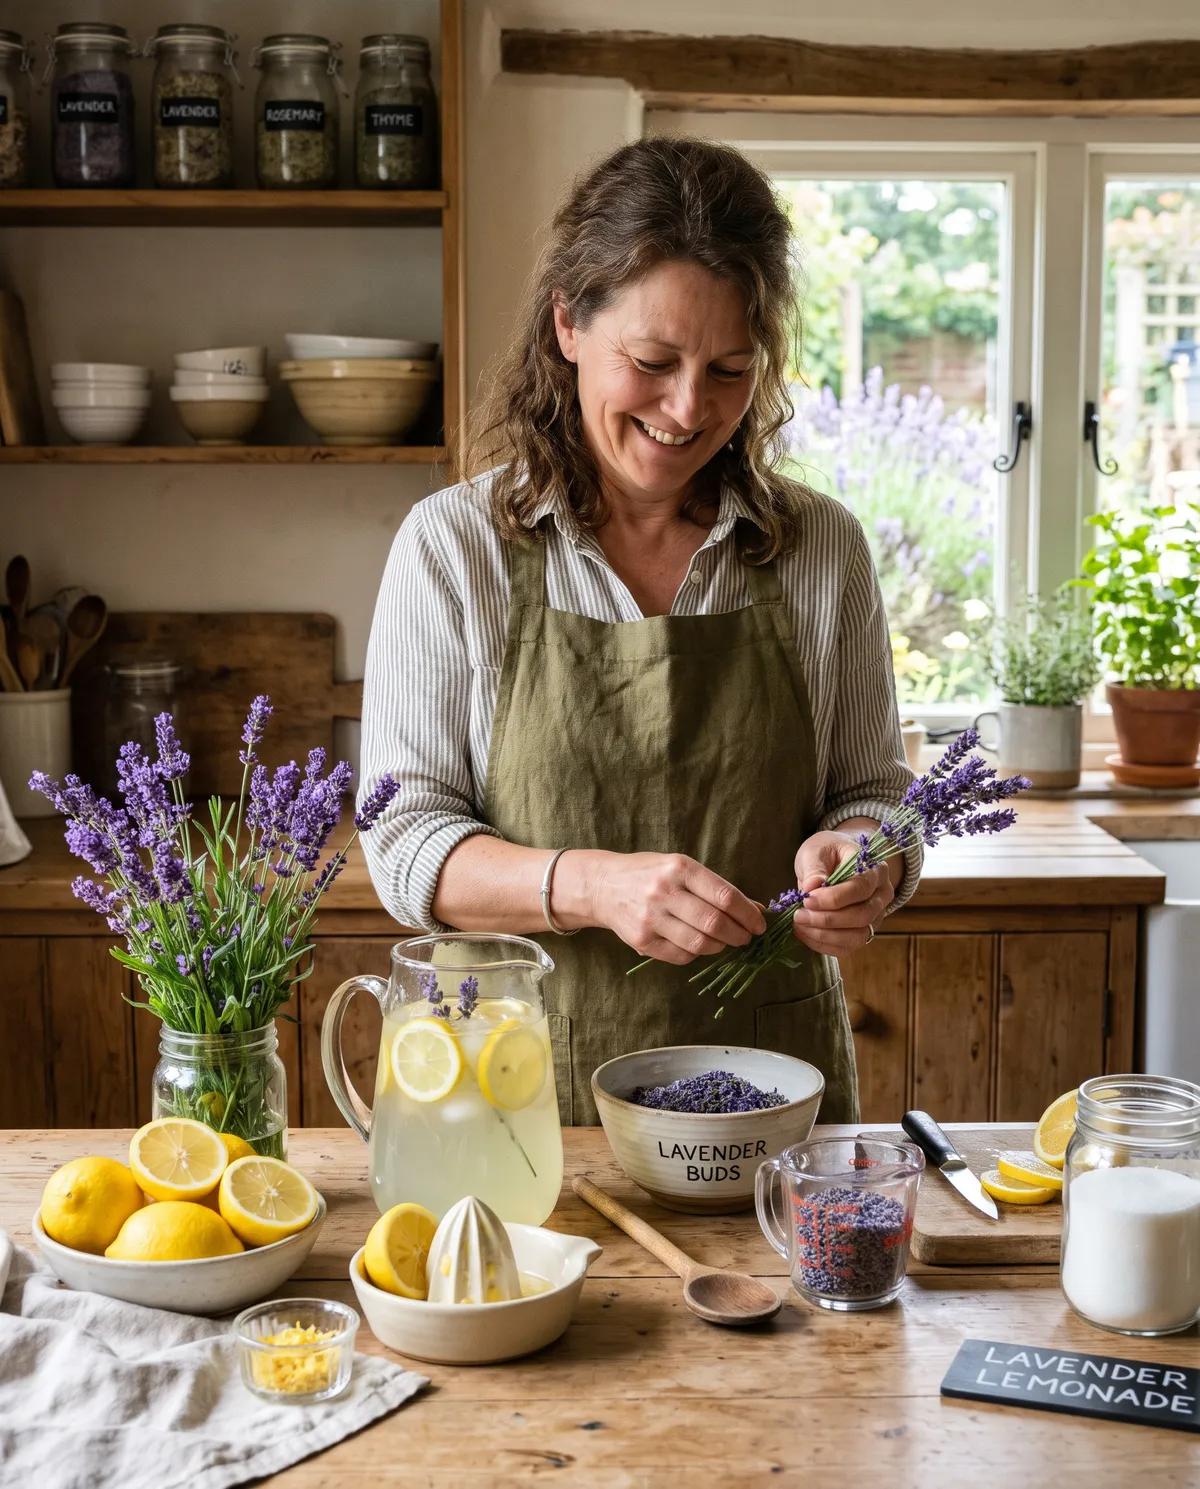
You can use your lavender in lots of ways. Hang bundles in the kitchen, tuck buds into sachets, add stems to flower bouquets, and, with edible English lavender, cook and bake with it. Lavender can be a delicious part of a garden.
A quick safety note: use only edible lavender, picked from plants grown without harmful sprays. English lavender buds are the standard for cooking.
Craft or decorative lavender may not be safe to eat, so keep those separate.
A cooking tip: use a light hand. Too much lavender tastes soapy or bitter, and a little goes a long way. Start with less than you think you need. You can always add more next time.
Here are some easy lavender recipes to try with your harvest, starting with lavender tea:
- Put 1 teaspoon of dried lavender buds in a cup or tea infuser.
- Pour hot water over the buds.
- Steep for 5 to 10 minutes, then strain.
- Add a little honey or a slice of lemon.
Next, lavender lemonade. First make lavender syrup:
- Heat 1 cup of water and 1 cup of sugar until the sugar dissolves.
- Remove from the heat and add 1 to 2 tablespoons of dried lavender buds.
- Let it steep for 15 to 20 minutes, then strain.
- Stir the syrup into fresh lemon juice and cold water, to your taste. A good start is 1 cup of lemon juice and about 4 cups of water. Serve over ice.
Lavender sugar is as simple as it gets. Mix 1 cup of sugar with 1 tablespoon of dried lavender buds in a jar. Shake it and let it sit for a week or two. Use it in tea, sprinkle it on cookies, or stir it into whipped cream.
For lavender sweets, try shortbread cookies. Add about 1 to 2 teaspoons of finely chopped dried lavender buds to your favorite shortbread dough. The buttery taste and the floral note go together beautifully. Remember to start small.
A few more ideas for your kitchen:
- Stir a pinch of buds into honey and let it sit for a few days.
- Add a few buds to a fruit salad with berries or peaches.
- Mix a pinch into a dry herb blend for chicken or roasted vegetables.
- Sprinkle a few buds into homemade ice cream or yogurt.
Grow English Lavender - How to Make Lavender Sachets
Sachets are a perfect first craft project for your harvest. They're cheap, quick, and they make your drawers and closets smell fresh and calm.
Gather these supplies:
- Dried lavender buds
- Small squares of cotton, muslin, or other breathable fabric (about 5 by 5 inches)
- Ribbon, string, or twine
- Scissors
- Optional: a needle and thread
For a no-sew sachet:
- Lay a fabric square flat.
- Spoon about 2 to 3 tablespoons of dried buds into the center.
- Gather the corners together to make a little pouch.
- Tie it tightly with ribbon or twine.
If you like to sew, fold a fabric rectangle in half with the pretty side in. Stitch up two sides, turn it right side out, fill it with buds, and sew the top shut. Add a ribbon loop so you can hang it on a hanger or doorknob.
Put your sachets anywhere you'd like a fresh scent. Try dresser drawers, linen closets, and under your pillow. You can also tuck one in your car or a gym bag.
When the scent fades, give the sachet a gentle squeeze or rub to release more oil. It should last for months. When it's finally flat, open it and refill it with fresh buds. Keep craft sachets separate from your kitchen lavender, so you never mix them up.
Grow English Lavender - Closing
Now you know how to grow English lavender in your backyard garden, taking it from seed to sachet to the kitchen table. Pick a sunny spot, keep the soil well drained, go easy on the water, and give your plants time. If you're ready to start, the Vera English lavender seeds from David's Garden Seeds® are a great way to grow English lavender which is the edible kind of lavender and begin your own collection of lavender recipes. Happy gardening!
Monday, November 9, 2026
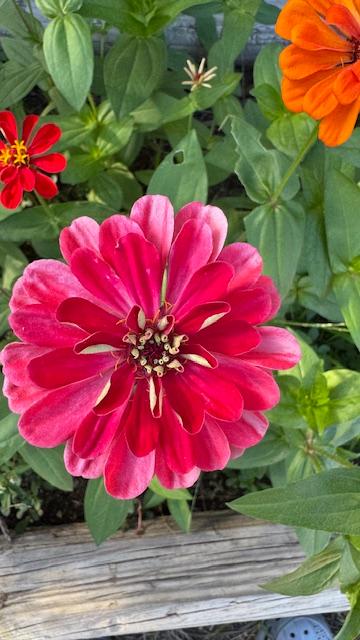 This spectacular magenta zinnia is in my garden right now, along with many others. Come by this week and see them. Get your own zinnia seeds to plant in early spring!
Good morning. The rain has been coming down for hours now. It is 8am. Since yesterday morning, so far, we have received one and 2/10 inches of rain. Not much, considering how long it has been raining. But that is a lot for us.
Matt got here and fed the outdoor animals. They are all under shelter because everything is so wet. Poor babies.
I filled all of the seed orders and got them in the mail.
All of the rain over two days has only netted 1 and 3/10 inches of rain.
I waited all day long for Amazon to deliver me a new pair of dress shoes that I found. Now that it is dark and after 7pm, they dumped them over the gate and notified me. I had to put a jacket and shoes on and go out in the muddy, scary darkness and find them before the rain ruins them. Amazon had the whole day and chose to wait until night. Why? Anyway, I went out and got them and they are fine.
Tuesday, November 10, 2026
Good morning. It is still rainy out. I had to go out early to feed the cat and fish because we will be leaving the farm shortly to go into San Antonio. Matt, David, and I will be recording a radio commercial to start playing on the Bob Webster show as well as the David Rodriguez show on weekend mornings in January of 2027. Matt wrote a new verse for our jingle that he will be performing on the ad.
Once this ad is done, we will shoot a new video commercial and put it up online with the new jingle.
Wednesday, November 11, 2026
 David of David's Garden Seeds is a US Army veteran. He is also my husband. Wasn't he handsome in uniform?
Happy Veteran's Day! Above is a photo of my husband when he joined the United States Army. Below is a photo of my father when he joined the United States Air Force. If you are a veteran, thank you so much for your service!
 Here is a photo of my father, Richard Yorgensen, in his US Air Force uniform. He looked very handsome. Hard to believe he has been gone for 35 years now.
Thursday, November 12, 2026
Friday, November 13, 2026
Saturday, November 14, 2026
Sunday, November 15, 2026
Return from Grow English Lavender to Grow From Seed
Anything To Share On This Topic?
Would you like to share additional information about this topic with all of us?
Since 2009, over 2,000,000 home gardeners, all across the USA, have relied on David's Garden Seeds® to grow beautiful, productive gardens. Trust is at the heart of it. Our customers know David's Garden Seeds® stocks only the highest quality seeds available. Our mission is to become your lifetime supplier of quality seeds. It isn't just to serve you once; we want to earn your trust as the primary supplier of all of your garden seeds.
Watch Our 2022 TV Commercial!
Sing Along To Our Jingle
♪♫♪♪ ♫ ♪ ♫♪♫♫
♪♫♪♪♫♫
Peppers and peas
And lots of yummy greens
You can't go wrong
With Squash This Long
At David's Garden Seeds
♪ ♫ ♪ ♫
Our New 2024 TV Ad
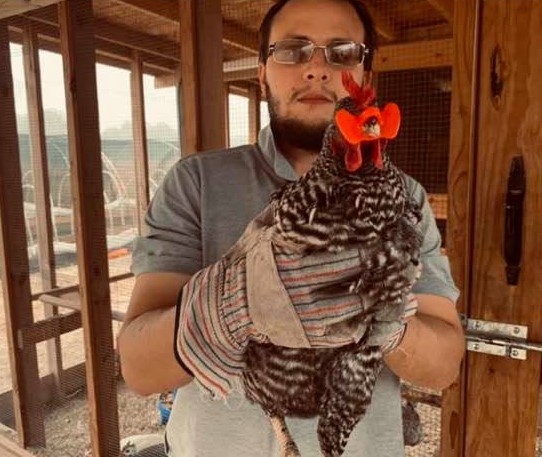
Please like and subscribe on YouTube and come visit us at our Farm Store! The music on our TV ad was written, played, and sung by our son, Matthew Schulze. You can meet him when you come to the farm. He just might give you a tour. Ask him to grab a guitar and sing our jingle that he wrote.
Our 2022 TV Ad

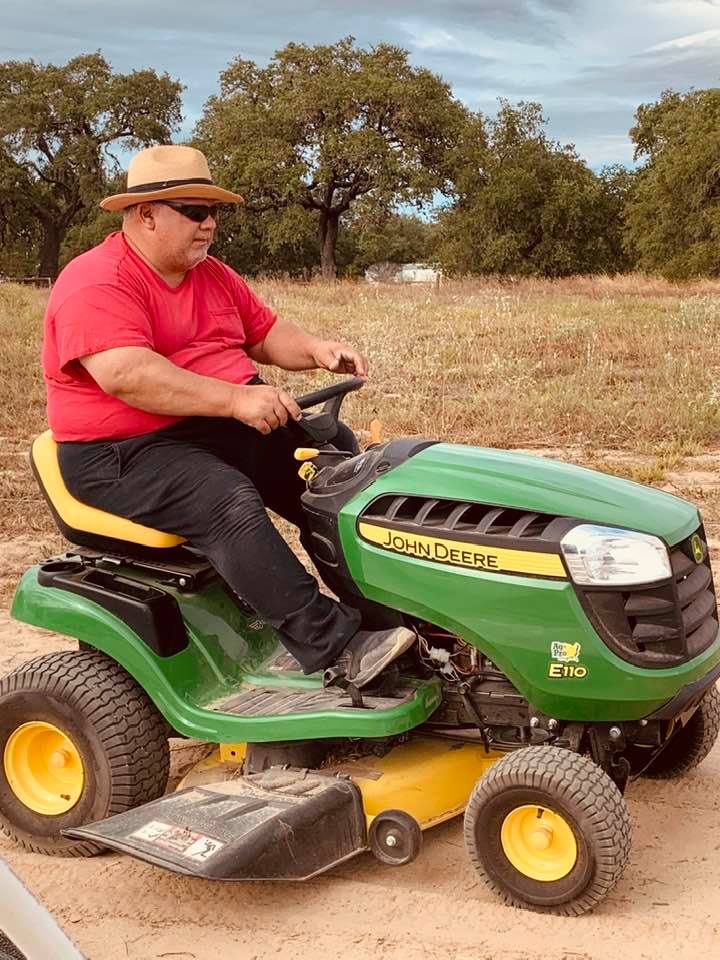 David of David's Garden Seeds® zipping along on his little tractor across the farm. He is having a blast!
We are David's Garden Seeds®. If you need great seeds, we've got over 500 varieties to choose from.
Subscribe To Mrs. David's Garden Seeds® Newsletter For FREE!
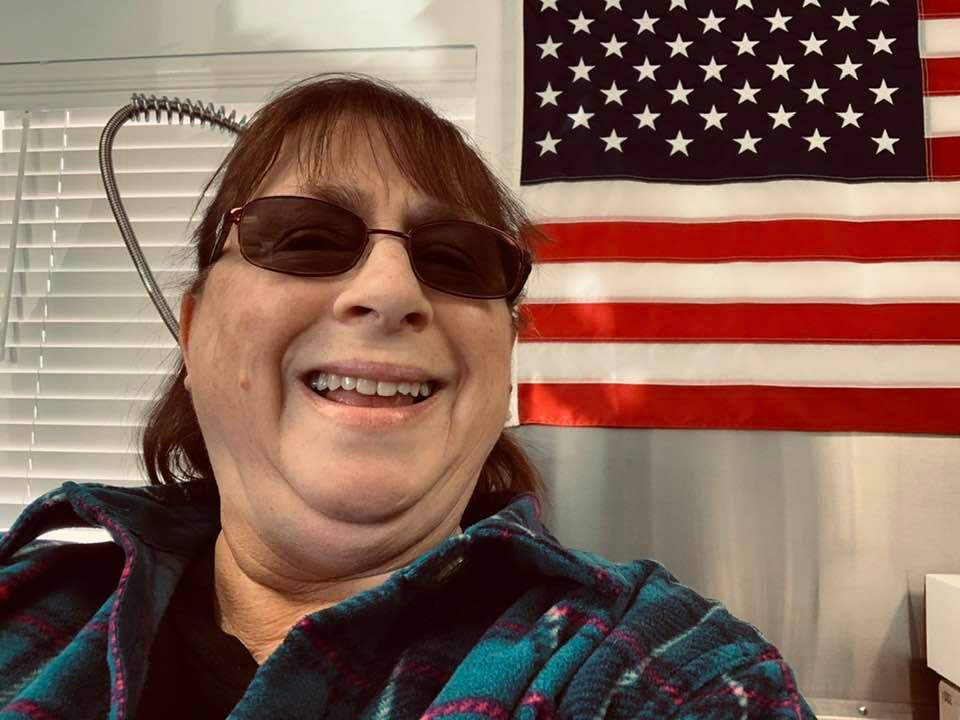

Find out what is going on down on the farm by reading our blog and by subscribing to our free newsletter for all of the information going down at David's Garden Seeds® and on the farm. I love to share helpful information with you. Please let your friends know and y'all come on down for a visit when you get the chance. We would love to meet you!
New Store Hours!
Farm Store Hours: Mon-Fri 10am-5pm, Sat 10am-2pm. Closed Sun-Wed.

Being out here in the country, we had awful internet & we could not stream TV. We got Starlink in April of 2025 & we love it! Now we can stream and work, even when it is raining!
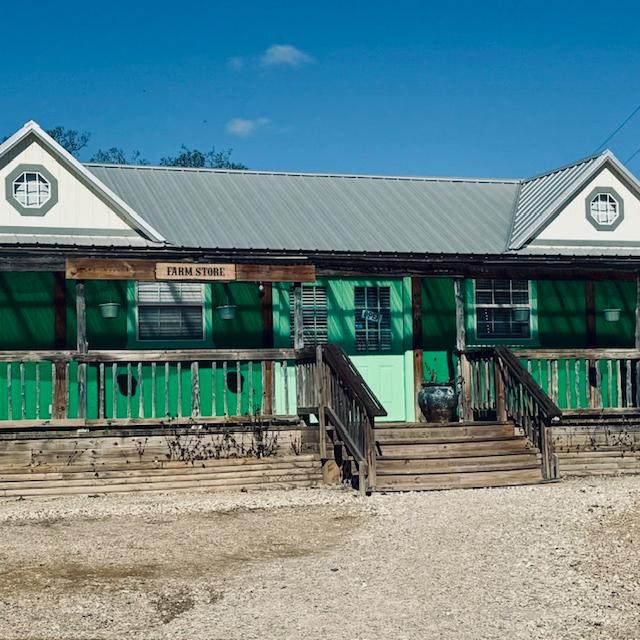 Our Farm Store
Shop for:
- Seeds
- Farm Fresh Eggs
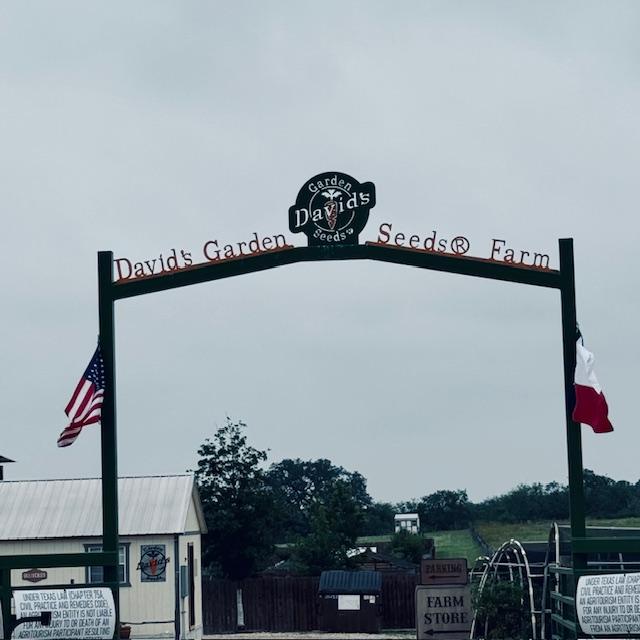
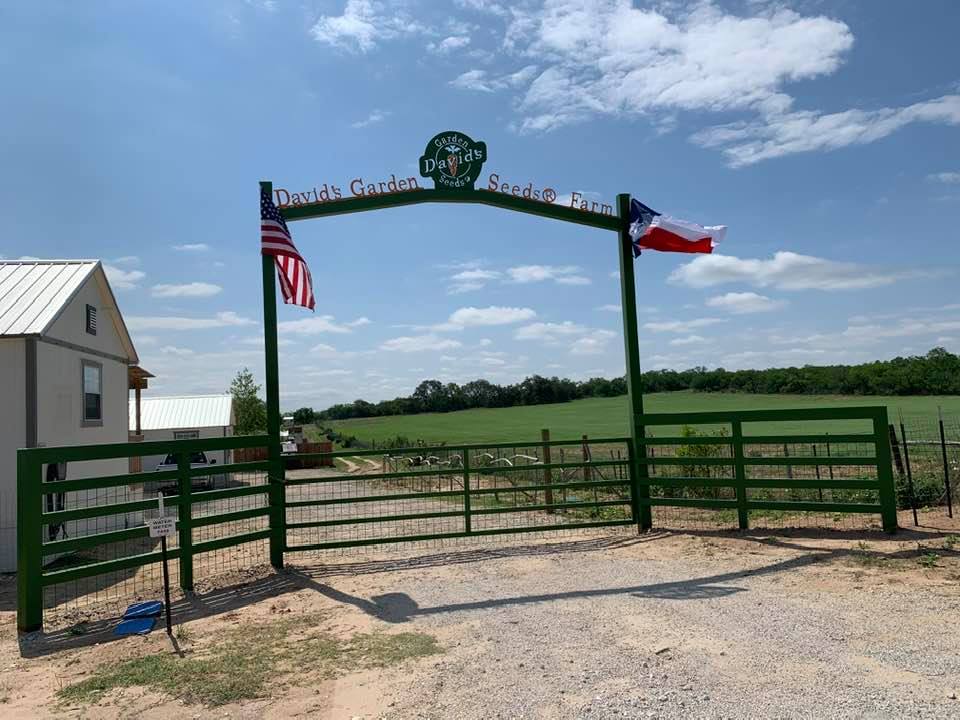
Our Farm is located at 5029 FM 2504 in Poteet, TX.
 Only happy seeds make the cut to go into our seed packs!
David's Garden Seeds® has
seeds for the backyard gardener and farm fresh chicken eggs.
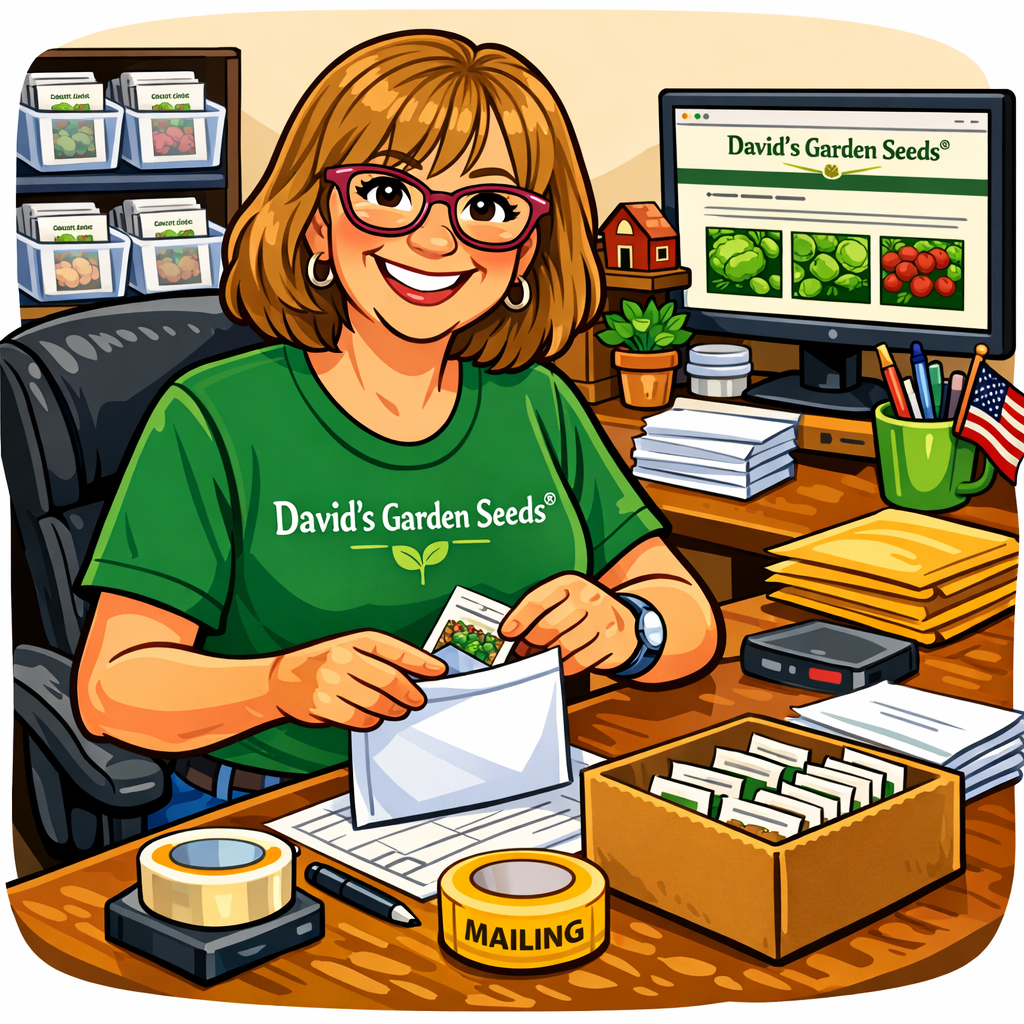
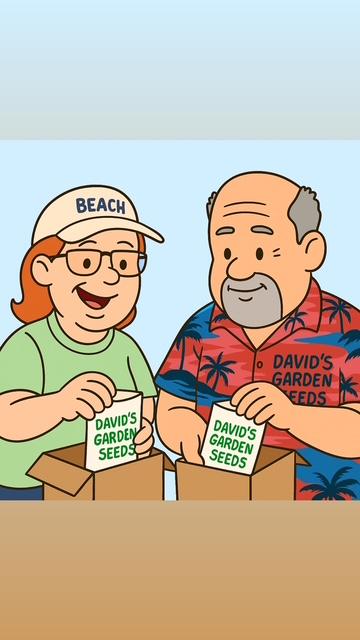 David & Juanita work hard to pack your garden seed orders.



Sign Up For Our Newsletter Here!
   DGS YouTube Mrs
|
   |
Garden Ebooks
by Mrs. David's Garden Seeds
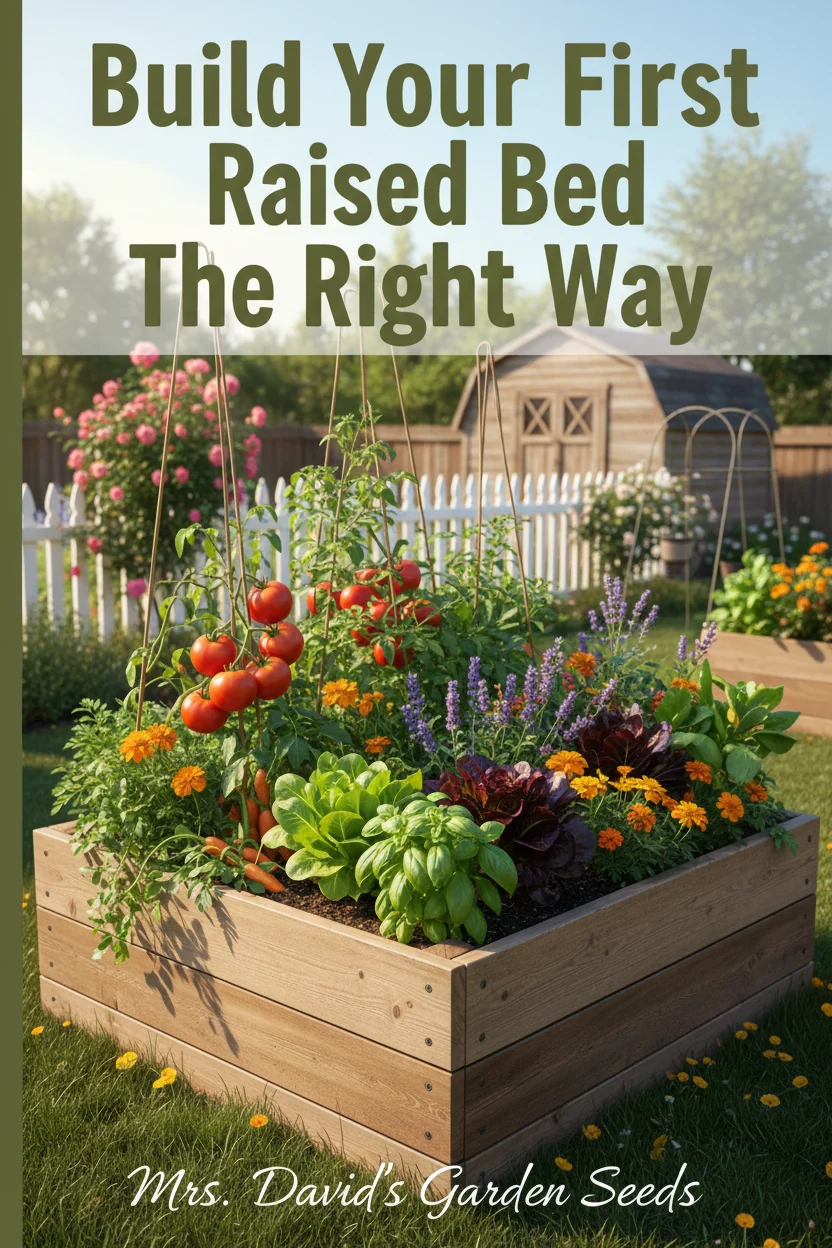
 I've been busy creating eBooks to help you with your garden...
IMPORTANT NOTE: THE EBOOKS ARE DIGITAL DOWNLOADS (EBOOKS), NOT PHYSICAL BOOKS.
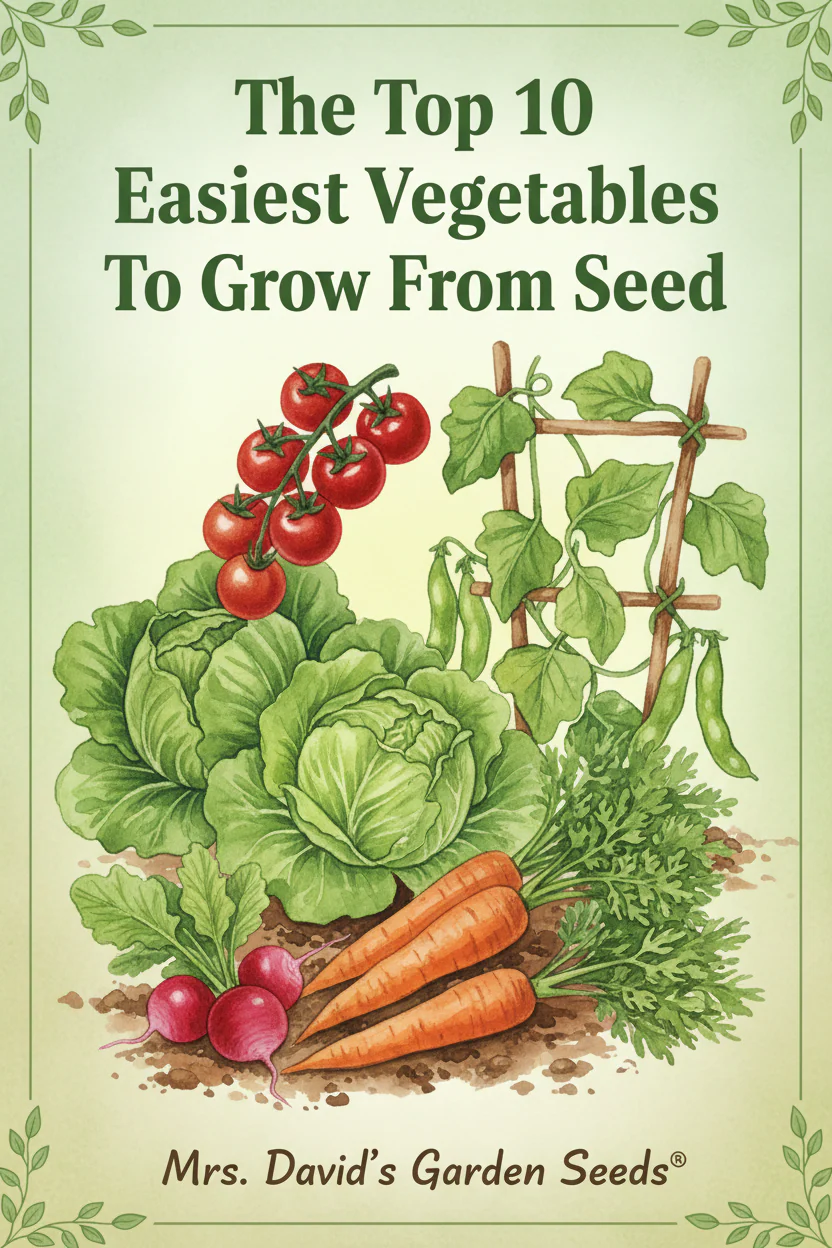
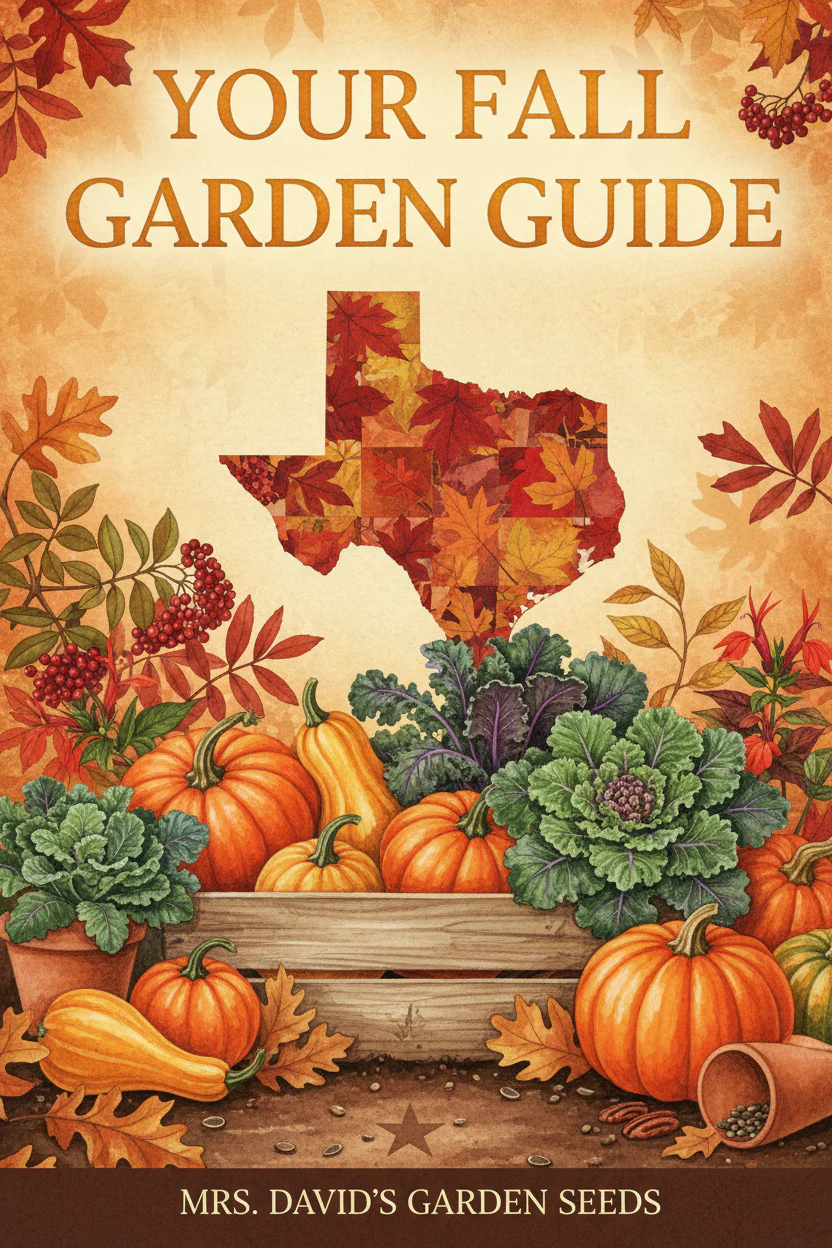
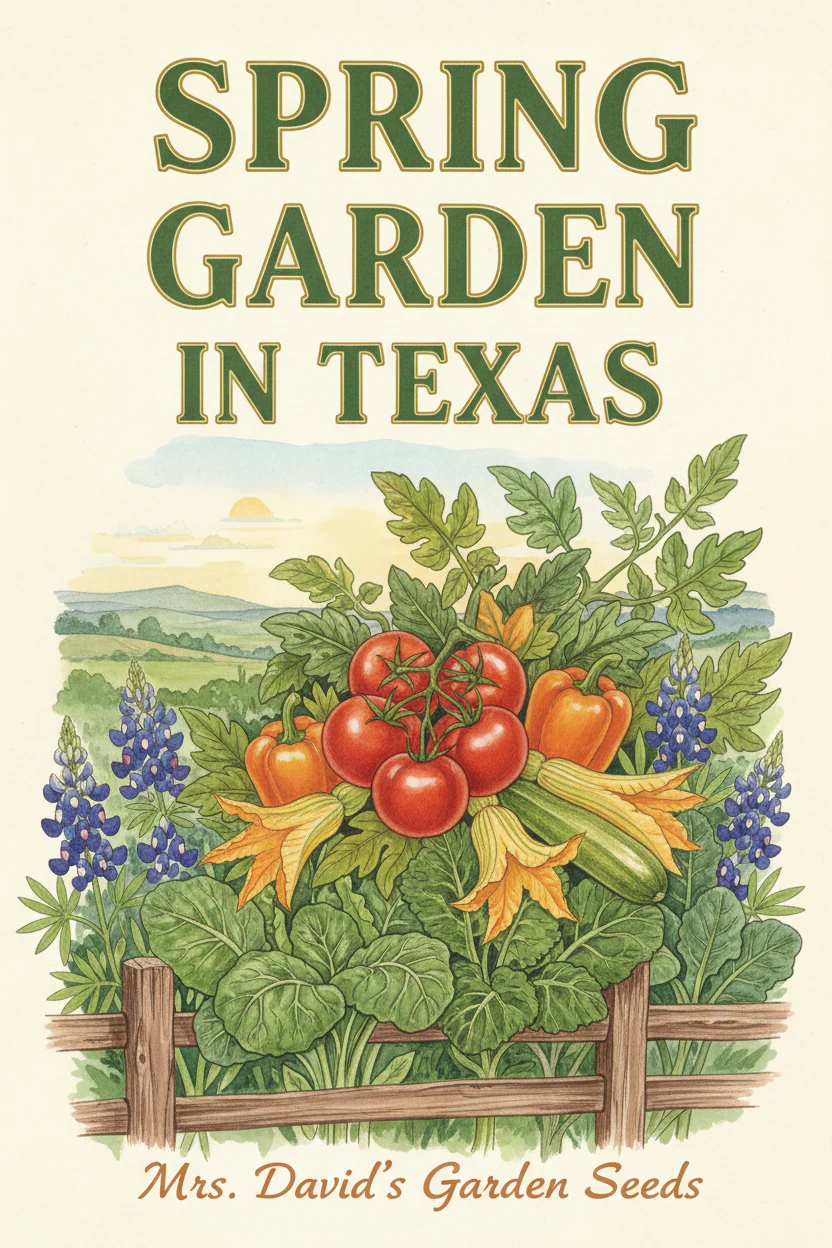
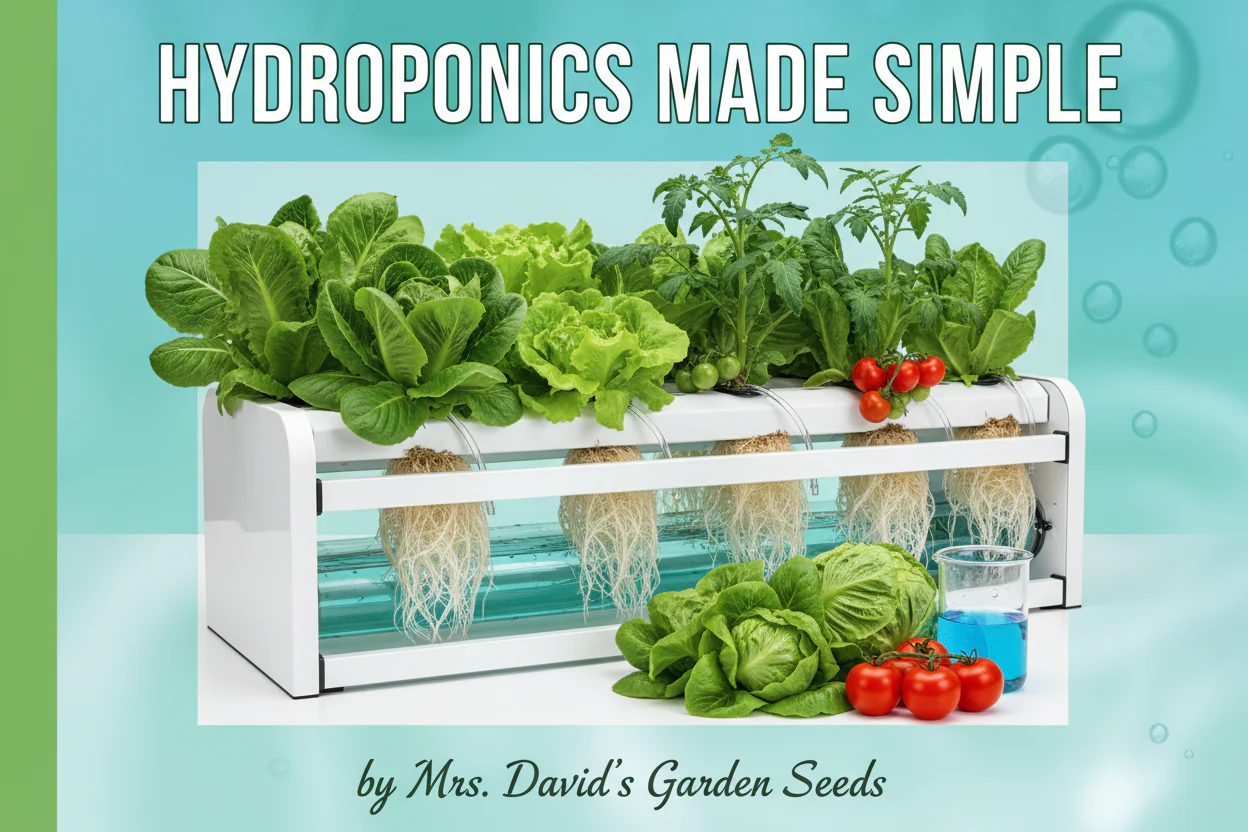
WE DO NOT REFUND OUR DIGITAL DOWNLOADS FOR OBVIOUS REASONS.
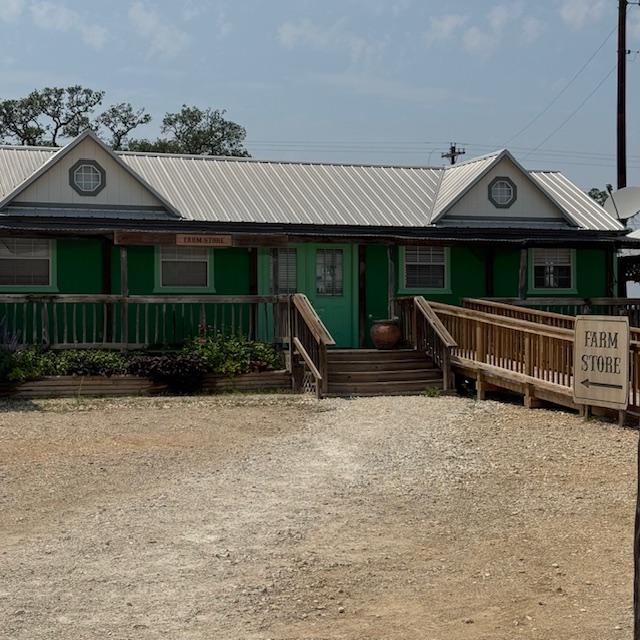 Our Farm Store is the green building
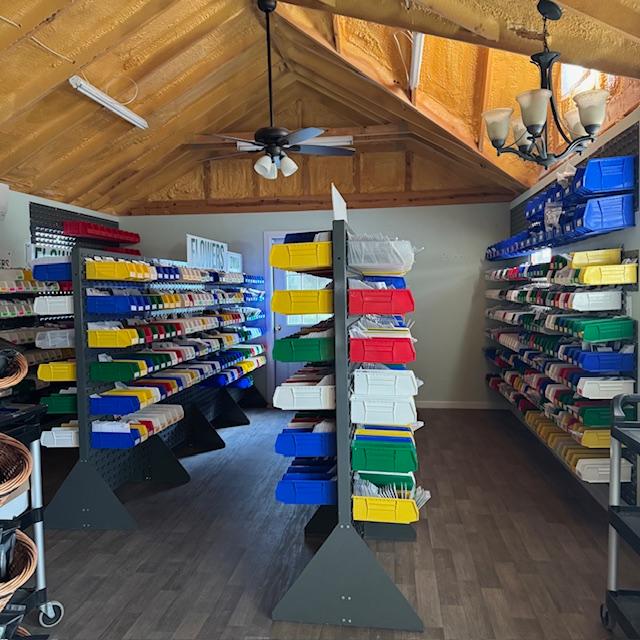 Inside our Farm Store...1400 varieties of seeds await you!
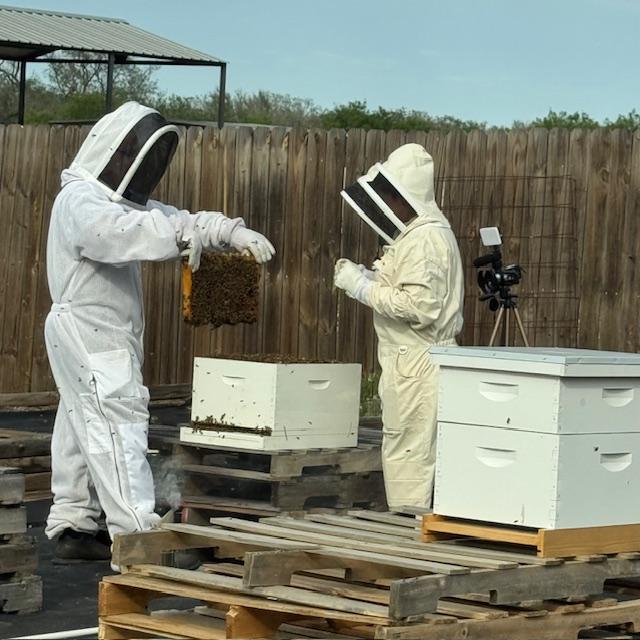 Our bee hives
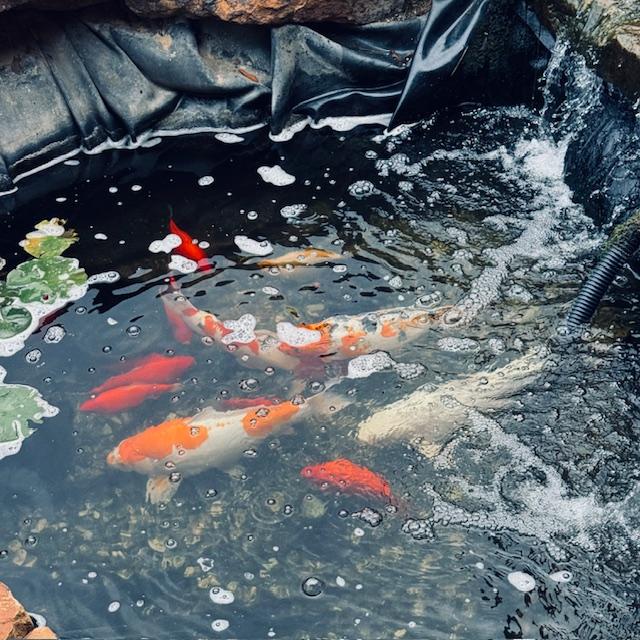 Our fish pond
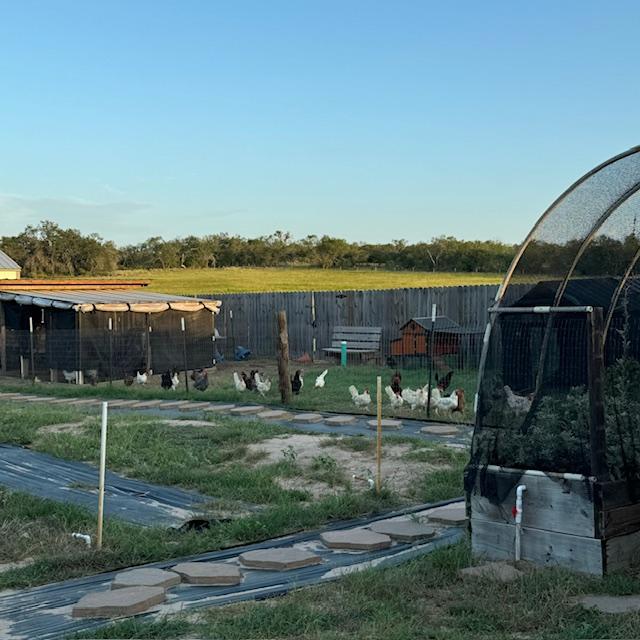 Our chickens
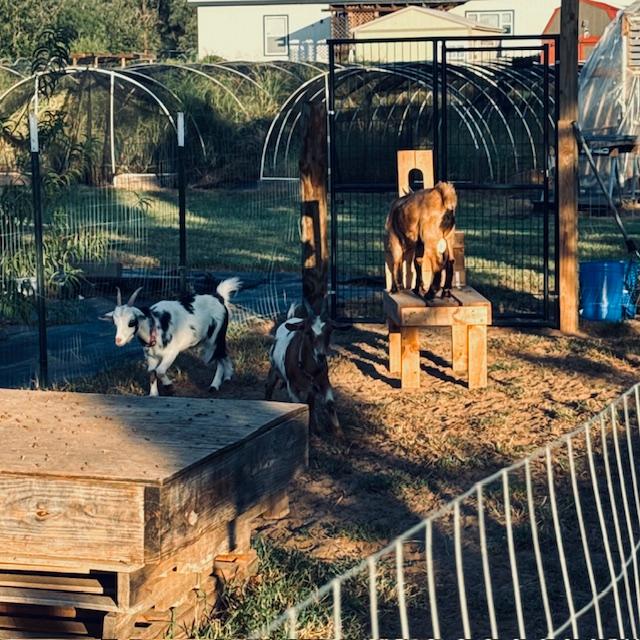 Our Nigerian Dwarf goats
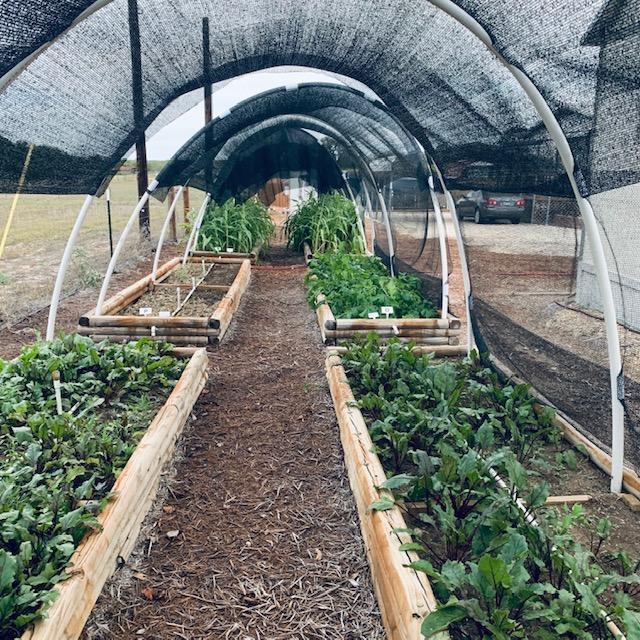
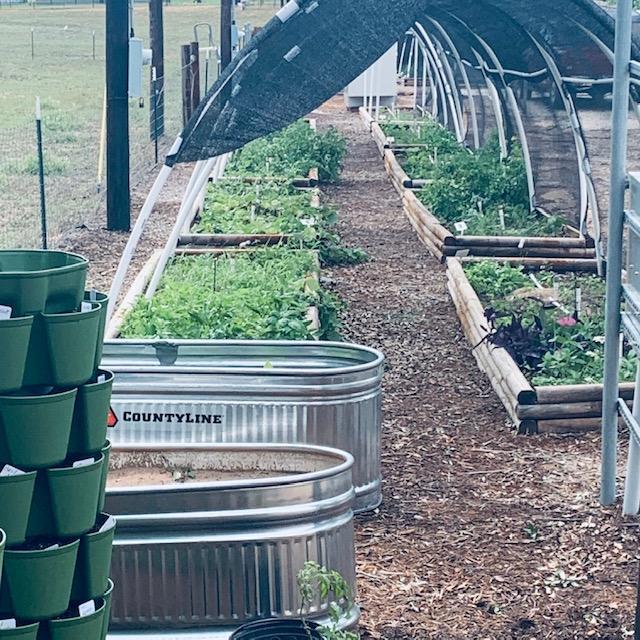 A few of our raised garden beds
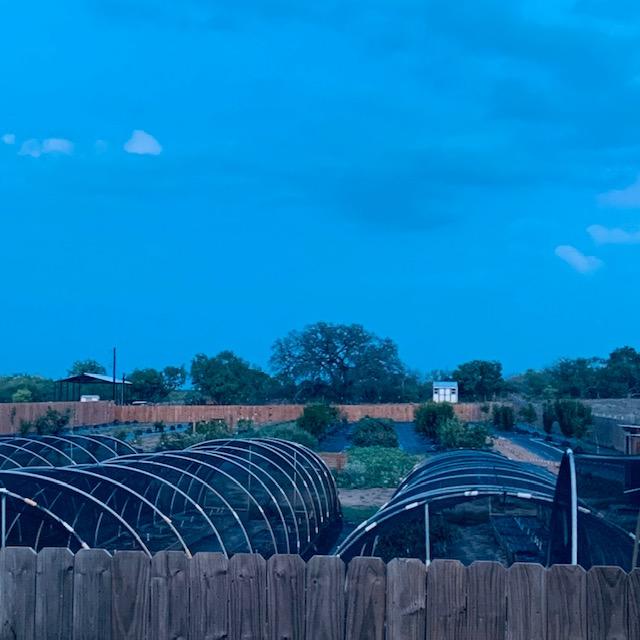 Our orchard and hoop houses
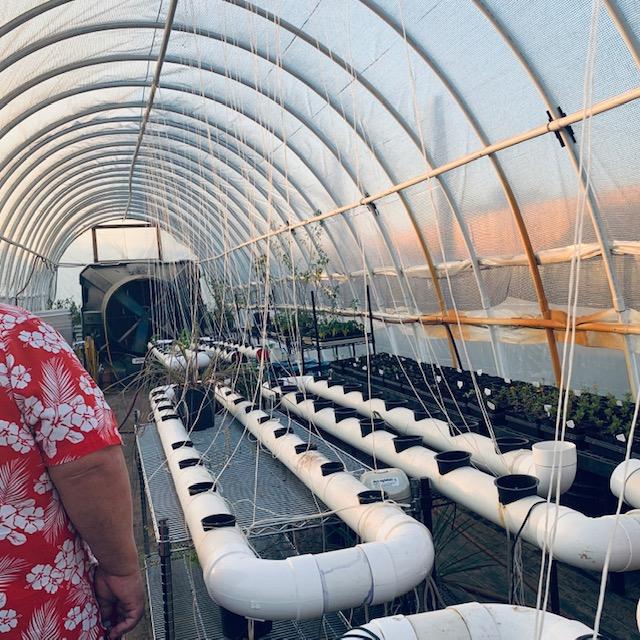 Inside our high tunnel
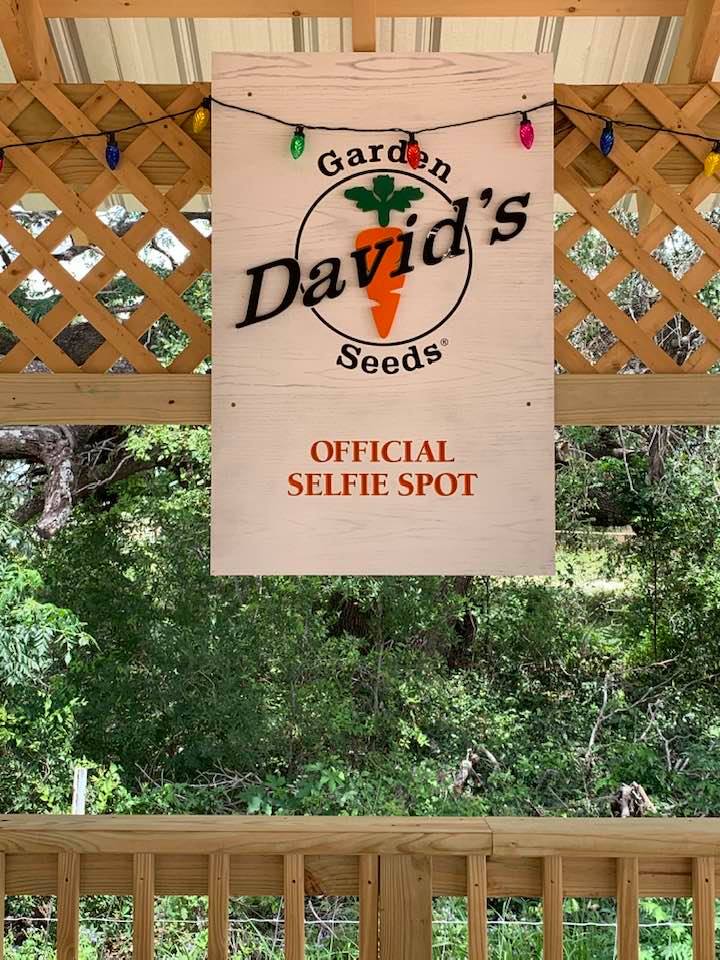 Take a selfie at our official selfie spot!
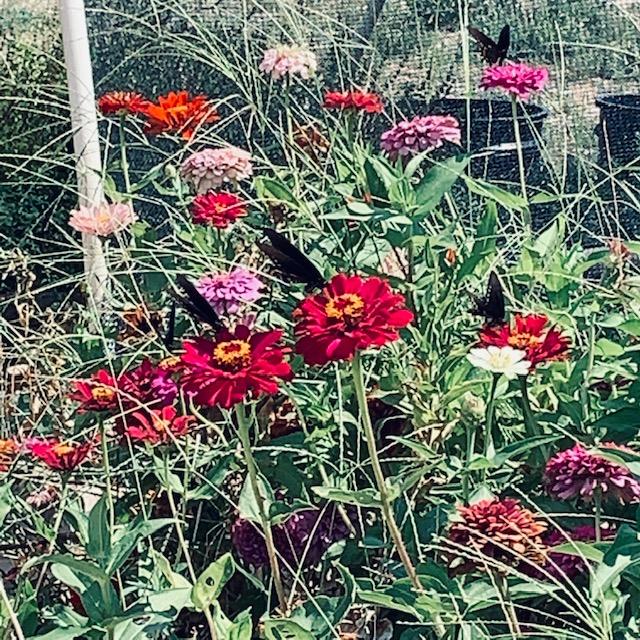 Flowers, bees, and butterflies are everywhere!
Watch Our TV Ads!
David's Garden Seeds® has the best Non-GMO seeds in the state of Texas!


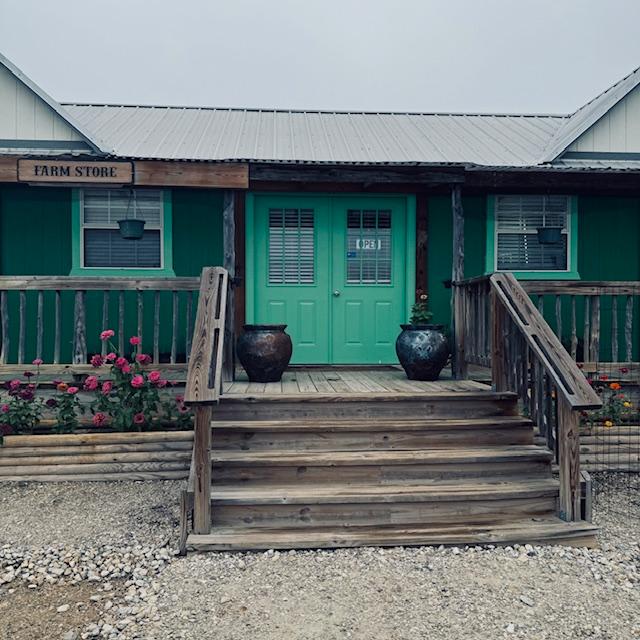 This is our beautiful Farm Store. Come in and shop for seeds. We have over 1600 Non-GMO heirloom varieties to choose from but we are in the process of bringing that number down to half.
Our Story
Hi Everyone! Thank you for visiting my website! I am Mrs Davids
Garden Seeds® aka Mrs. David's Garden Seeds and I think you should know that there is a wonderful seed
company in the great state of Texas called David's Garden Seeds®. We grow some of our seed, we count, hand pack, print our own envelopes, and ship seeds out to you right here from our farm. This used to be an old peanut farm. When the owner died about 15 years ago, his sons split the farm up and sold it in pieces. In 2024, we bought another adjoining four acres.
Our business started in our home in San Antonio in September of 2009. David decided to sell some seeds he had left over from his garden on Amazon. I told David, "Don't bother, it won't work!". I am so glad that David did not listen to me because it did work! By 2015, we had 8 employees working in my home every day and David found a storefront in San Antonio and moved the business there. In 2016, I quit my day job and went on the payroll. The company grew some more and David moved to a bigger storefront in 2017. In 2019, we found a beautiful piece of land over in Atascosa County and turned it into a farm out near Poteet. David and I moved out here to live in August of 2019.
In 2020, we moved our company out to the farm. We have a beautiful Farm Store filled with seeds, a gazebo with a pond full of koi and gold fish for you to visit. Come by and visit us at 5029 FM 2504 in Rossville, just outside of Poteet, Texas, Monday through Friday from 9am to 5pm and Saturday from 10am to 2pm. Or you can order seeds online from our user-friendly website, www.davidsgardenseeds.com.
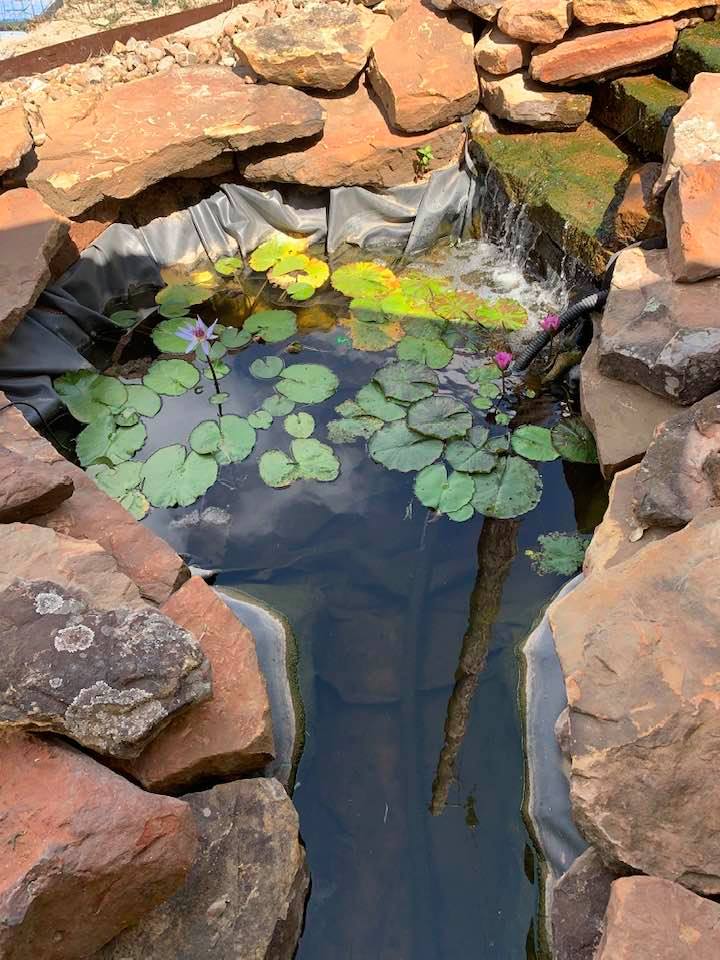


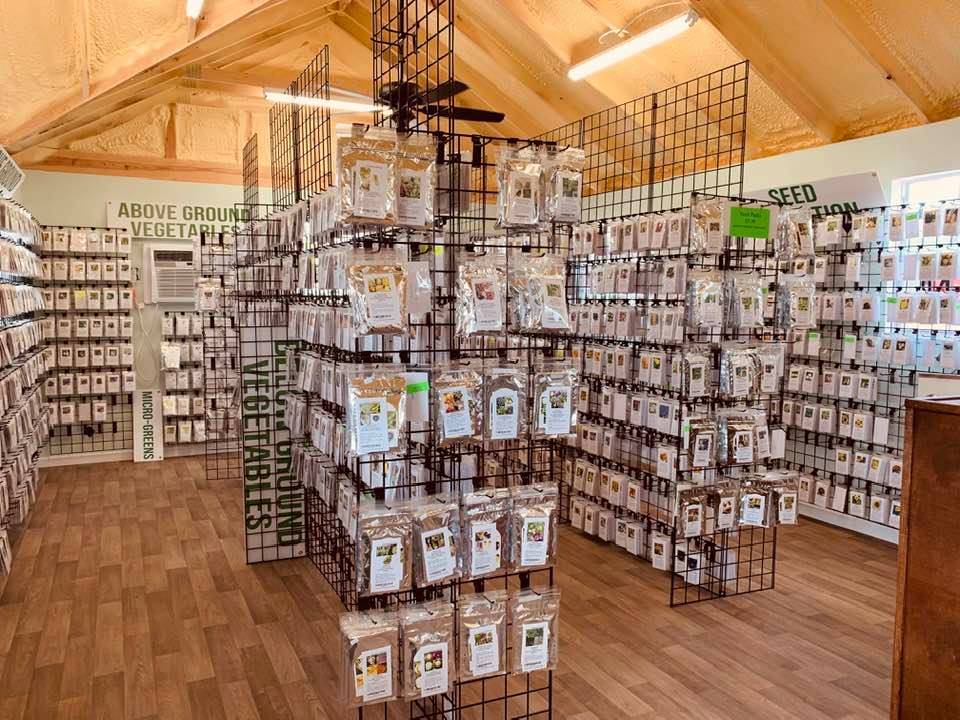 Our beautiful new farm store has almost 2,000 varieties of seeds and more. Mrs Davids Garden Seeds® looks forward to meeting you when you visit.

Mrs. David's Garden Seeds® Copyright by Juanita Lynn Schulze of David's Garden Seeds® 2019-2026
David's Garden Seeds® is Registered in the United States Patent and Trademark Office.